
Coconut Custard Pie
Coconut Custard Pie combines creamy custard with fragrant toasted coconut in a rich and buttery pie crust. Perfect for the holidays or any time of year, this Coconut Custard Pie will become a family favorite.

I’ve long been a fan of custard pie, starting with my mom’s Classic Custard Pie. Custard Pie was a staple at all of our family holidays. It just wasn’t a proper gathering without a slice of silky, cinnamony custard with a hint of nutmeg.
This year, I wanted to play with our family recipe by adding one of my favorite flavors–toasty flaked coconut.
What can’t be improved by the nutty, vaguely tropical taste of coconut?
It’s the star of my Toasted Coconut Shortbread Wedges, the bff of pineapple (see my Pineapple Coconut Cake), and the obvious hero of Almond Joy Cookies (sorry, almonds).
Now, we’re adding Toasted Coconut Custard Pie to that list.

Coconut Custard Pie: A Twist On a Classic
This pie is based on my classic custard pie recipe, which has a baked egg custard filling, not a pudding filling like you might see in Coconut Cream Pie.
I made a few minor tweaks before landing on this winning recipe.
First, I reduced the filling slightly, since my first pie was filled to overflowing with coconut custard. While I realize a surplus of delicious custard seems like it would be a good thing, egg custard spilling all over the bottom of your oven is decidedly not a good thing.
Secondly, I ditched the scalded milk step. Scalding milk was necessary in the days before milk was pasteurized, which is why you see it in many older family recipes. These days, you don’t need to scald milk for custards. Some people insists it creates a silkier custard, but for me, the difference was not noticeable enough to warrant this extra step.
Finally, I blind baked the crust. Blind baking requires a few extra steps, but is the key to avoiding the dreaded soggy bottom crust (of Great British Baking Show infamy).
Now that we have the basics, let’s make some pie!

How to Make Coconut Custard Pie
Ingredients for Coconut Custard
- 1 1/2 cups sweetened shredded coconut
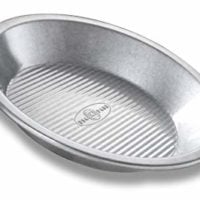
- 1 9 inch buttermilk pie crust (<<click here to see all of my tips for making and rolling beautiful, buttery pie crust!)
- 3 eggs, plus 1 separated egg
- 2/3 cup granulated sugar
- 2 teaspoons vanilla extract
- 1/2 teaspoon salt
- Pinch nutmeg
- 2 cups whole milk
How to Toast Coconut
The first step is to toast your coconut flakes, which amplifies their rich, nutty flavor. My preferred method is in the oven, but you can learn more about ways to toast coconut here.
- Preheat the oven to 400 degrees. Spread the shredded coconut out on a baking sheet.
- Place in the oven and bake for about five minutes then remove and stir. Return to the oven for an additional 3-4 minutes, or until evenly golden brown.
- Remove from the oven and allow to cool to warm before adding to your custard filling.
- NOTE: I experimented making the coconut custard with whole coconut flakes and with flakes that had been pulsed in the food processor until small. My preferred pie used the pulsed flakes. This results in a smoother textured custard, but less pronounced coconut flavor. Use whichever method you prefer for the best results.
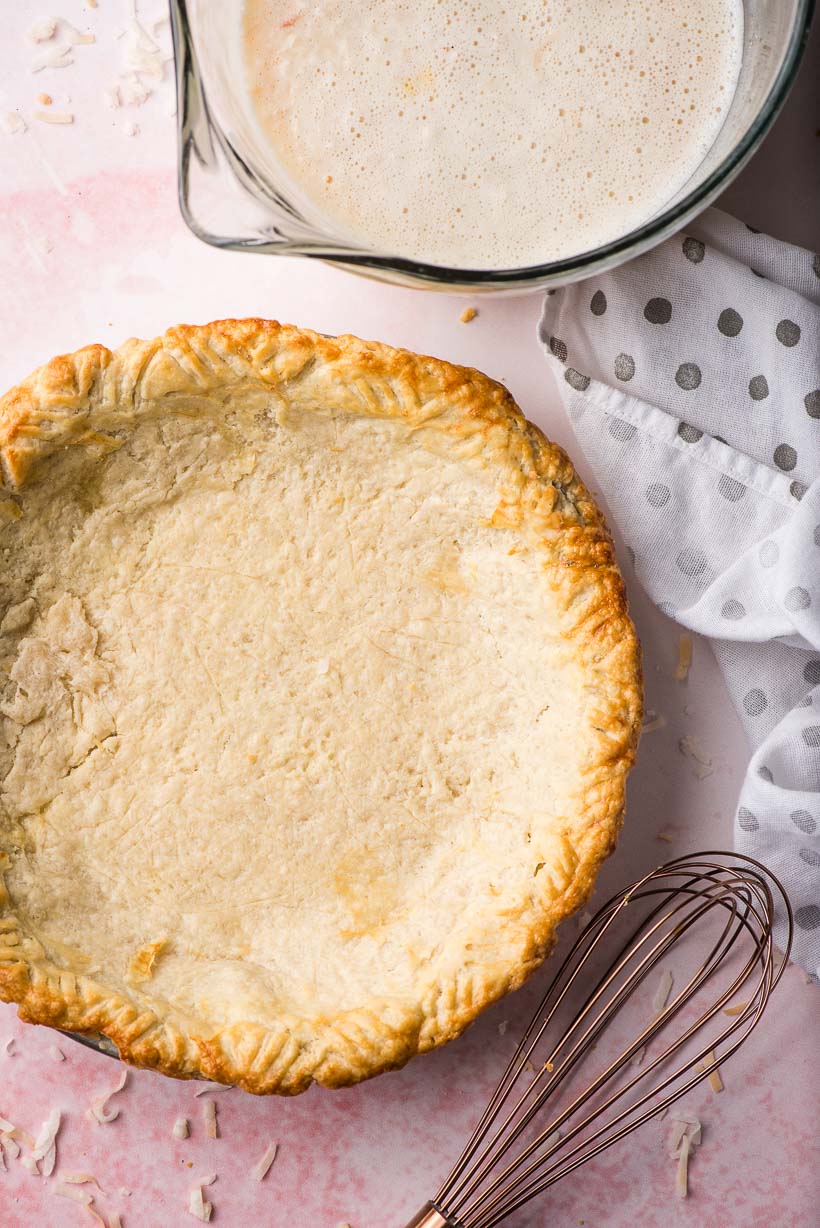
Blind Bake the Pie Crust
- Meanwhile, put another baking sheet in the oven to preheat. Line your prepared pie crust with a sheet of parchment paper and then fill it with pie weights or dried beans. This prevents the crust from bubbling up during baking.
- Pull the preheated baking sheet from the oven and place the crust on top. This gives the bottom crust a little extra head-start in the baking process.
Bake the crust for 15 minutes, or until the edges are starting to brown. Remove from the oven, remove the pie weights and parchment, and prick the bottom all over with a fork. Return the crust to the oven and bake an additional 6-7 minutes or until the bottom is starting to brown. Remove from the oven. - This next step is optional, but I really recommend it: Whisk together an egg white (save the yolk for your custard filling!) and 1 Tablespoon water. Brush all over the crust, sprinkle the edges with sugar, and return to the oven for about 2 minutes or until hard and shiny. This helps seal the crust and creates a beautiful rich, glazed look.
Mix up Your Coconut Custard Filling
- Beat together 3 eggs and the extra yolk until smooth.
- Add the sugar, vanilla, salt, and nutmeg and beat again until well combined. I really love the flavor of fresh grated nutmeg. I use this microplane grater for mine. It’s easy, and the flavor is amazing!
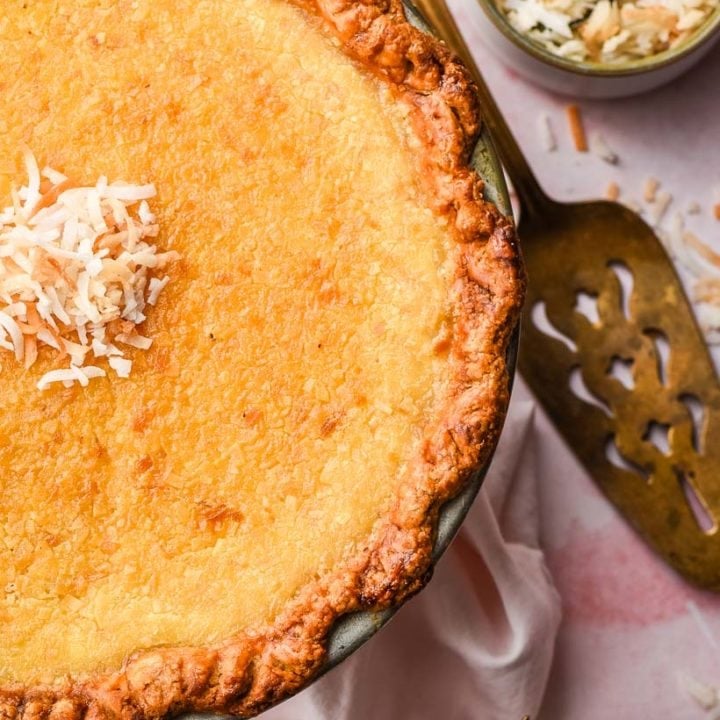
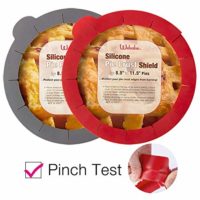
- Stir in the milk and coconut. Place the blind baked pie crust on a baking sheet. If your pie edges are already well browned, cover them with foil or a pie shield (<here’s mine).
Carefully pour the filling into the crust. Transfer the pie to the oven. This is possibly the hardest part! The pie will be quite full so take a deep breath, go slow, and you’ll be fine!
How do I know when custard pie is done?
Custard pie is cooked through when the edges are puffed (like a souffle) and the center is just slightly jiggly. If you give the pie a gentle nudge, most of the pie shouldn’t move, but the middle 1/3 should have a slight Jello jiggle. The puffed pie will deflate as it cools, creating a flat, level top.
Does custard pie need to be refrigerated?
Custard pie should always be allowed to cool at room temperature (don’t put a hot pie in the fridge!). It can be left at room temperature for several hours, but should be refrigerated if it’s being served longer than 3 hours after removing it from the oven.

More Recipes for Coconut Lovers:
Where are my coconut fans? You’re going to love these other coconutty recipes!
- Almond Joy Cookies– Chocolate, almonds, and coconut, plus they’re gluten free! What’s not to love?
- Coconut Cookies– This is the cookie for the coconut purist–just buttery, toasty coconut goodness.
- Toasted Coconut Shortbread Wedges– These are lovely any time of year, but especially great for the holidays!
- Pineapple Coconut Cake– A moist pineapple cake layered between coconut cream cheese frosting. This cake is dreamy!
Coconut Custard Pie
Creamy custard and toasted coconut combine to make this rich and silky Coconut Custard Pie. Paired with a buttery homemade pie crust, this pie is bound to be a hit at holiday gatherings.
Ingredients
- 1 1/2 cups sweetened shredded coconut
- 1 9 inch homemade pie crust, rolled and pressed in the pan
- 3 eggs + 1 egg yolk (save the white for the crust)
- 2/3 cup granulated sugar
- 2 teaspoons vanilla extract
- 1/2 teaspoon salt
- Pinch nutmeg
- 2 cups whole milk
Instructions
- Preheat the oven to 400 degrees. Spread the coconut flakes out on a baking sheet and toast for 5 minutes. Stir and toast an additional 3 minutes, or until golden brown. Allow to cool. Pulse in a food processor for a smoother custard or leave whole for a more pronounced coconut texture.
- Meanwhile, place a sheet of parchment paper in the pie crust and fill with pie weights or dried beans. Bake the crust for 15 minutes, or until the edges are starting to brown. Remove from the oven, remove the pie weights and parchment, and prick the bottom all over with a fork. Return to the oven and bake an additional 6-7 minutes or until the bottom is starting to brown. Remove from the oven.
- Optional step, but recommended: Whisk together the leftover egg white and 1 Tablespoon water. Brush all over the crust, sprinkle the edges with sugar, and return to the oven for about 2 minutes or until hard and shiny. This helps seal the crust and prevents a soggy bottom.
- To make the coconut custard filling, beat together the eggs and yolk until smooth. Add the sugar, vanilla, salt, and nutmeg and beat again until well combined. Stir in the milk and coconut.
- Place the blind baked pie crust on a baking sheet. If your pie edges are already browned, cover them with foil or a pie shield.
- Carefully pour the filling into the crust. Transfer the pie to the oven. The pie will be quite full so take it slow and steady. Bake for 40-45 minutes, or until a knife inserted in the center comes out clean.
Recommended Products
As an Amazon Associate and member of other affiliate programs, I earn from qualifying purchases.

Nutrition Information:
Yield: 8 Serving Size: 1Amount Per Serving: Calories: 249Total Fat: 11gSaturated Fat: 7gTrans Fat: 0gUnsaturated Fat: 3gCholesterol: 99mgSodium: 263mgCarbohydrates: 34gFiber: 2gSugar: 28gProtein: 5g
Please note nutritional information for my recipes is calculated by a third party service and provided as a courtesy to my readers. For the most accurate calculation, I always recommend running the numbers yourself with the specific products you use.