
This Cast Iron Skillet Chicken Breast uses high heat, a dynamite seasoning blend, and butter basting to create perfectly seared and juicy chicken breasts in just 20 minutes! This versatile chicken recipe can be served as a main dish or added to your favorite salads, wraps, and sandwiches.
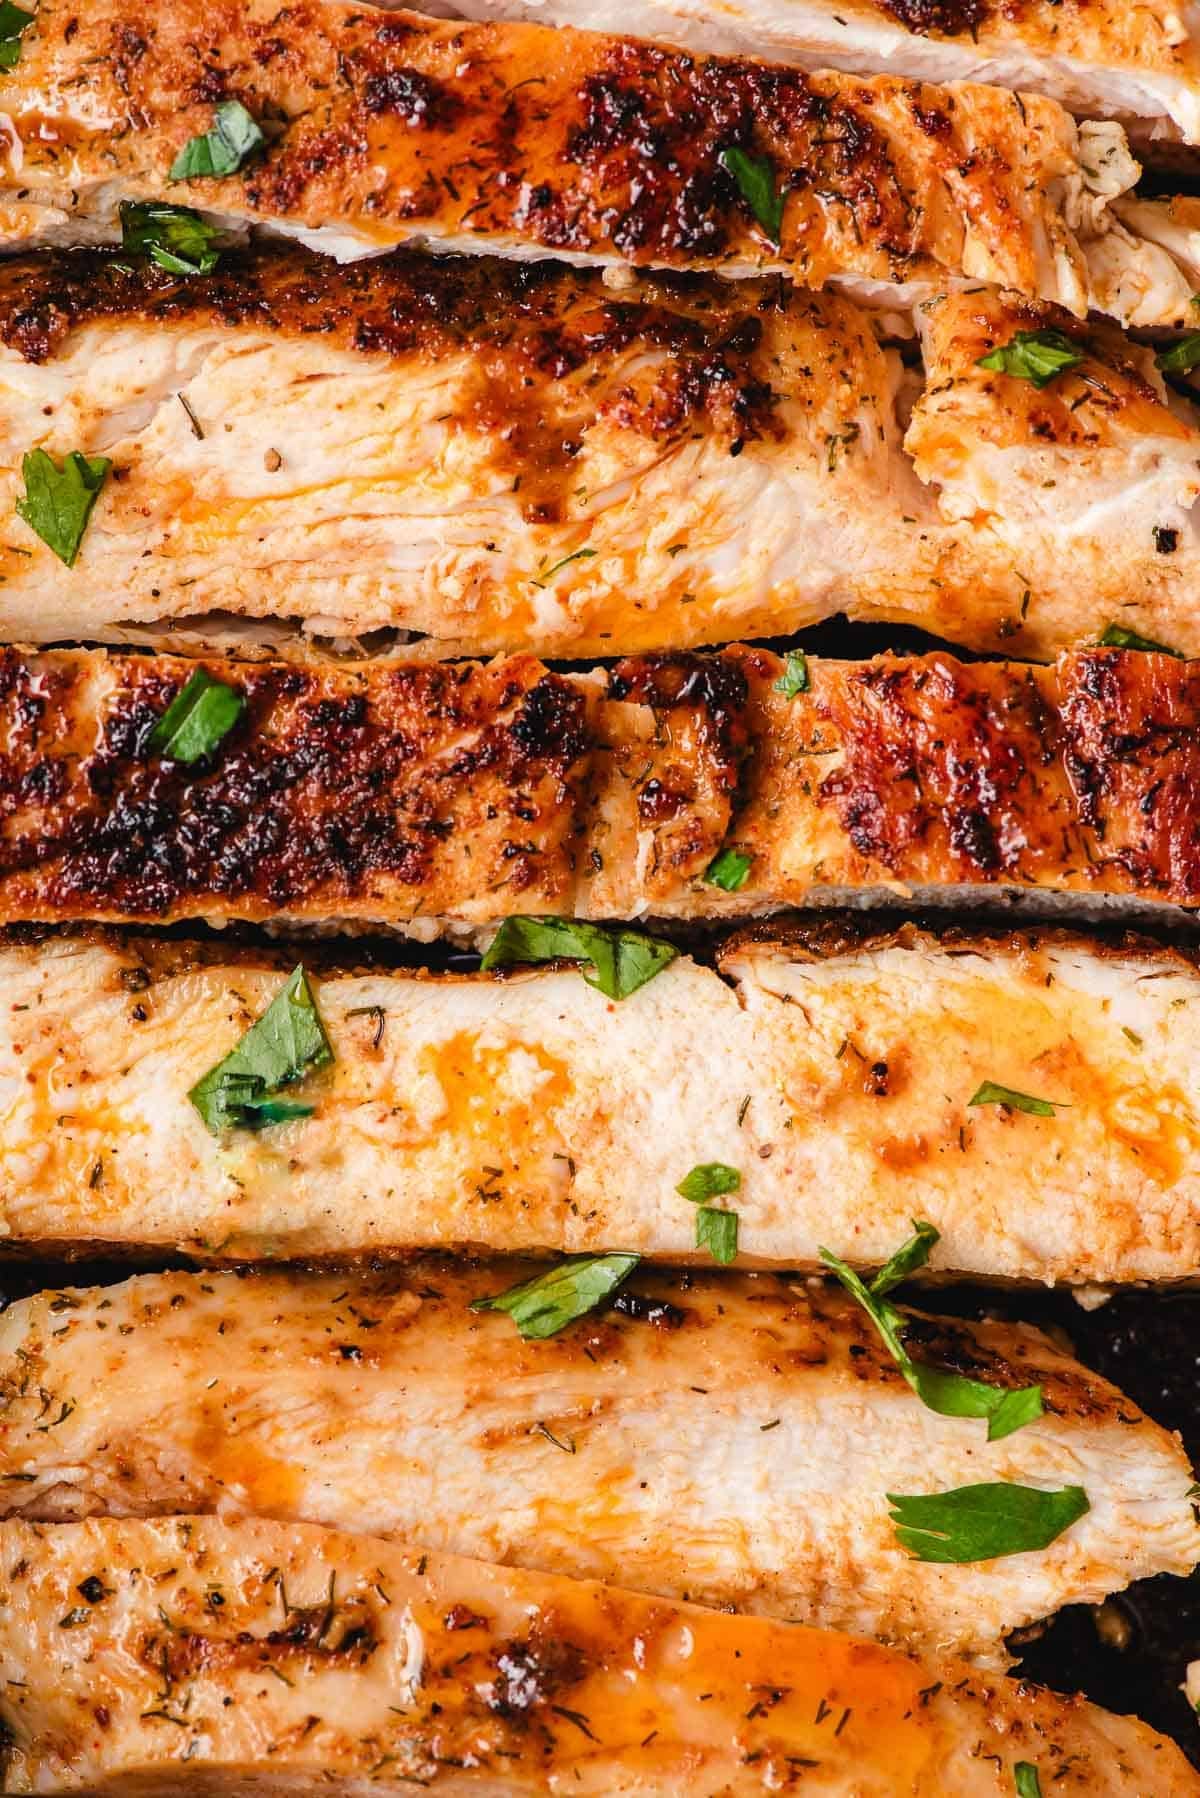
Table of Contents
Easy & Juicy Cast Iron Chicken Breast
For the last few months, I’ve been testing chicken breast recipes, looking for a method that would consistently deliver tender, juicy, flavorful chicken. I wanted chicken that could be the star of the show, without needing extra sauces, dips, or time consuming marinades.
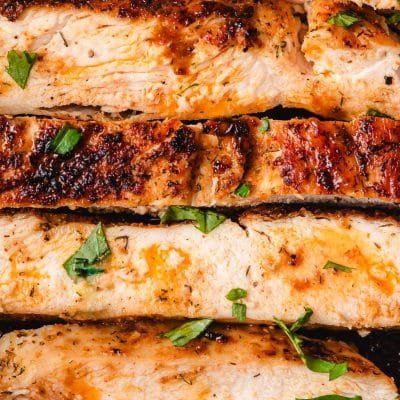
After eating far too much boring dry chicken, I finally discovered the winning technique for cooking chicken breasts: A flavor packed seasoning rub, a quick sear in a screaming hot cast iron pan, and butter basting over lower heat.
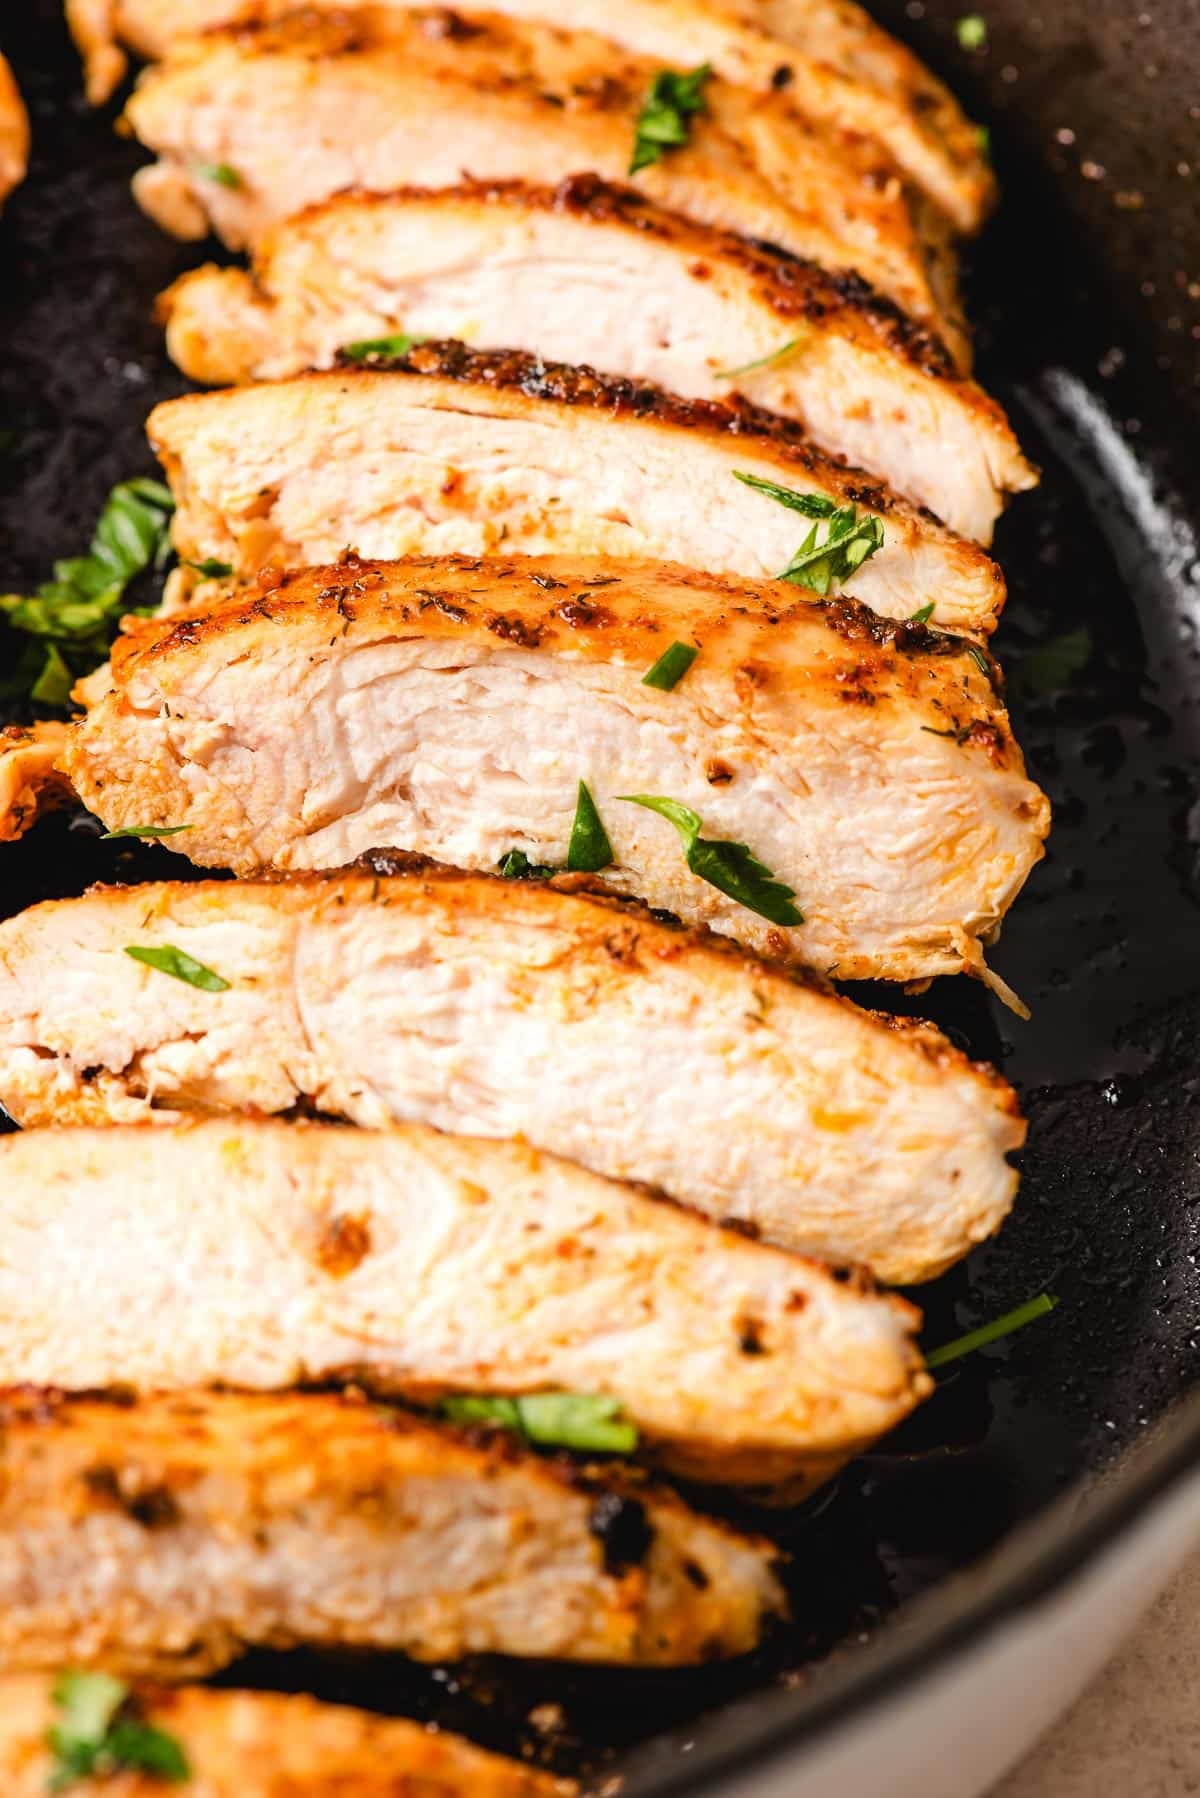
This chicken is SO GOOD and SO JUICY, and it’s all done on the stove top in less than 20 minutes. I would gladly serve this to dinner guests, most likely with a big pile of sour cream mashed potatoes and balsamic green beans and mushrooms.
If you’re looking for a go-to chicken breast recipe that actually tastes good, the search stops here. Use this recipe on its own, or make a big batch for your weekly meal prep. It’s perfect in chicken salads, chicken bacon wraps, sandwiches, and soups.
CourtneyIngredients You’ll Need
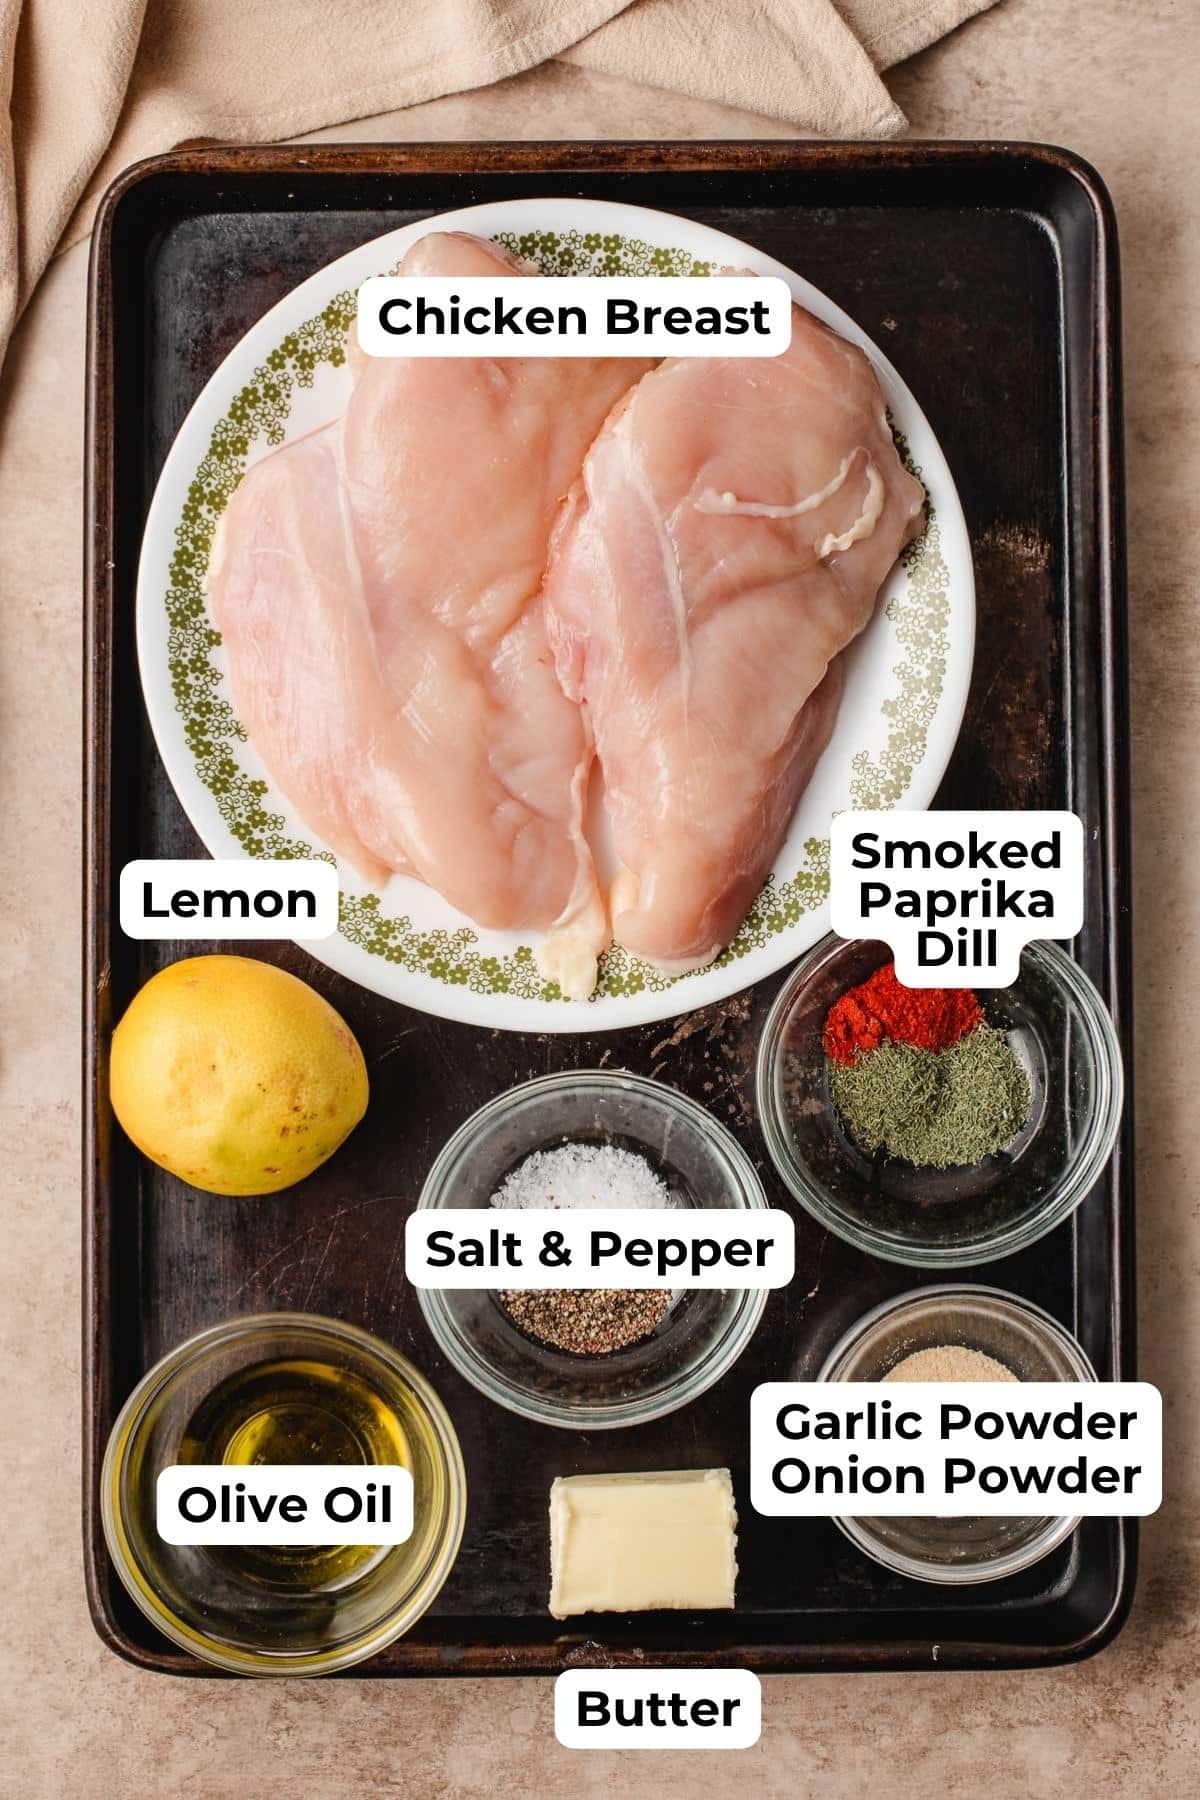
- Chicken breast– Any chicken breast will be fine here, but if you can find them on the smaller (6-8 oz) size, that’s preferable.
- Olive oil– I like to use olive oil, but canola oil, vegetable oil, or avocado oil also work well for searing.
- Salt and pepper– This is the most important seasoning! Because chicken breast can vary wildly in size, I don’t give exact amounts of salt and pepper in the ingredient list. Instead, I recommend using Kosher salt and fresh cracked pepper, so you can actually see how much you’re adding and make sure every piece gets even coverage.
- Spice blend– This is the best seasoning blend I’ve found for cast iron chicken: garlic powder, onion powder, smoked paprika, and dried dill. I really enjoy the taste of the dill here (it reminds me a little of ranch dressing), but you can feel free to substitute other dried herbs or spices. Oregano, thyme, or basil would also work well.
- Butter– This chicken is butter basted, meaning it is drizzled with the butter and pan drippings for the last few minutes of the cooking time. I use unsalted butter to avoid an overly salty dish.
- Lemon zest– This is optional, but just a hint of lemon zest stirred into the butter really lifts and brightens the whole dish.
Step-by-Step: How to Cook Chicken Breast in a Cast Iron Skillet
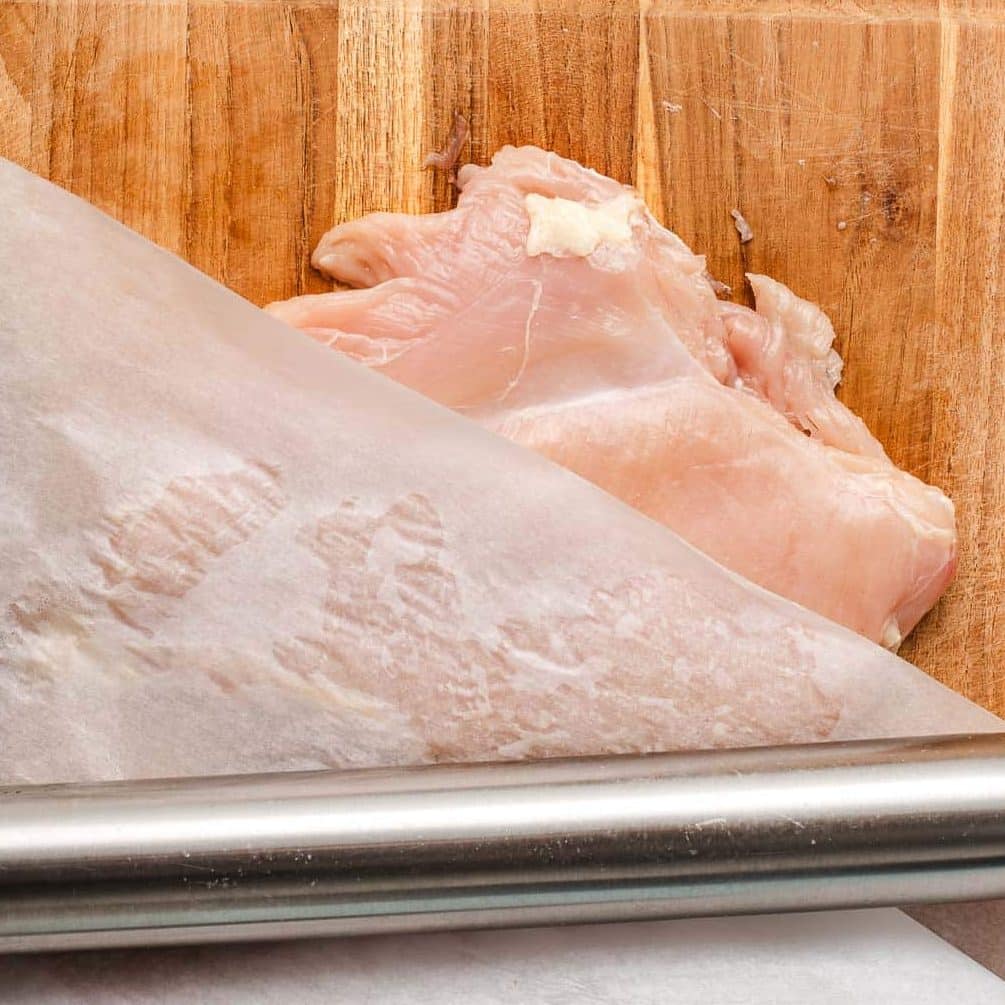
Step 1: Pound the chicken. Place the chicken between sheets of parchment or plastic wrap, then se a meat mallet or heavy rolling pin to pound the thickest part of the chicken until the whole breast is an even thickness, about 3/4 inch thick.
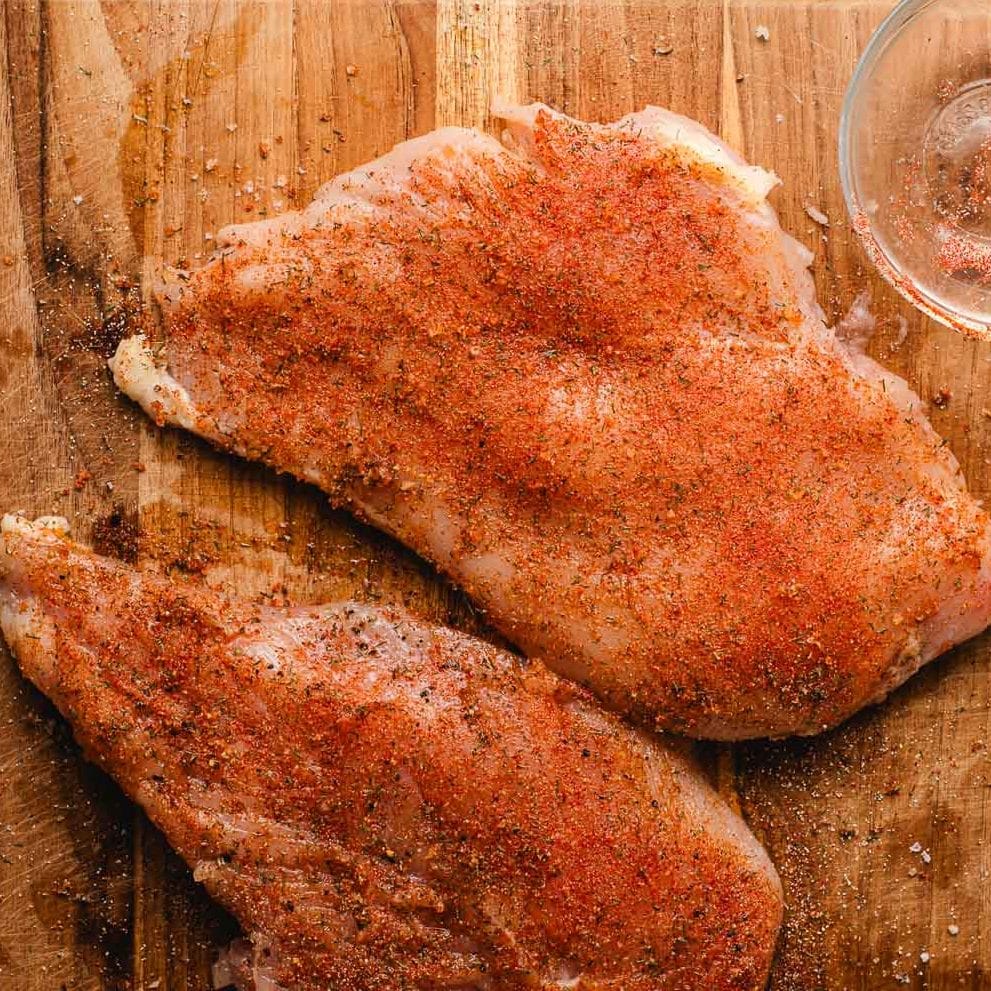
Step 2: Season the chicken. Rub both sides of the chicken breasts with olive oil, then season with Kosher salt and fresh cracked pepper evenly. Whisk together the garlic powder, onion powder, smoked paprika, and dried dill, then rub this blend over both sides of the chicken.
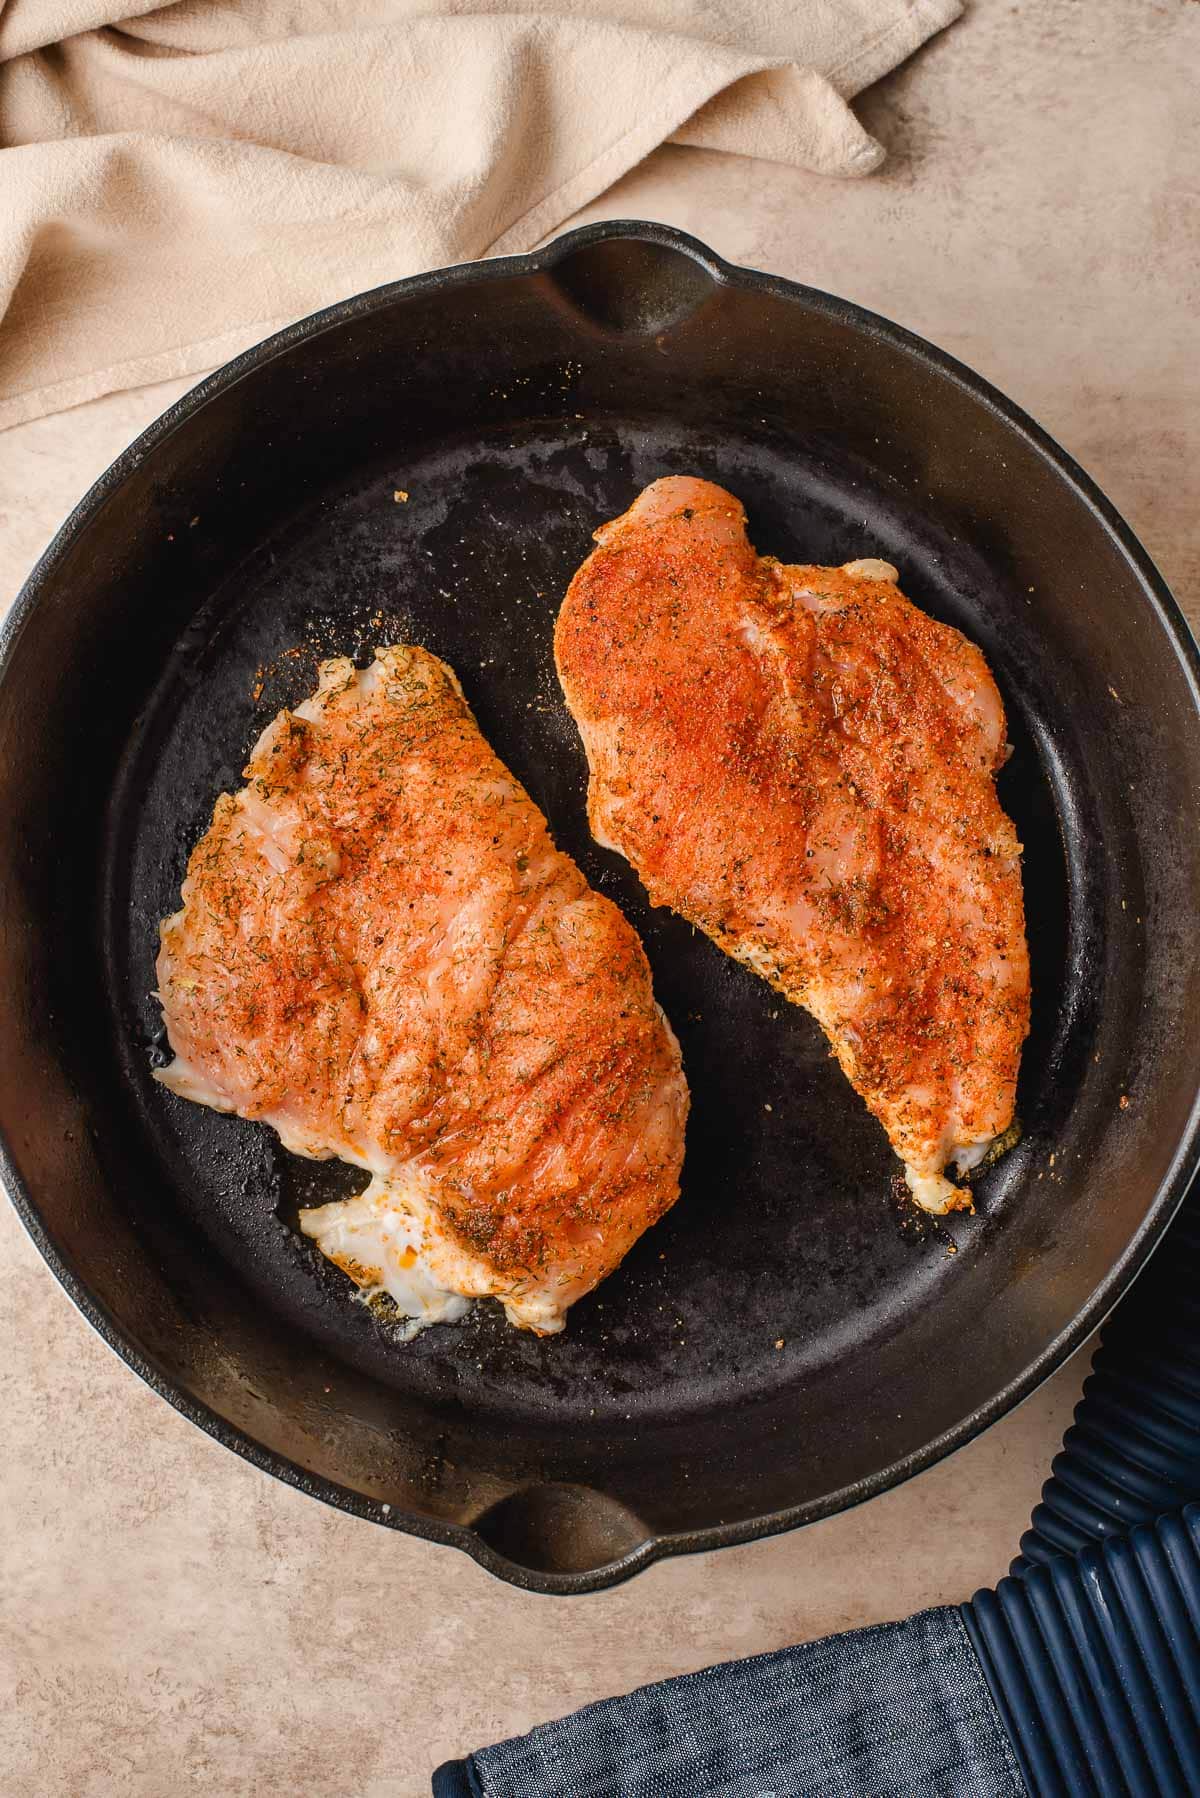
Step 3: Sear the chicken. Preheat the cast iron skillet over medium high heat. Add the chicken, smooth side down, and cook 4-5 minutes, or until browned.
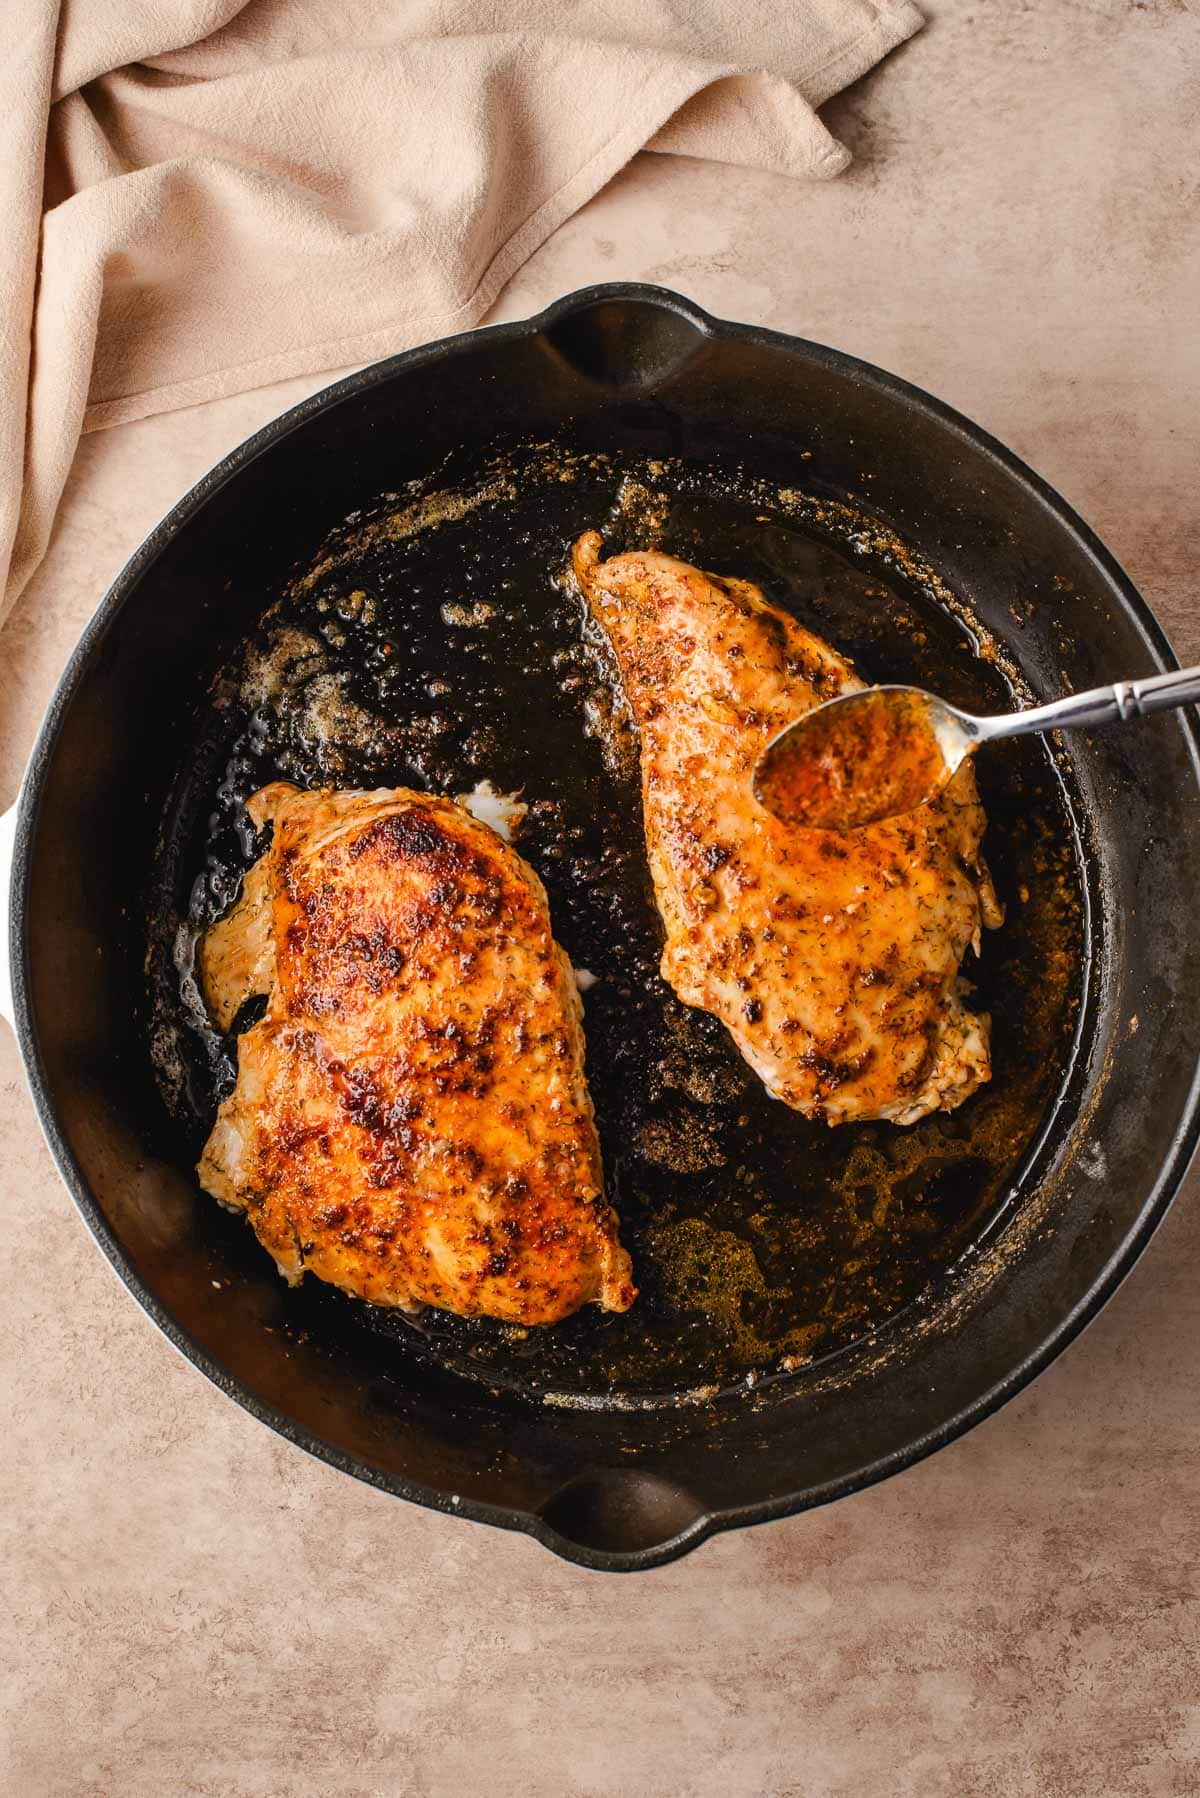
Step 4: Flip, cover, and baste. Turn the heat to medium low, flip the chicken, and cover the skillet. Cook for 3 minutes, then uncover and add the butter, letting it melt. When it starts to foam, add the lemon zest, then tilt the pan and use a spoon to scoop up the butter and drizzle it over the chicken. Cook another 2-4 minutes, or until the chicken reaches 160-165 degrees.
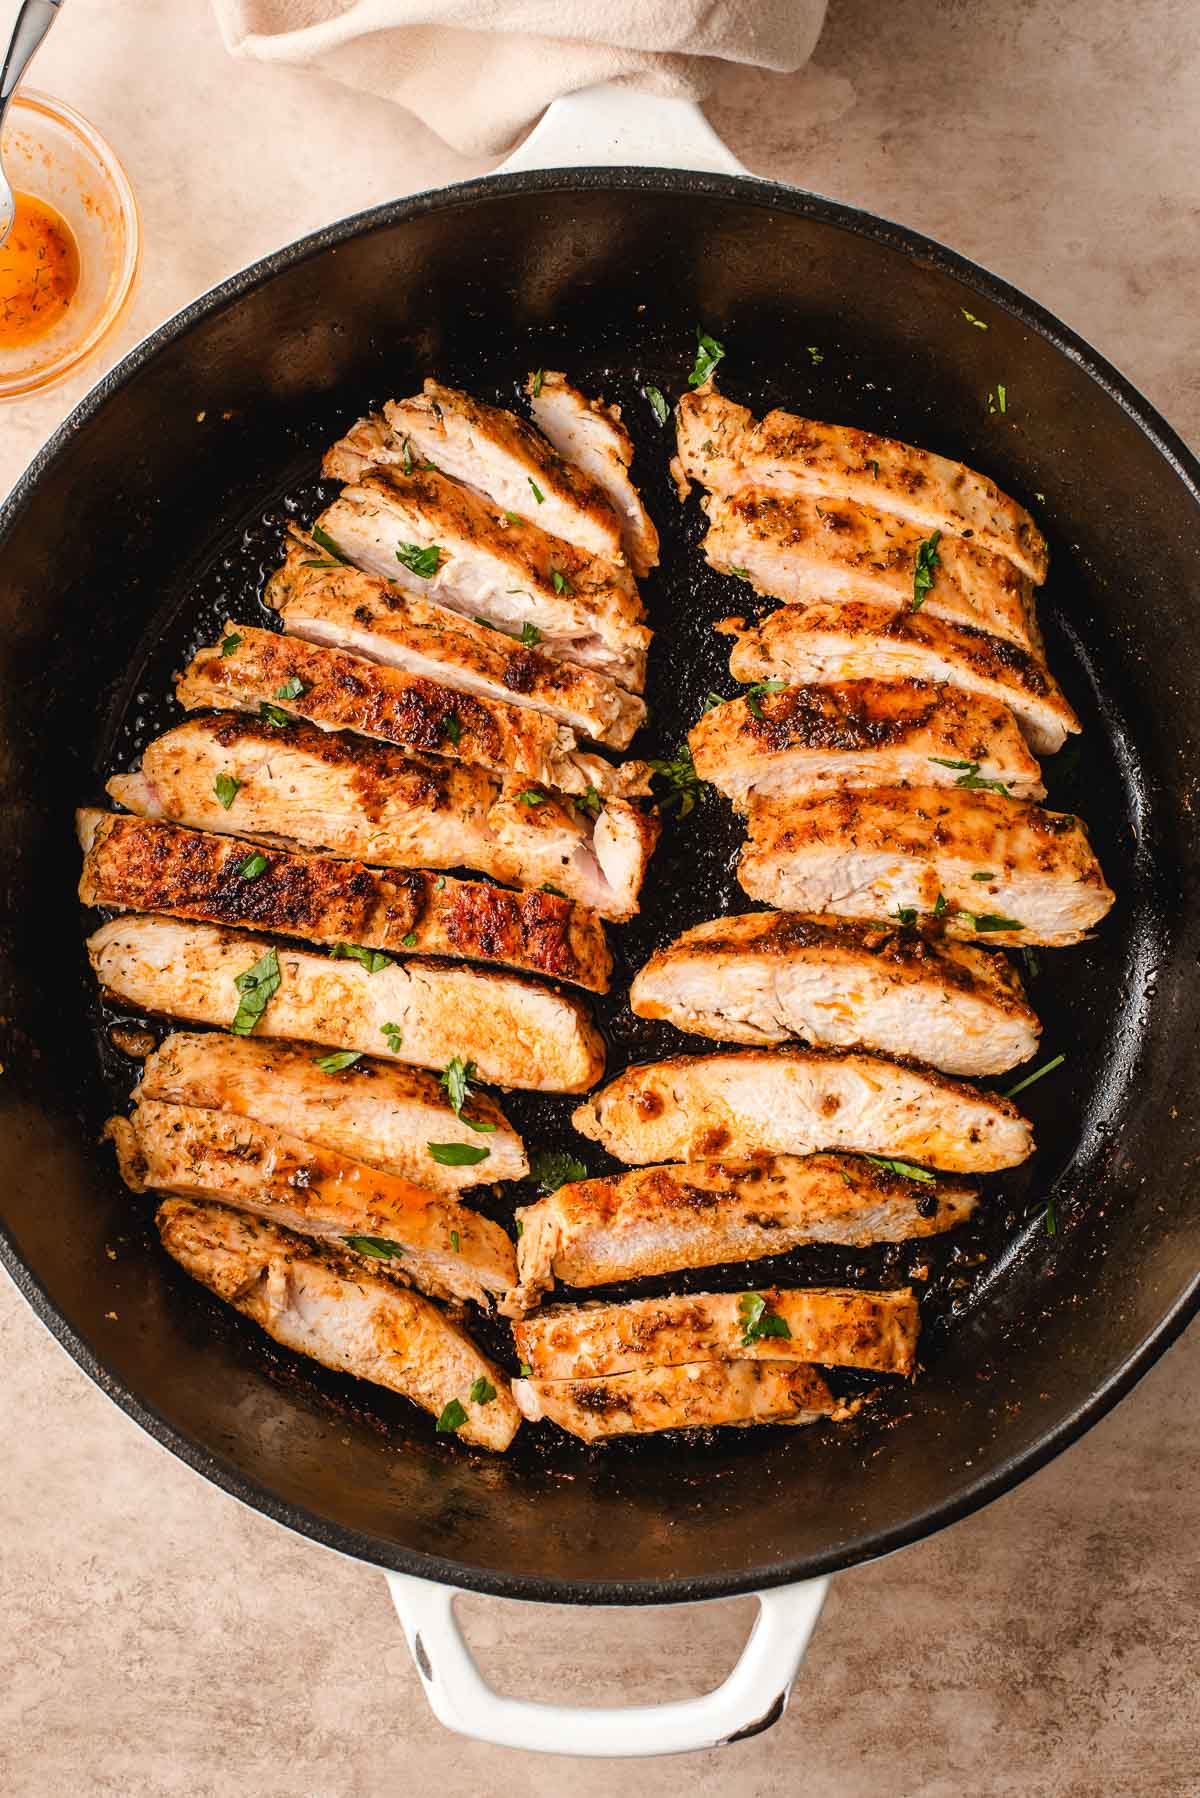
Step 5: Rest, then serve. Remove the chicken to a cutting board and tent loosely with foil. Rest for 5-10 minutes before slicing. Serve with the buttery pan drippings.
Recipe Tips + Dos and Don’ts
- Don’t skip the pounding step! Getting the breasts to an even thickness allows them to cook quickly and evenly without drying out.
- Don’t crowd the pan. Use a large cast iron skillet or cook in batches if needed. I love using this cast iron chicken fryer.
- Do cover the pan. If your pan doesn’t have a cover, a sheet pan works well. Covering the pan helps the chicken cook through without drying out.
- Do trust your thermometer. Pull the chicken as soon as a meat thermometer registers 165 degrees at the thickest part of the meat.
- Do let it rest. Resting the chicken allows the juices to redistribute back into the meat, so you don’t lose them all when you slice it open.
- Do customize the flavor. Add smashed garlic cloves and fresh herbs to the butter for even more flavor!
Storage and Make-Ahead Instructions
- Make ahead: The chicken can be prepped and seasoned up to eight hours in advance and kept in the fridge.
- Storage: Keep leftover chicken in an airtight container in the refrigerator for up to 5 days.
What to Serve with Chicken Breast
This chicken breast goes with almost anything! Serve it with your favorite potato side dishes, like baked potatoes or air fryer potatoes.
It’s also great with roasted veggies, like roasted zucchini and peppers, roasted broccoli and cauliflower, and roasted carrot salad.
You can also transform any salad into a main dish with this chicken! We love to use it for a big chicken bacon ranch salad or adding it to a roasted carrot salad!
FAQs
This will vary slightly based on how thick your chicken is, but you’ll need 4-6 minutes per side, or 8-12 minutes total.
The easiest way is to use a meat thermometer. Insert it into the thickest part of the chicken. It’s done when the internal temperature reaches 160-165 degrees Fahrenheit.
More Easy Chicken Dinners
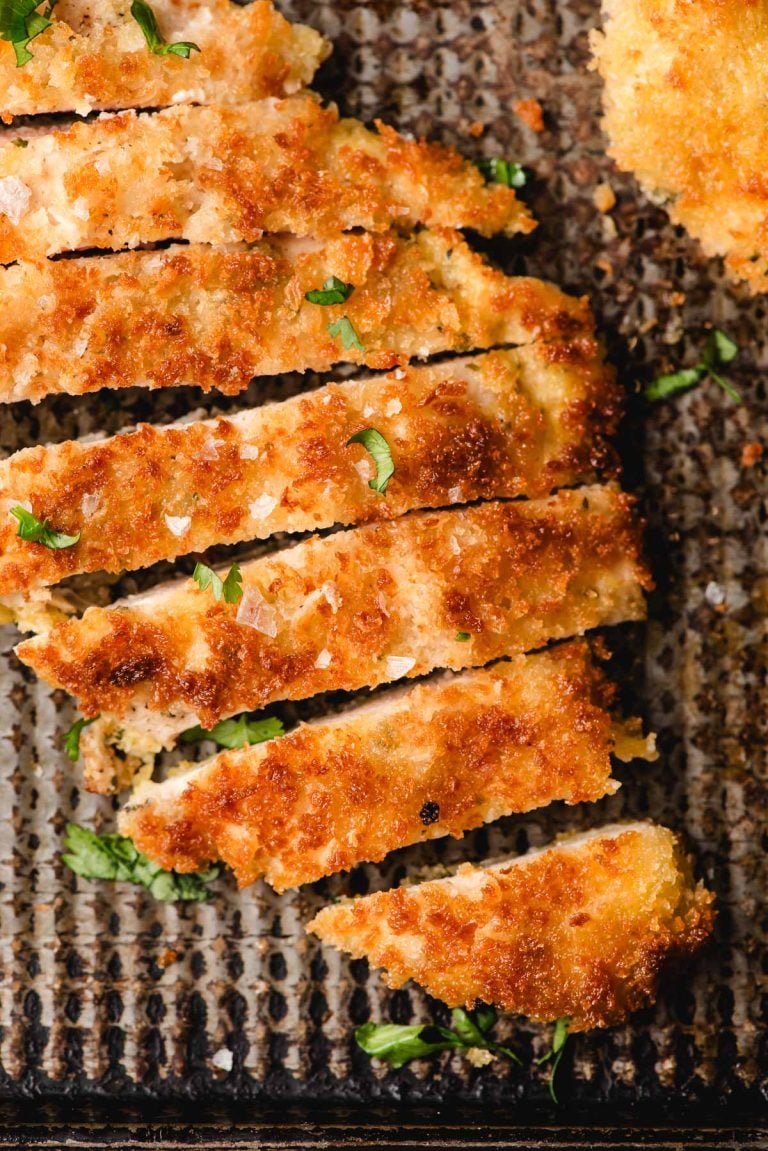
- Crispy Breaded Chicken Cutlets
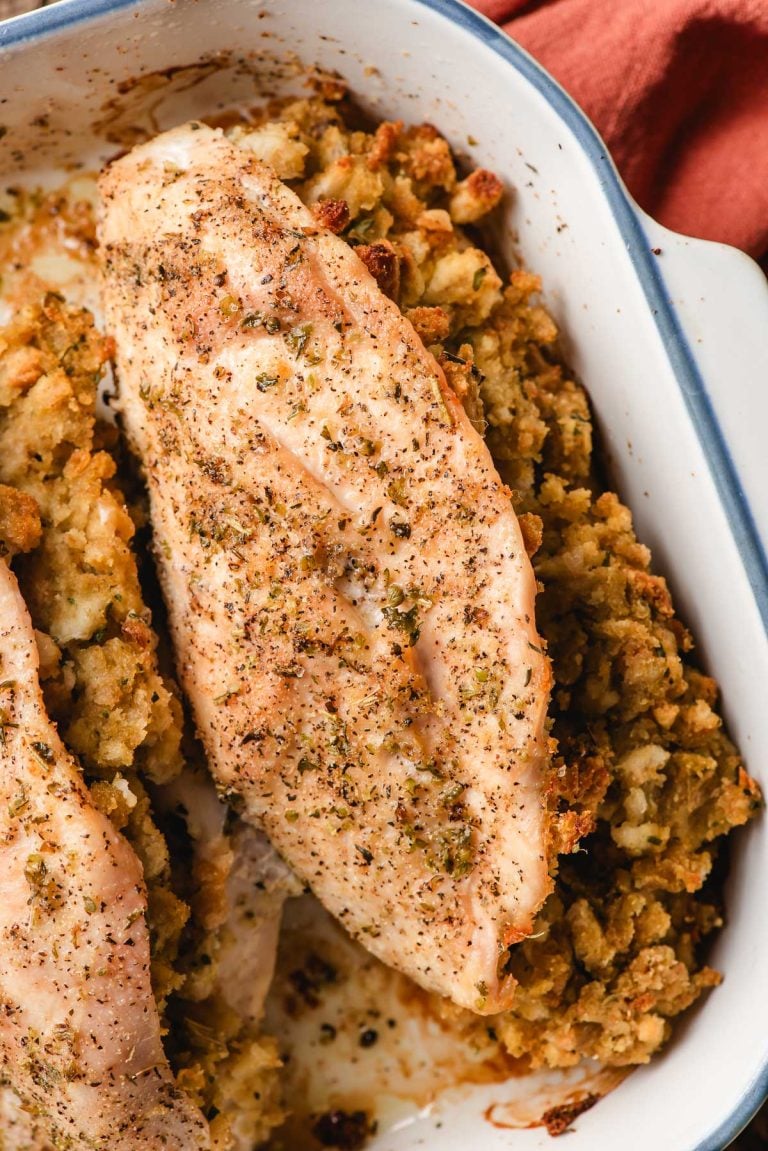
- Easy Stuffing Stuffed Chicken Breast
- Creamy Ritz Cracker Chicken Casserole
- Creamy Mushroom Chicken and Rice
Join Our Community
Sign up for the NeighborFood email community to get recipes in your inbox ad free and access exclusive content from us! You can also follow us on Instagram and Pinterest. Made our recipe? Leave us a star rating or comment below!
Cast Iron Skillet Chicken Breast
Ingredients
- 1 ½ lbs. Chicken breast
- 3/4 teaspoon garlic powder
- 1/2 teaspoon onion powder
- 1/2 teaspoon smoked paprika
- 1/2 teaspoon dried dill (or other dried herb of your choice, see note)
- 2 teaspoons olive oil
- Kosher salt and fresh cracked pepper (to taste (see note))
- 2 Tablespoons unsalted butter
- Zest of 1 lemon (optional)
Instructions
- Place the chicken between two sheets of parchment or plastic wrap. Use a meat mallet or heavy duty rolling pin to pound the chicken to an even thickness, about 1/2 inch thick.1 ½ lbs. Chicken breast
- In a small bowl, whisk together the garlic powder, onion powder, paprika, and dill.3/4 teaspoon garlic powder, 1/2 teaspoon onion powder, 1/2 teaspoon smoked paprika, 1/2 teaspoon dried dill
- Pat the chicken dry with paper towels, then rub both sides with olive oil.2 teaspoons olive oil
- Season one side with salt, pepper, and half the seasoning mix. I like to use Kosher salt and fresh cracked pepper so I can really see how much I'm using. Aim for even coverage. Flip, then season the other side with salt, pepper, and the remaining seasoning.Kosher salt and fresh cracked pepper
- Heat a large cast iron skillet over medium high heat. Add the chicken, smooth side down, to the skillet, and cook for 4-5 minutes, or until well browned. Flip, then lower the heat to medium low. Cover the pan for 3 minutes, then uncover and add the butter, letting it melt. When it starts to foam, add the lemon zest, then tilt the pan and use a spoon to scoop up the butter and drizzle it over the chicken. Cook another 2-4 minutes, or until the chicken reaches 160-165 degrees.2 Tablespoons unsalted butter, Zest of 1 lemon
- Remove the chicken to a cutting board and tent with foil. Let rest 5-10 minutes before slicing and serving. Serve drizzled with the leftover butter from the pan.
Notes
- I like the flavor of the dill here a lot, but if you’re going for a more Mediterranean or Italian profile, consider swapping it for oregano or thyme.
- “To taste” here really means “by sight.” I prefer to season each piece of chicken with salt and pepper rather than adding it to the spice mixture. I like to use Kosher salt and fresh cracked pepper, so I can easily see how much I’m using and know that each piece is evenly seasoned.
- The chicken can be seasoned and refrigerated up to 8 hours in advance.
- Store leftovers in an airtight container in the fridge, and use within 4-5 days.
Nutrition
Did you make this recipe?
Leave a review, Mention @NeighborFoodie, or tag #neighborfoodies!

Leave a Reply