
These Blue Cake Pops are the perfect sweet treat for a baby shower, space-themed birthday party, or any time you need a grab-and-go dessert!

Table of Contents
Today I’m super excited to welcome my friend Cathy to the blog to share her dynamite recipe for Blue Cake Pops. My gifting does not involve cake pops or treats that require any kind of precision or patience. I prefer drizzles, pinches, and glugs (that being the sound olive oil makes when it comes out of the jar).
Luckily, Cathy not only has the patience for such things, she also loves doing it!
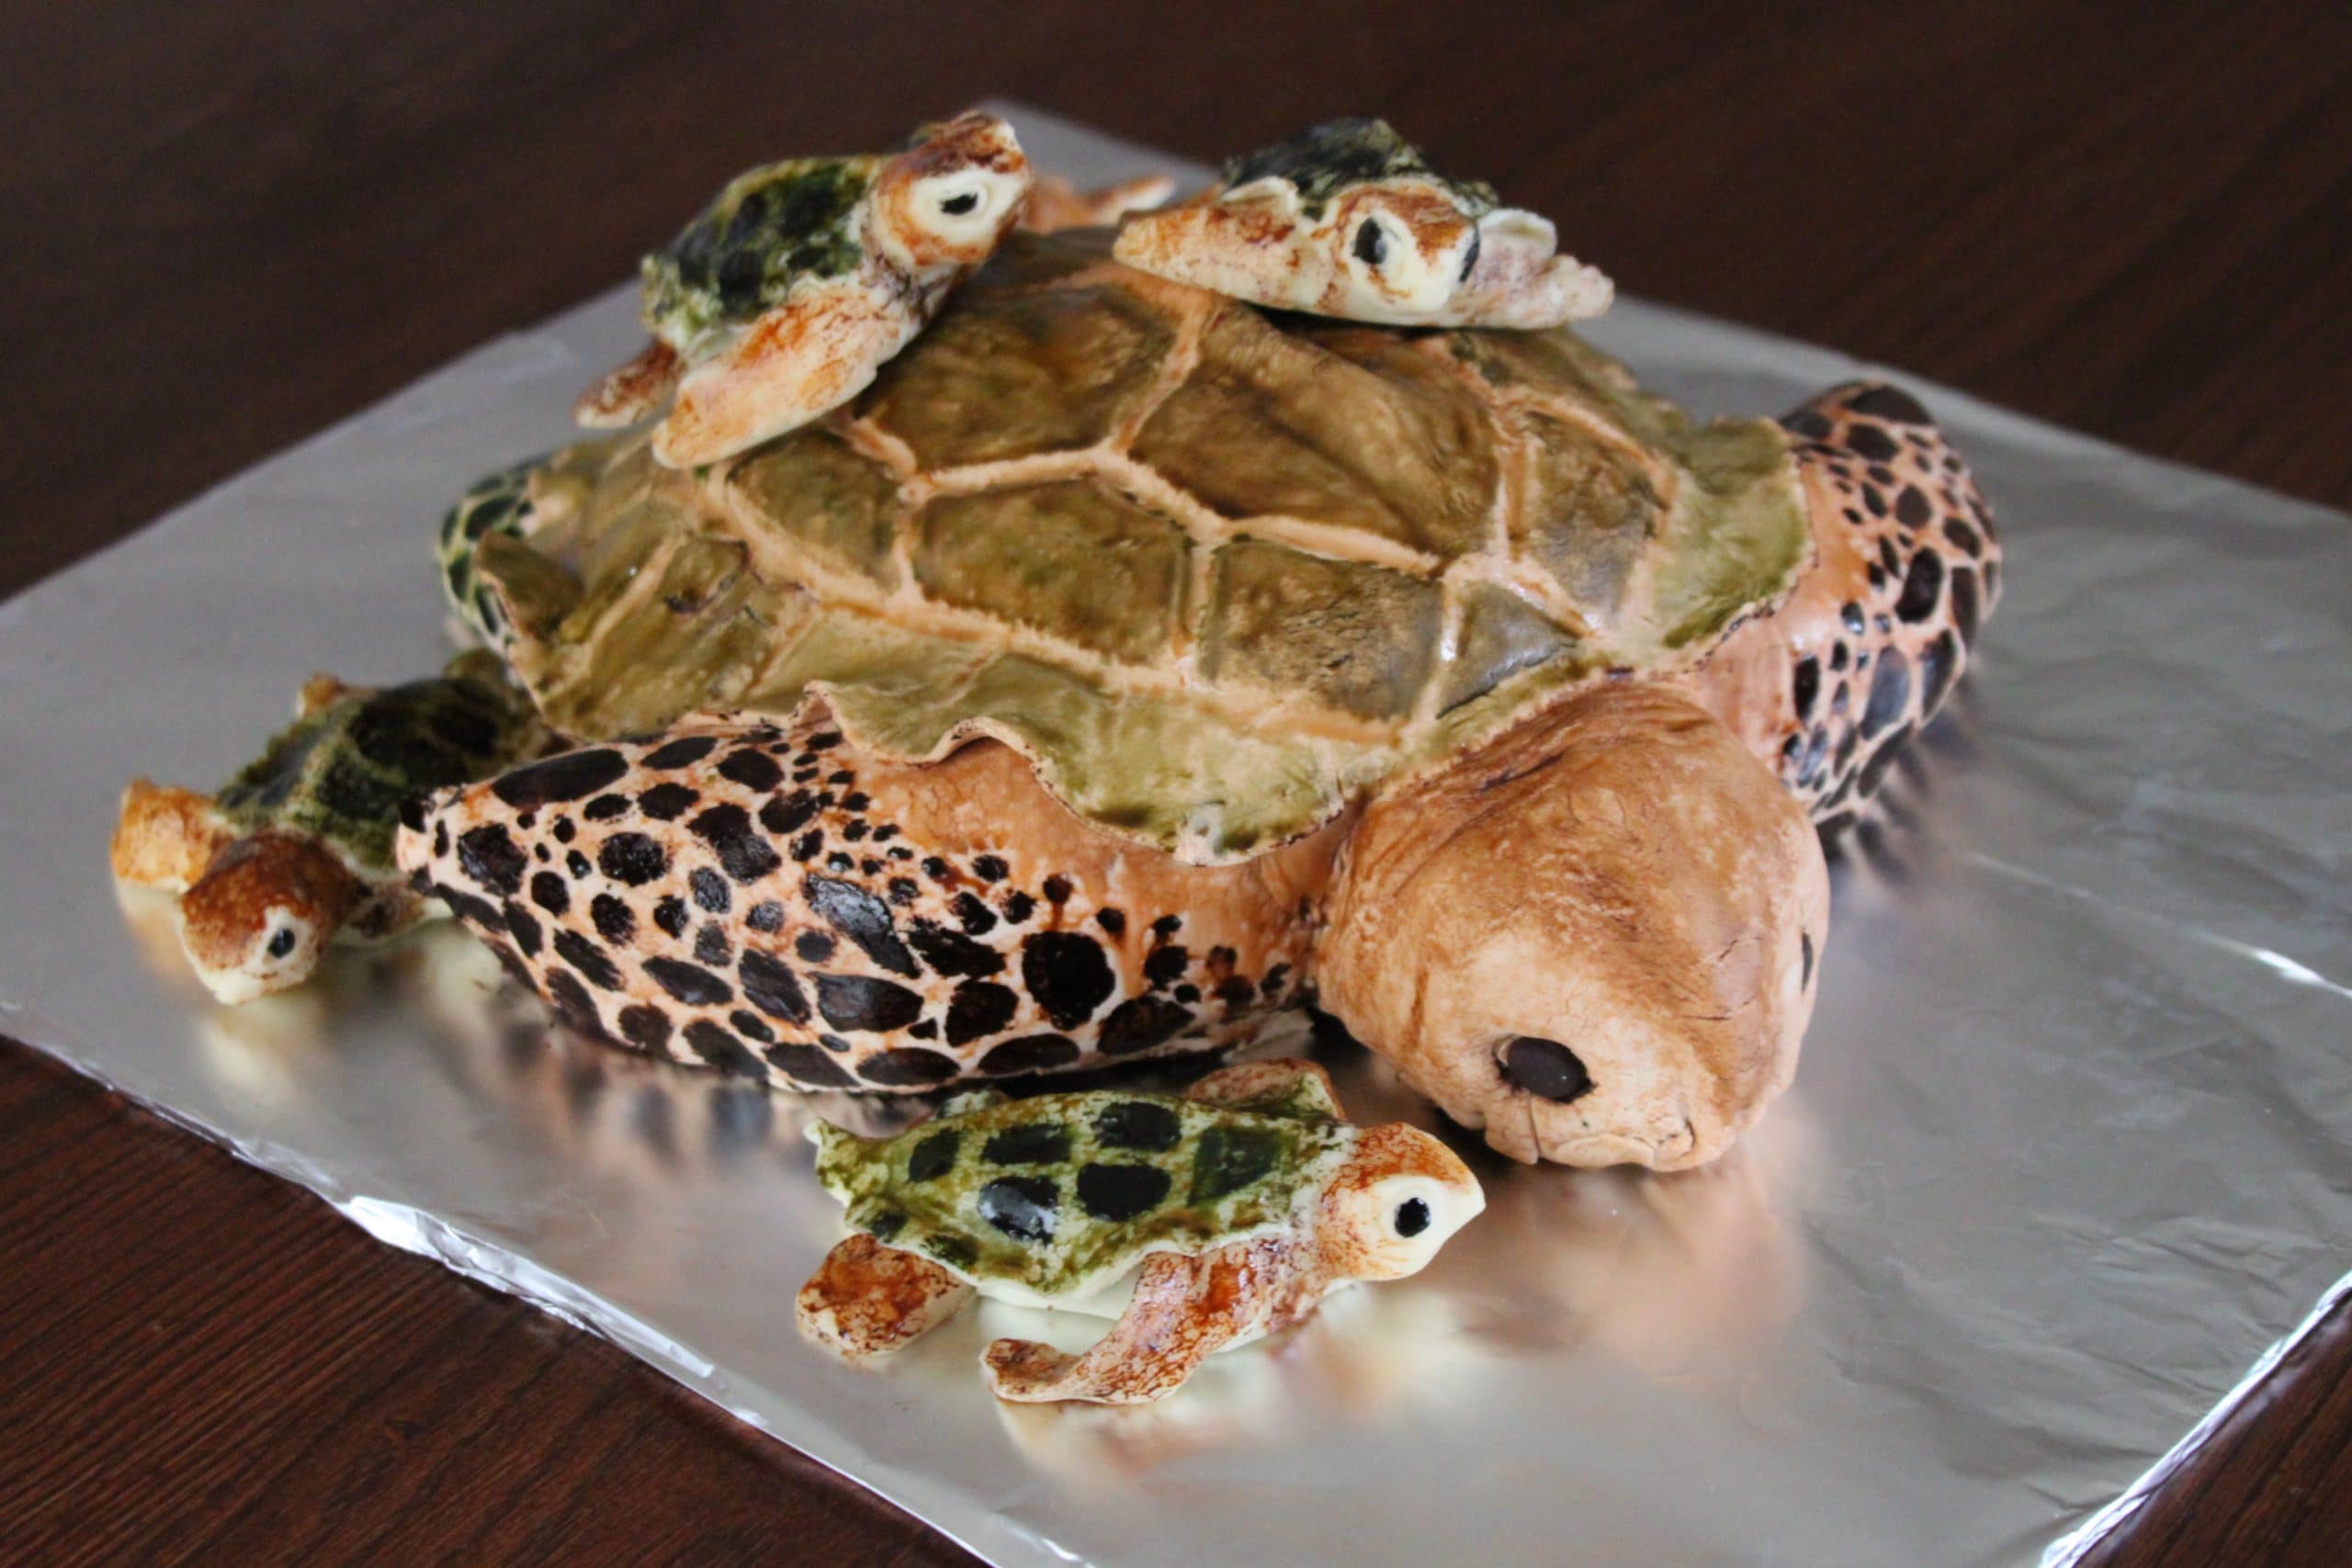
Exhibit A:
Today, I asked her to come share with you her tips for making adorably and ridiculously perfect cake pops. You can check out more from Cathy at Cathyology, where she blogs about everything from justice to faith to motherhood to gardening. I hope you enjoy her as much as I do!
My beloved friend Courtney and I have been thinking of the many ways we are alike. We’re both committed to social justice, particularly as it pertains to our neighborhood, and we live within a few blocks of each other.
At our respective non-profit full-time jobs, we’ve collaborated on events and campaigns and I genuinely love working with this chic. Her heart beats to see mercy and peace and joy throughout our community and her heart breaks for injustices against our neighbors. She has a gift for seeing the positive in difficult situations, and she’s quite the mover when construction crews threaten an event.
But of course, this is mostly a food blog, so let’s get down to it… we are both in love with all baked goods and the process that produces them.
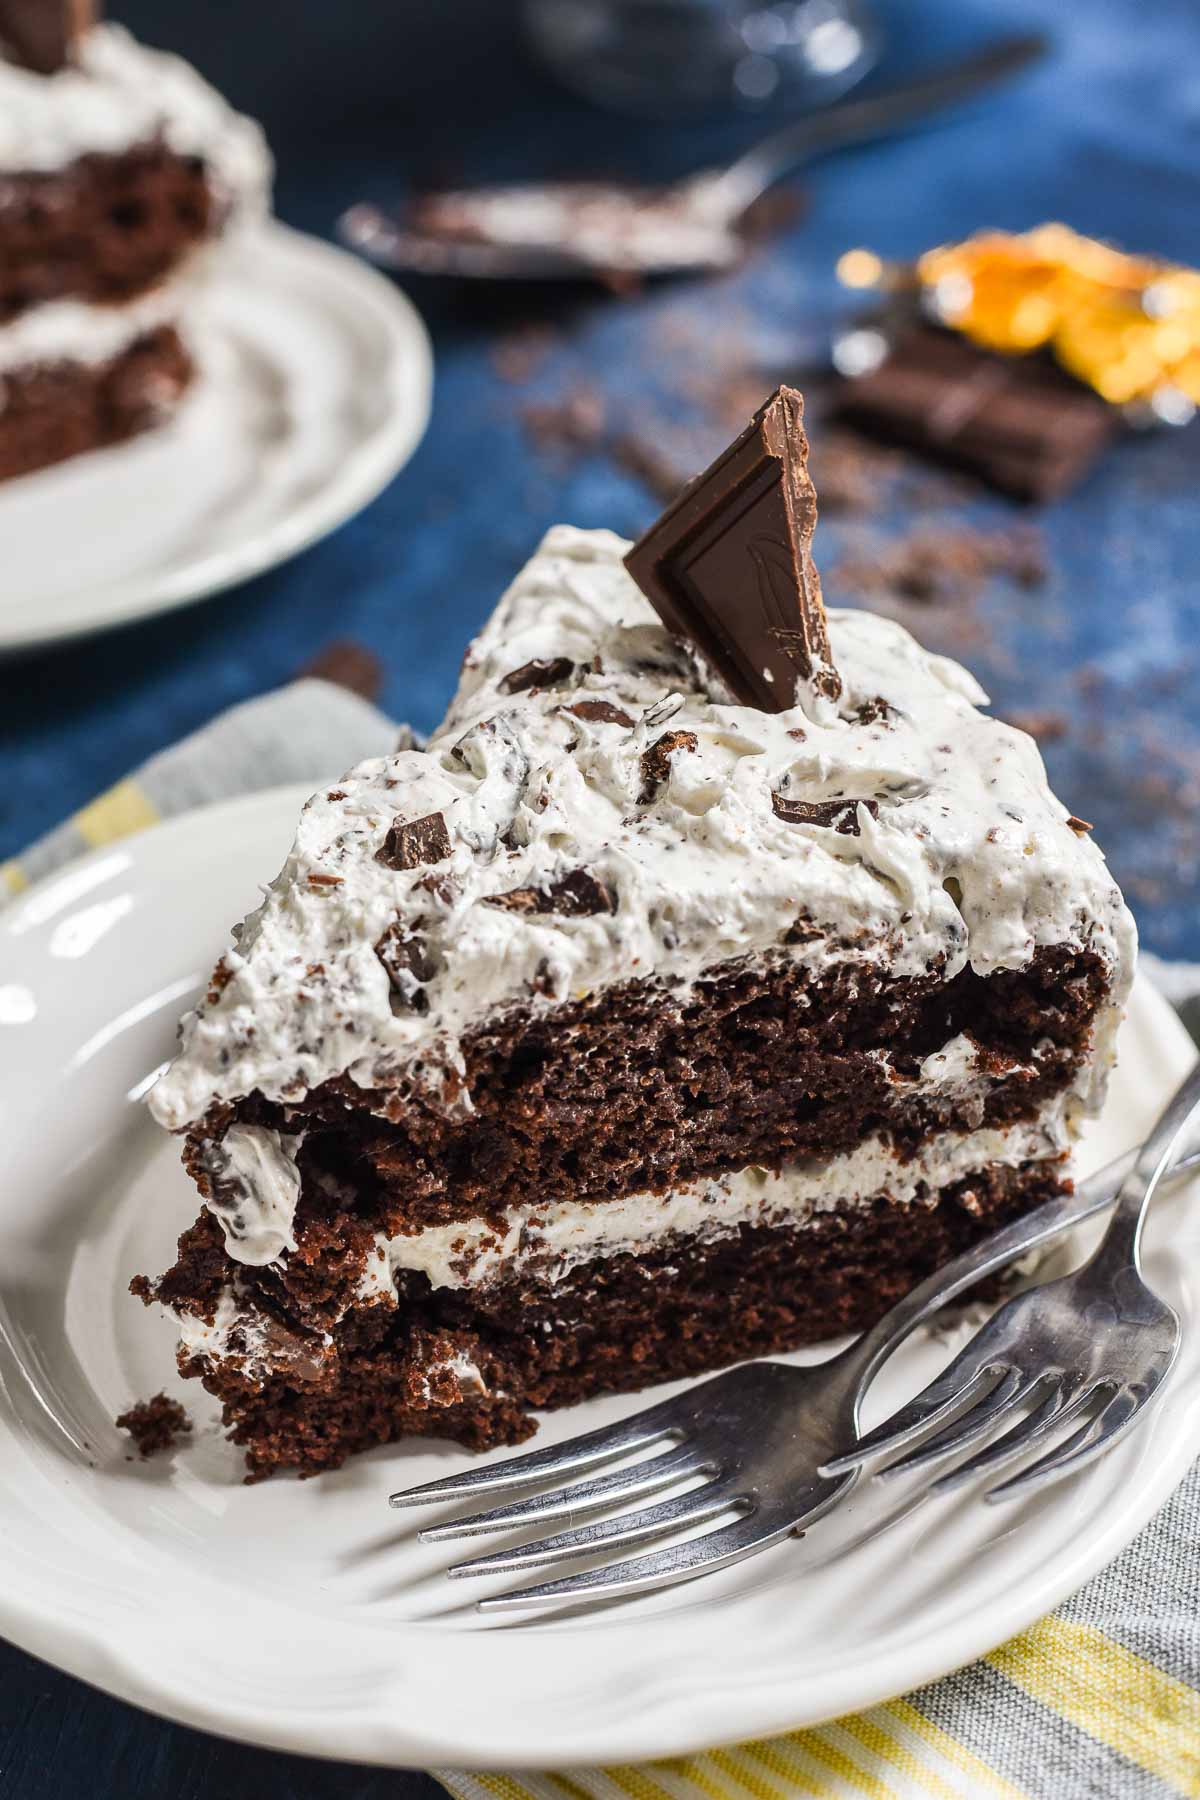
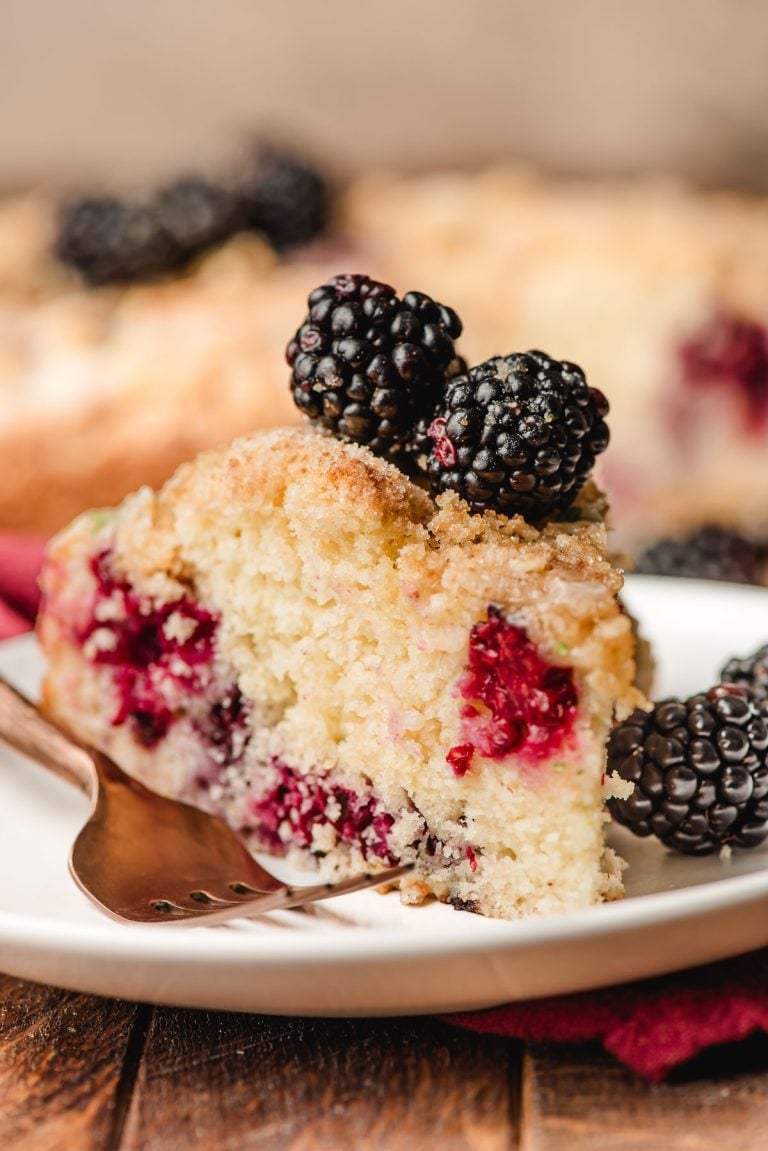
There is a major difference between us, though. She loves to bake goodies that are ready to eat fresh out of the oven–things like Giant Chocolate Chip Cookies or Blackberry Peach Cobbler—or things that only require a quick glaze or drizzle to look fabulous–like the Chocolate Bundt Cake of our collective dreams.
I, however, am drawn to items that allow me to unite my creative side with my obsessive compulsive need to make things “just so”. I want to carve, color, swirl, pipe, and sprinkle.

Baby Shower Cake Pops for a Boy
A baby shower is the perfect place to display pretty, graceful, fun treats. These cake pops were for a baby boy, so ALL things were blue, down to the mom and aunt’s pedicures. I was charged with making delightful cake pops for a classy event.
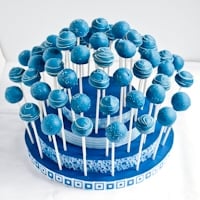
With everyone else going all out on the blue-theme, I decided to do the same for the cake pops. I used a white cake dyed with blue food coloring for the centers, and dipped them in white chocolate dyed a deep navy blue.
Decorated with white chocolate and coarse sugar, they have an almost galaxy-like look to them and everyone loved!
Ingredients Needed for Cake Pops
Cake pops are fun and easy. I’m typically an all-things-from-scratch kind of mom. I want to know what is in my cake and be able to pronounce all the ingredients.
HOWEVER, cake pops don’t work well with most from-scratch cakes. So, trek over to your favorite baking aisle and venture into the box-mix section. And don’t flee too quickly, you’ll also need canned frosting! Here’s the full list of supplies:
- 1 box white cake mix
- 1 16 ounce container vanilla frosting (you’ll only need about 1/3 of the can)
- White chocolate or white candy melts
- Oil based blue food coloring, plus a regular gel or liquid blue food coloring
- White lollipop sticks
Tips for Making Blue Cake Pops
I’ve made a lot of cake pops and learned some things along the way. Here are some tips to make the best cake pops:
- Use cake and frosting that will blend to an appealing color/flavor combination. My favorite cake pop combo is chocolate cake and fudge frosting, but for these I used white cake mix so it could easily be dyed blue.
- Do not buy “whipped” frosting.
- No need to buy the most expensive brands of cake or frosting!
- When rolling the cake balls, go by “feel,” not by a specific measurement. The balls should hold together tightly without crumbling, but not be super squishy. Add just a spoonful at a time until you reach the right consistency.
- Always freeze the balls before dipping them so they stay together!
- You can use gel or liquid food coloring to dye the cake batter, but only use oil based food coloring for dying the chocolate coating. You can find it here or at your local craft supply store.
FAQS, Storage, and Make Ahead Tips
How many cake pops does 1 cake mix make?
1 cake mix makes about 2 dozen balls, using a Tablespoon size cookie scoop. You can easily double the recipe if you’d like to make more cake pops.
How to dry cake pops:
Find a way to keep the cake pops upright and separated after dipping. You can poke them into a styrofoam block, a cardboard box, an egg carton, or stand them up in a juice glass. For this cake pop display, I’ve used concentric styrofoam circles glued together and decorated with strips of scrap booking paper.
How to store cake pops:
Once dry, cake pops can be stored in an airtight container laying down. They shouldn’t stick together, and will keep for up to 3 days.
Making cake pops ahead of time:
The cake can be made a day in advance and stored in an airtight container. The balls can also be rolled in advance and frozen until ready to use.
Join Our Community
Sign up for the NeighborFood email community to get recipes in your inbox ad free and access exclusive content from us! You can also follow us on Instagram and Pinterest. Made our recipe? Leave us a star rating or comment below!
Baby Blue Cake Pops
Ingredients
- 1 box white cake mix (plus whatever eggs and oil are required)
- 1/4 – 1/3 container vanilla frosting (from a 16oz container)
- 24 cake pop sticks
- 24 ounces white candy melts or chocolate chips
- 1/2 teaspoon coconut or vegetable oil
- Navy Blue Oil Food Coloring
Instructions
- Mix the cake ingredients and bake according to package instructions. Want brighter cake? Add food coloring to the batter. For this cake, I added about a 1/4 teaspoon of blue gel food coloring to the cake batter.
- Allow the cake to cool, then crumble into a very large bowl – feel free to use your fingers if you’re the messy type, I prefer a wooden spoon.
- Add spoonfuls of icing to the crumbs and mix. Don’t go too nuts here – if it’s too squishy it will fall off the sticks. A regular box mix doesn’t usually need even 1/3 of a container of frosting. Cakes that are naturally more moist need even less. The only way to know it’s ready is to roll a tight ball. If it is crumbly, add another small spoonful of frosting again and stir.
- Roll into balls tightly with your hands. For special occasions, you can also shape the balls into different shapes (footballs, squares, eggs, etc).
- Place on a cookie sheet and freeze for at least 2 hours. This is especially important if you’re putting them on sticks later.
- Melt the chocolate chips along with the oil in the microwave (stir every 45 seconds) or in a double boiler. Add a few drops of the oil food coloring until you get the color you’d like.
- Push the stick into the frozen ball no more than half way then dip into the chocolate, twirling to coat. Use a toothpick to clean up any drips.
- Place the cake pop sticks in a styrofoam block, egg carton, or cardboard box so they stand up straight to dry.
- To decorate, you can sprinkle with coarse sugar while they’re still wet, or let them dry then drizzle with additional melted white chocolate.
Notes
- The cake can be made up to 1 day ahead, covered, and stored at room temperature. The balls can be rolled and frozen for up to 6 weeks.
Nutrition
Did you make this recipe?
Leave a review, Mention @NeighborFoodie, or tag #neighborfoodies!

Leave a Reply