
If you’re looking for a quick and irresistible dessert that will please a crowd, Chocolate Covered Rice Krispie Treats are the answer. These rice krispie treats are ooey gooey perfection, with marshmallow pockets, crispy cereal, and a decadent chocolate topping. Plus, my secret ingredient ensures they stay soft and chewy for days!

Table of Contents
Why You’ll Love This Chocolate Covered Rice Krispie Treats Recipe
What’s not to love about a cereal treat? They’re quick, easy, and endlessly versatile—a win for both kids and adults. From school bake sales to cozy family nights, these chocolate covered rice krispies treats bring the perfect balance of soft, gooey marshmallow, crispy cereal, and a shiny chocolate topping. These chewy treats are just as fun to make as they are to eat and can be customized with sprinkles, coconut, or candies for any occasion.
While I’ve shared our Fruity Pebble treats and Lucky Charms cereal treats, I’m embarrassed to say we’ve never shared our favorite recipe for this classic rice krispie treat.
After experimenting with countless recipes, I’m convinced this version is the best. A few simple ingredients, like a splash of vanilla, a pinch of salt, and a secret ingredient (sweetened condensed milk!) make these treats soft and flavorful without being overly sweet.
Whether you’re whipping them up for birthday parties or a last-minute dessert, these rice cereal bars are guaranteed to steal the show.
Ingredient Notes
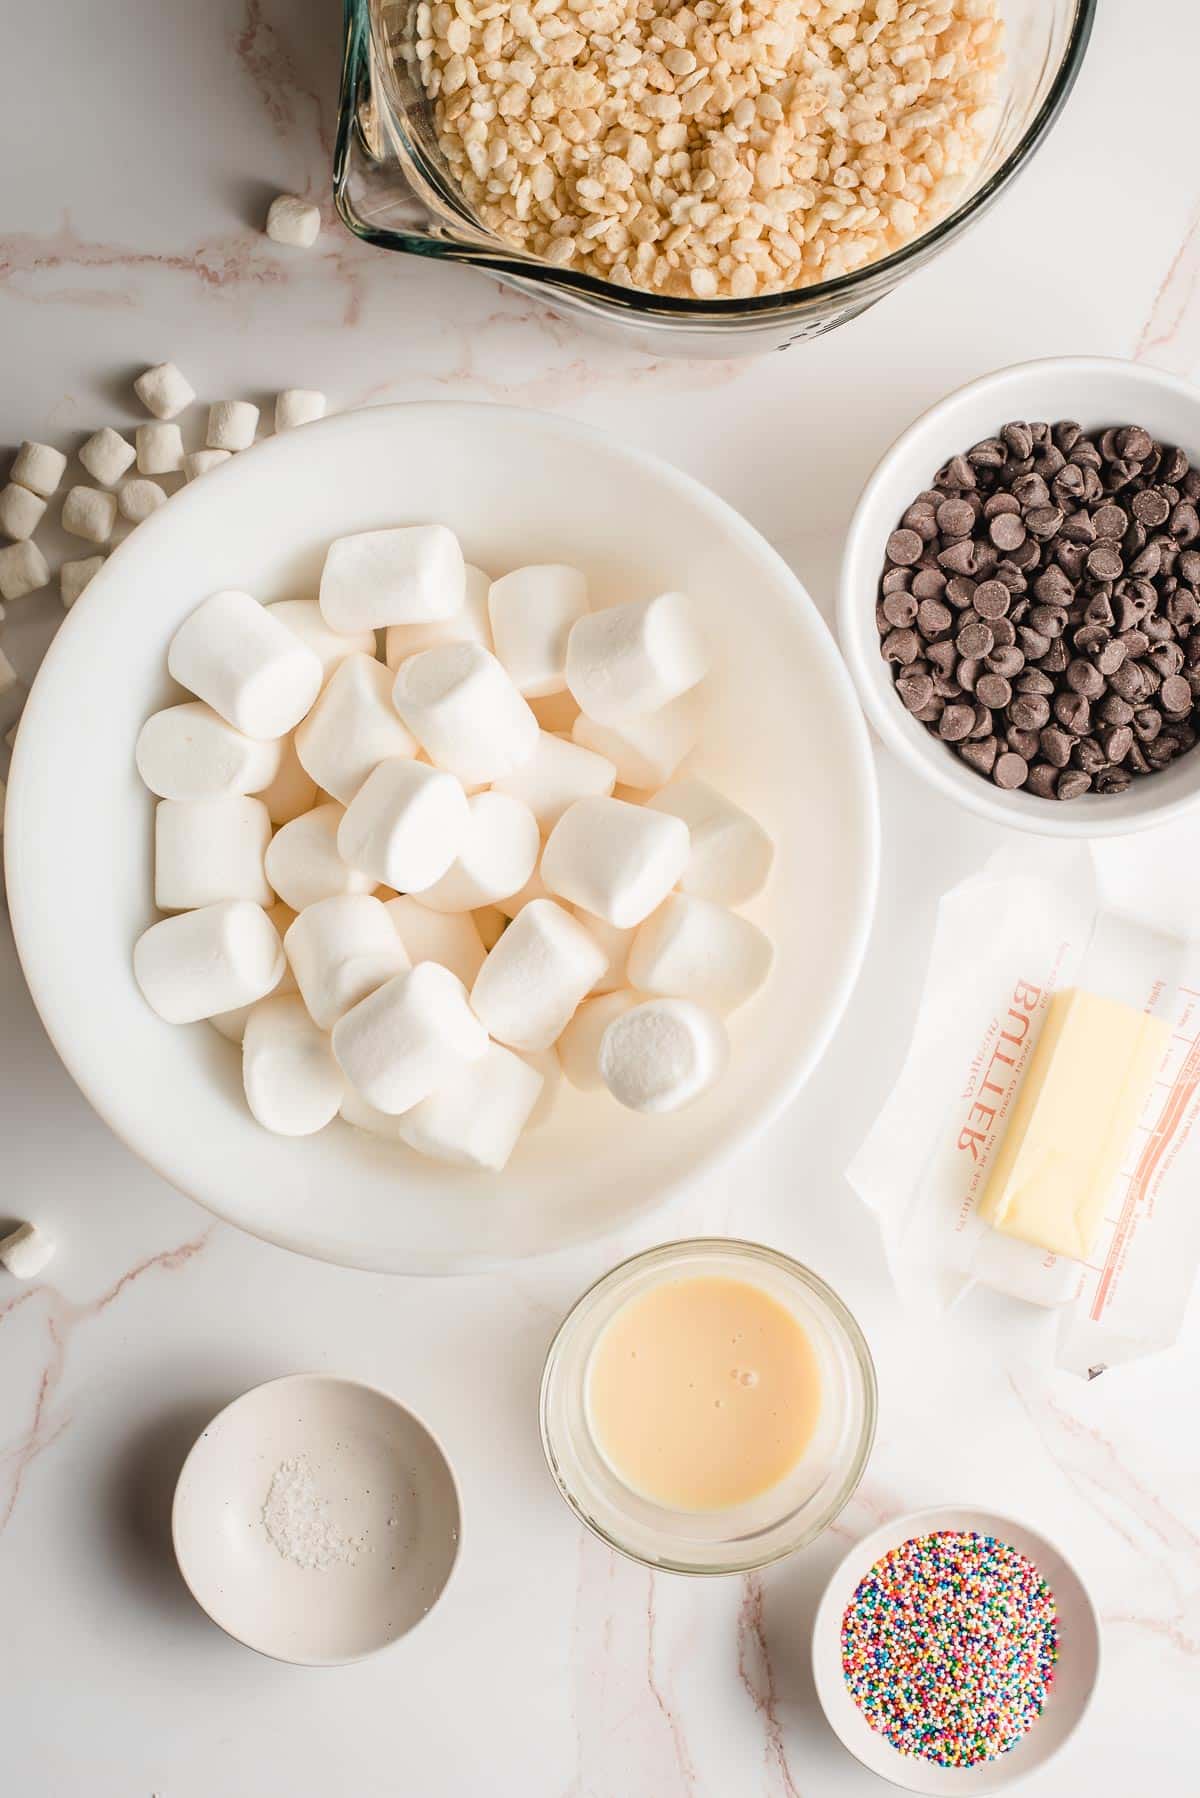
- Butter: Of course. A necessity. We usually use unsalted butter, but you can also use salted butter and omit the pinch of salt.
- Sweetened Condensed Milk: THE SECRET INGREDIENT! My secret to soft, gooey bars. Adding just a bit of sweetened condensed milk to your treats will keep them soft for days. Plus, it gives them that wonderful milk-left-at-the-bottom-of-the-cereal-bowl taste.
- Marshmallows: Regular or mini work, but I love adding extra mini marshmallows for gooey pockets. Make sure they are fresh which will help ensure your treats are soft.
- Vanilla Extract: Just a splash enhances the flavor.
- Sea Salt: A little bit of salt balances the sweetness perfectly.
- Rice Krispies Cereal: The crispy rice base for this treat. Be sure to choose certified gluten free rice krispie cereal if you need them to be gluten free.
- Semi-Sweet Chocolate Chips: Melted for that luscious topping. Milk chocolate or dark chocolate will work here as well.
- Coconut Oil: Helps the chocolate set with a glossy finish.
- Sprinkles or Toppings: Add flair with colorful sprinkles, chopped nuts, or shredded coconut.
For exact ingredient amounts and instructions, see the printable recipe card below.
Step-by-Step Instructions
Step 1: Grease a 9×9 or 9×13 inch baking pan with cooking spray or butter. If you prefer thicker bars, opt for the 9×9 pan. The 9×13 pan is great to use when feeding a crowd.
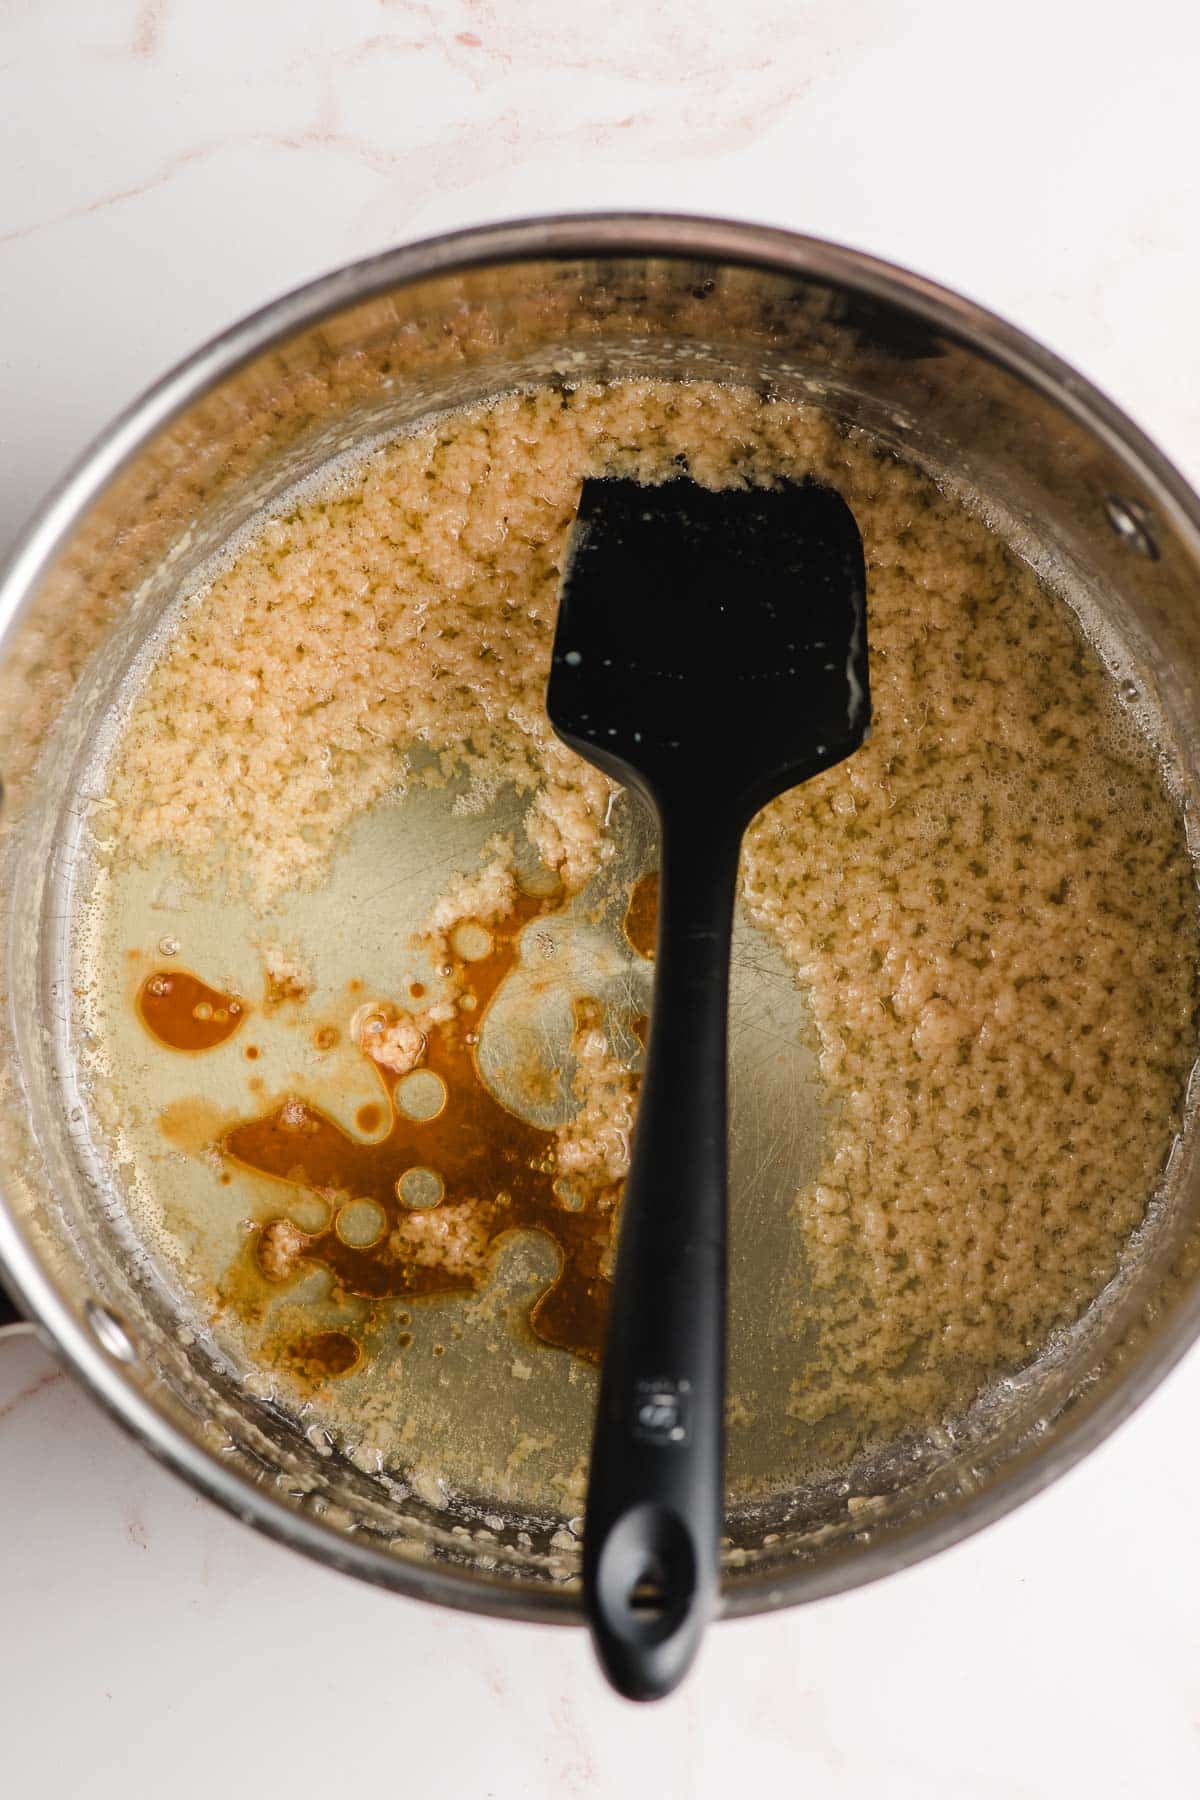
Step 2: In a large pot, melt butter over medium heat. Add sweetened condensed milk and cook until it begins to bubble (about 1 minute). Lower the heat and stir in vanilla and salt.
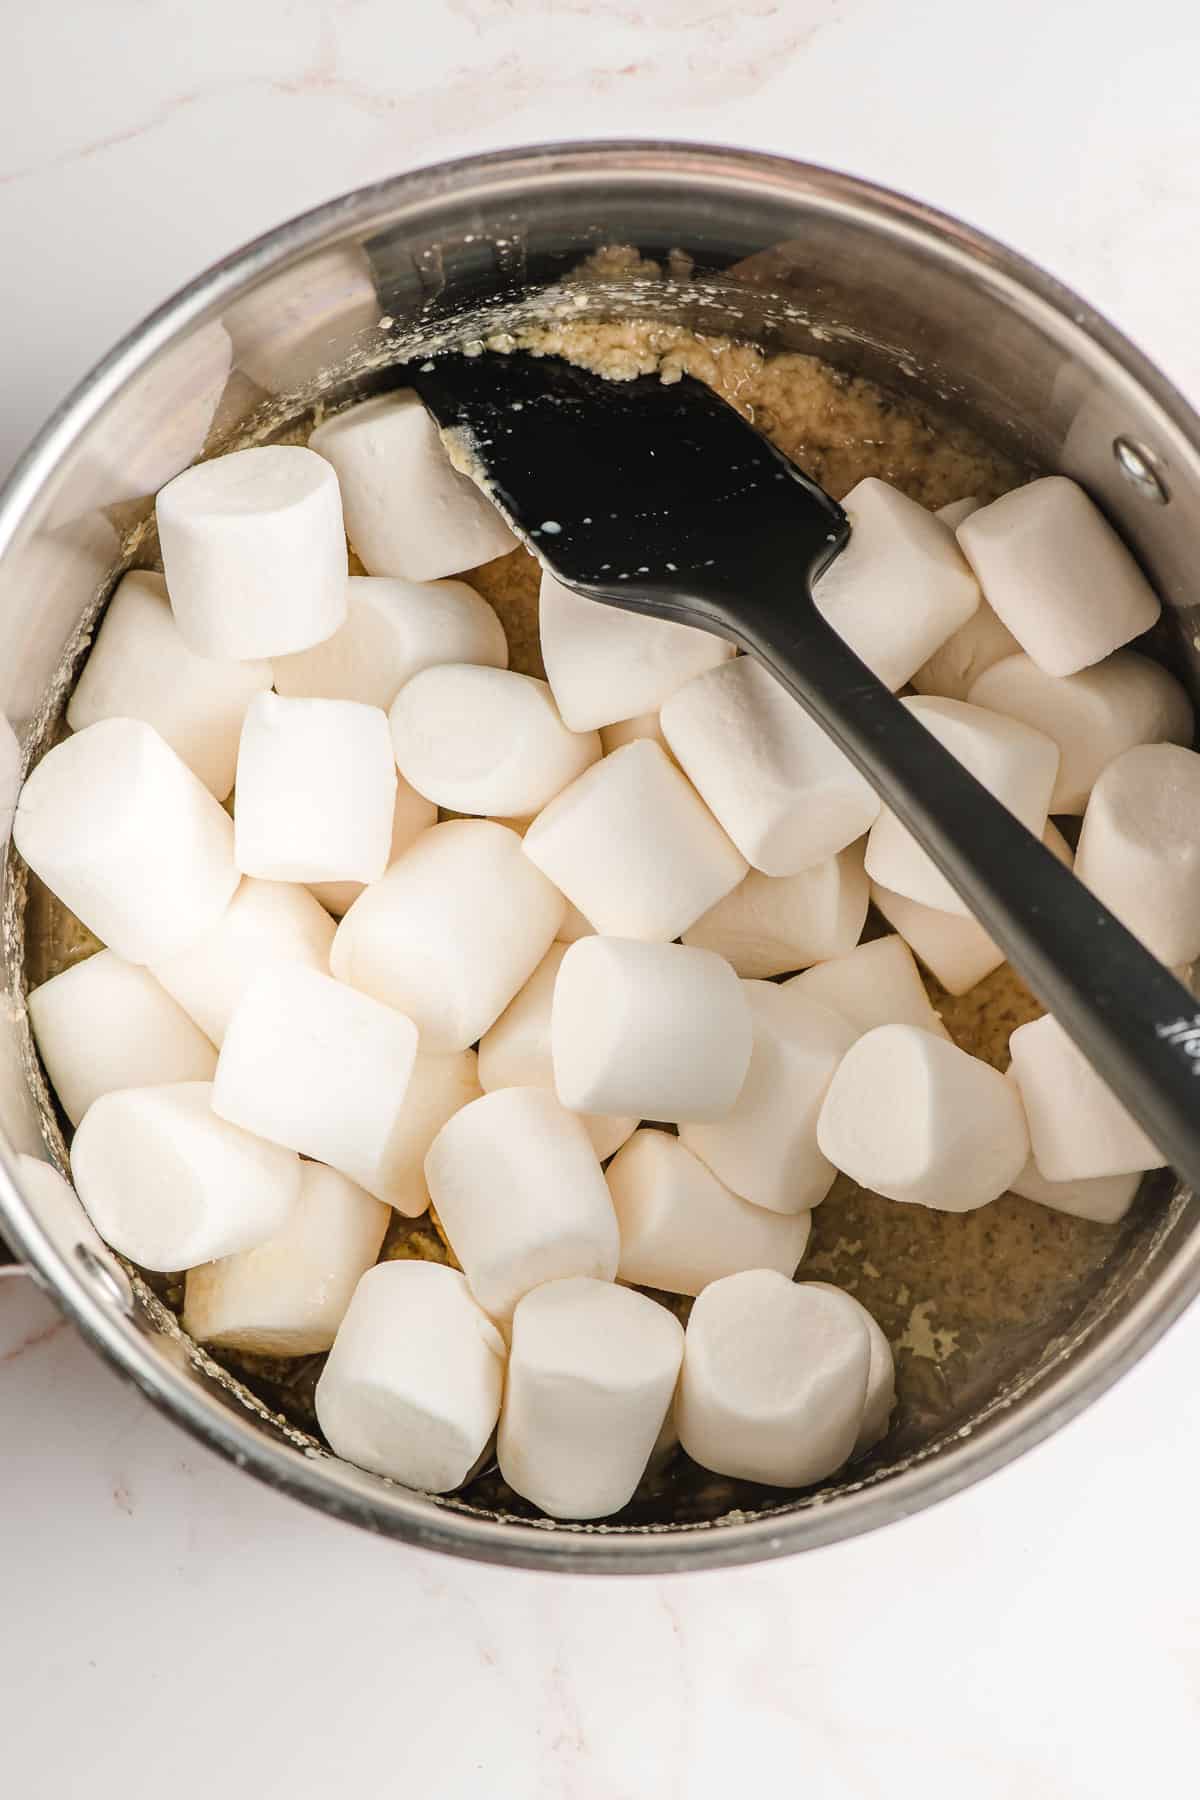
Step 3: Add 10 ounces of marshmallows to the pot. Stir frequently over low heat until smooth and melted.
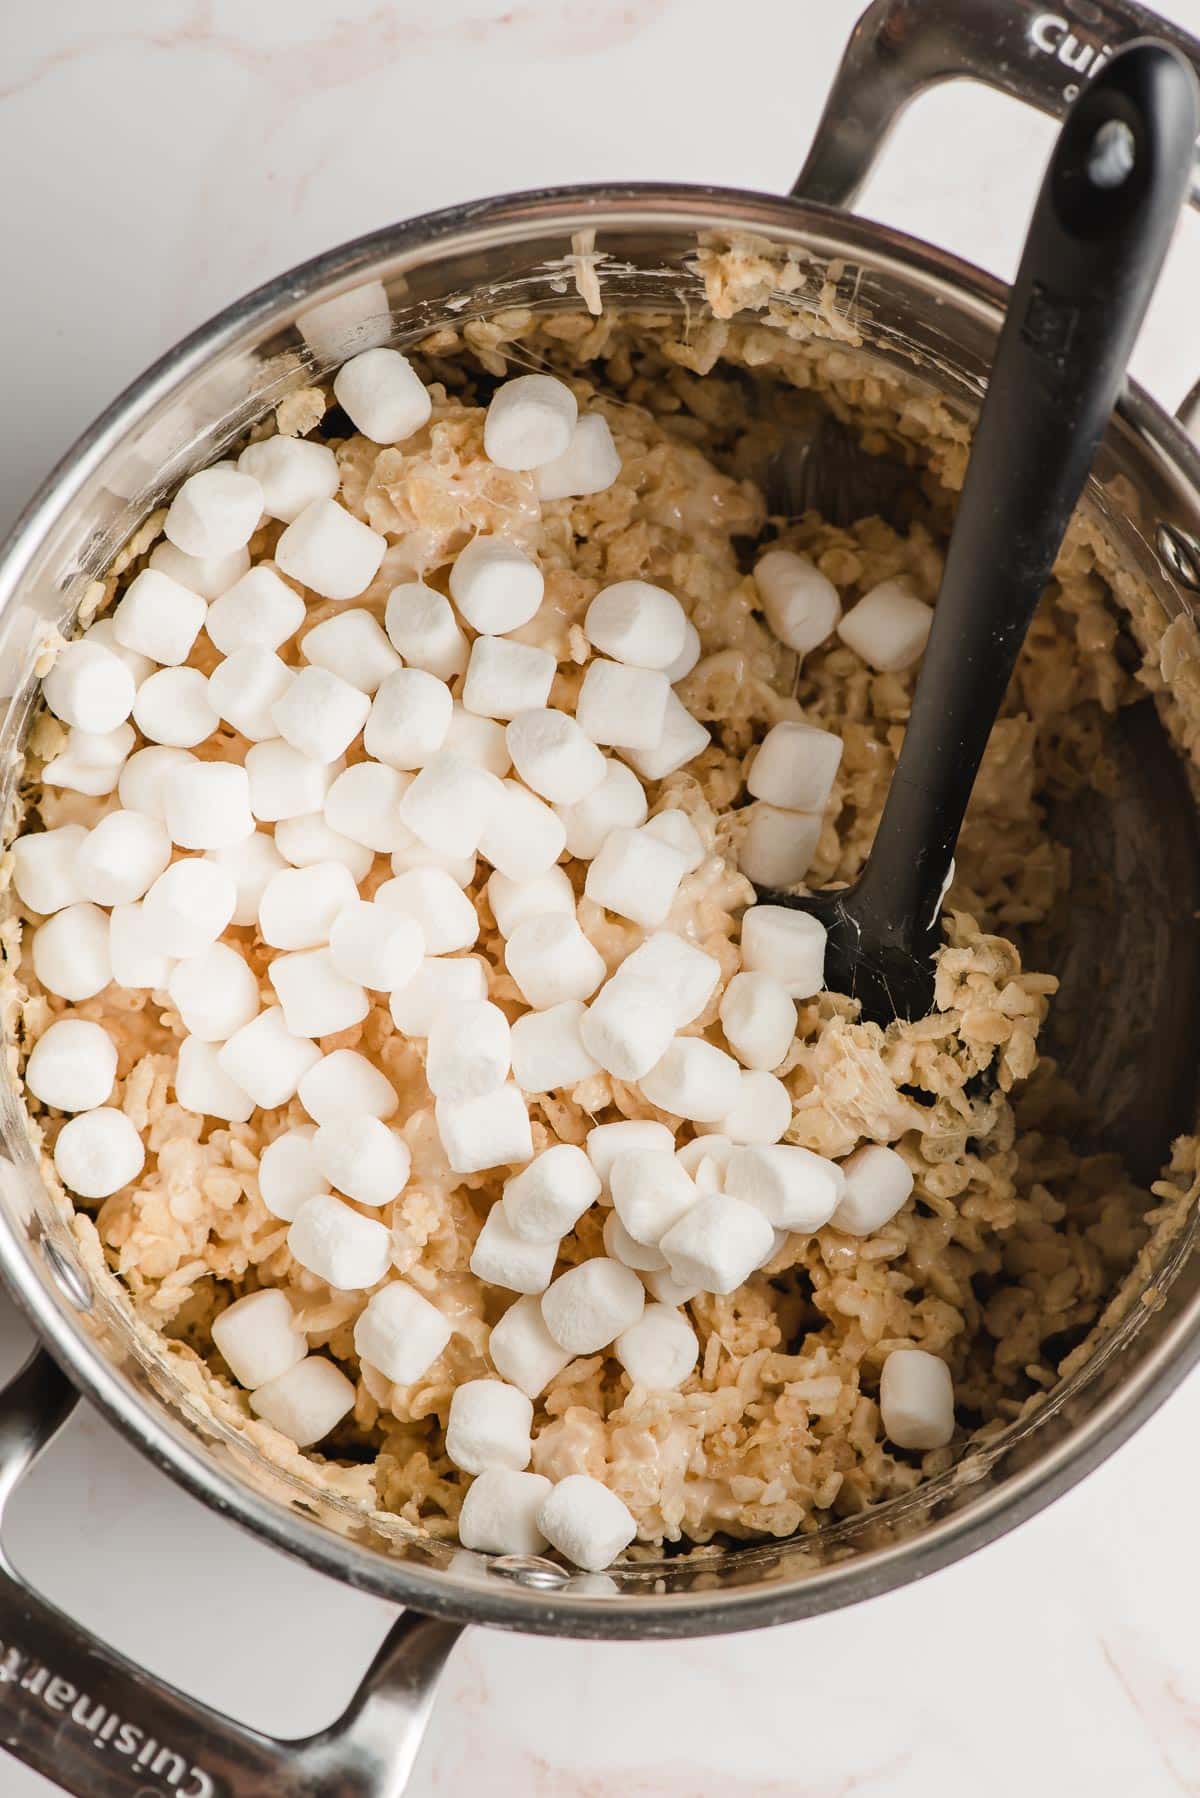
Step 4: Gently fold in the Rice Krispies cereal into the marshmallow mixture, followed by the remaining cup of mini marshmallows. Stir just until combined. Transfer the mixture to your prepared pan, and spread it out evenly without pressing down.
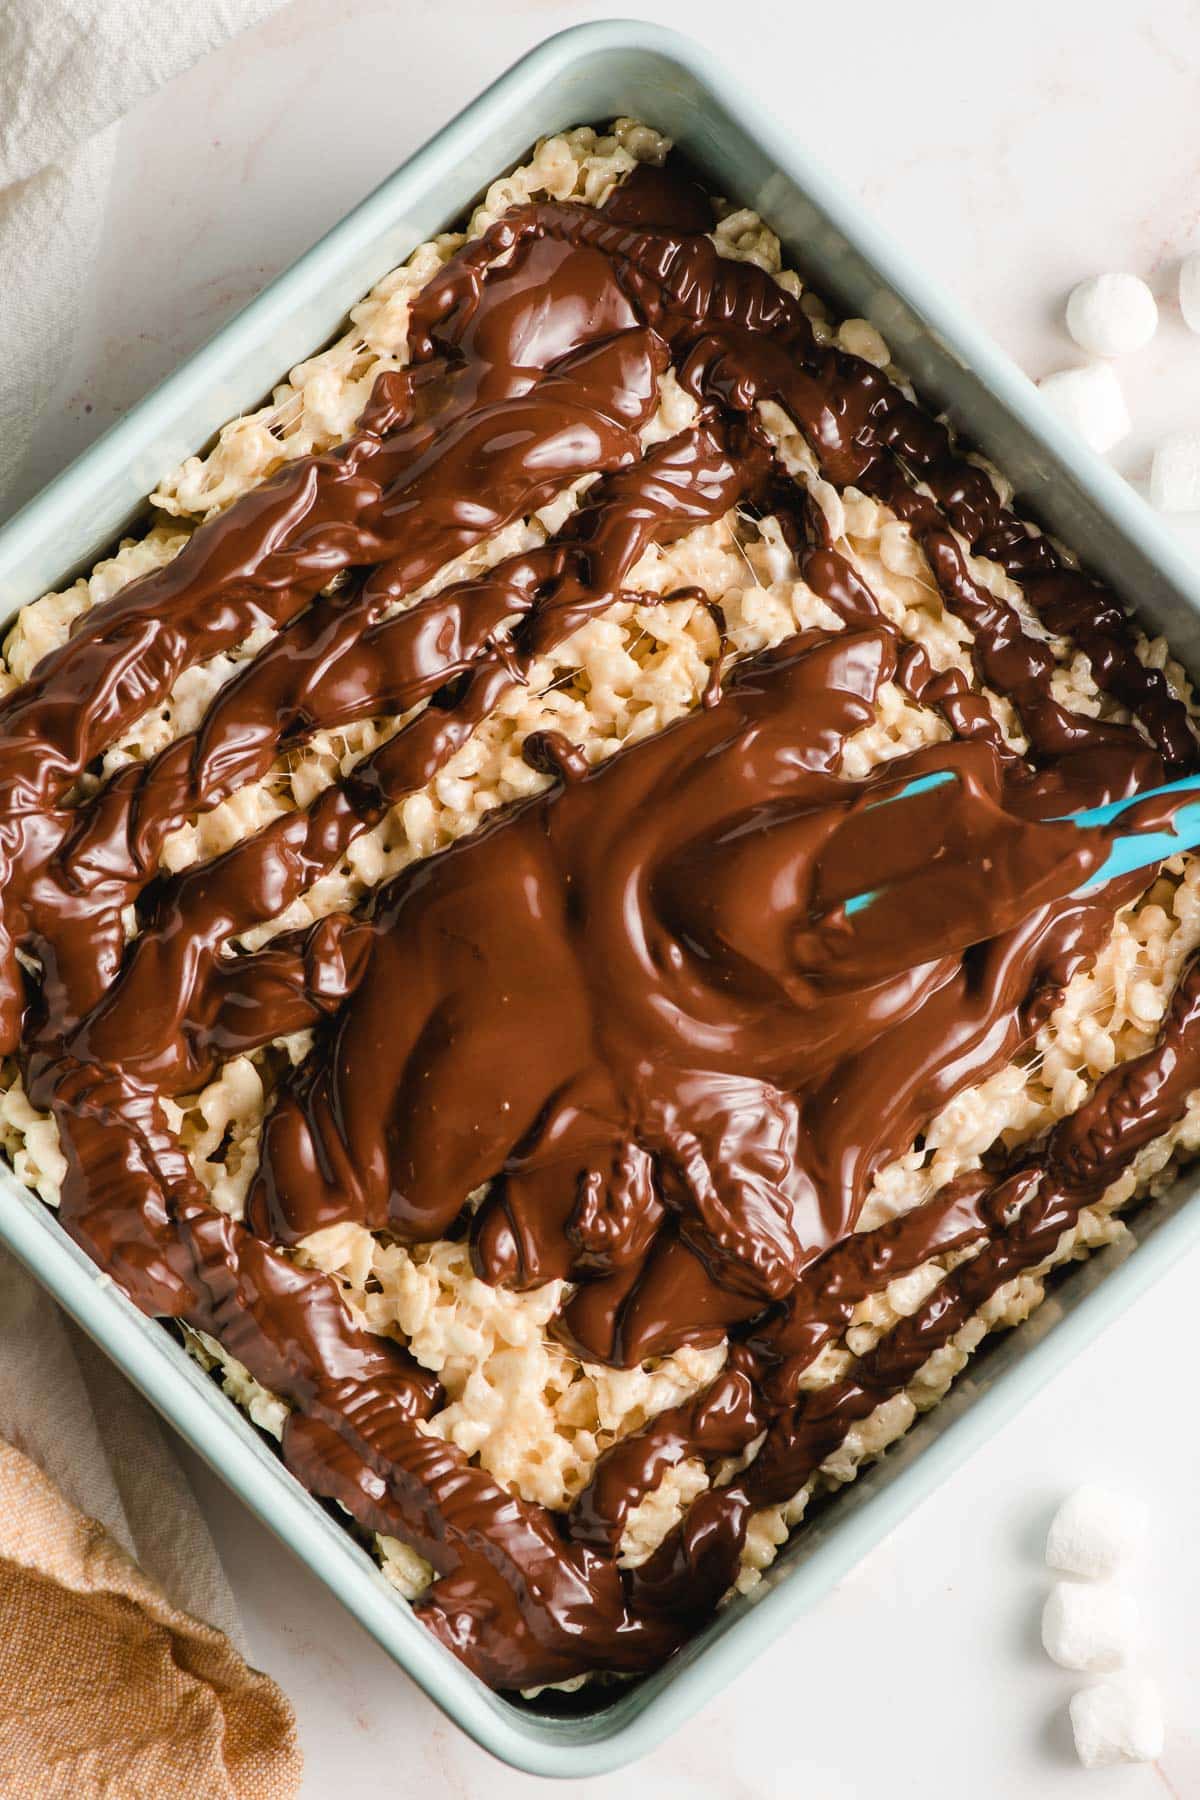
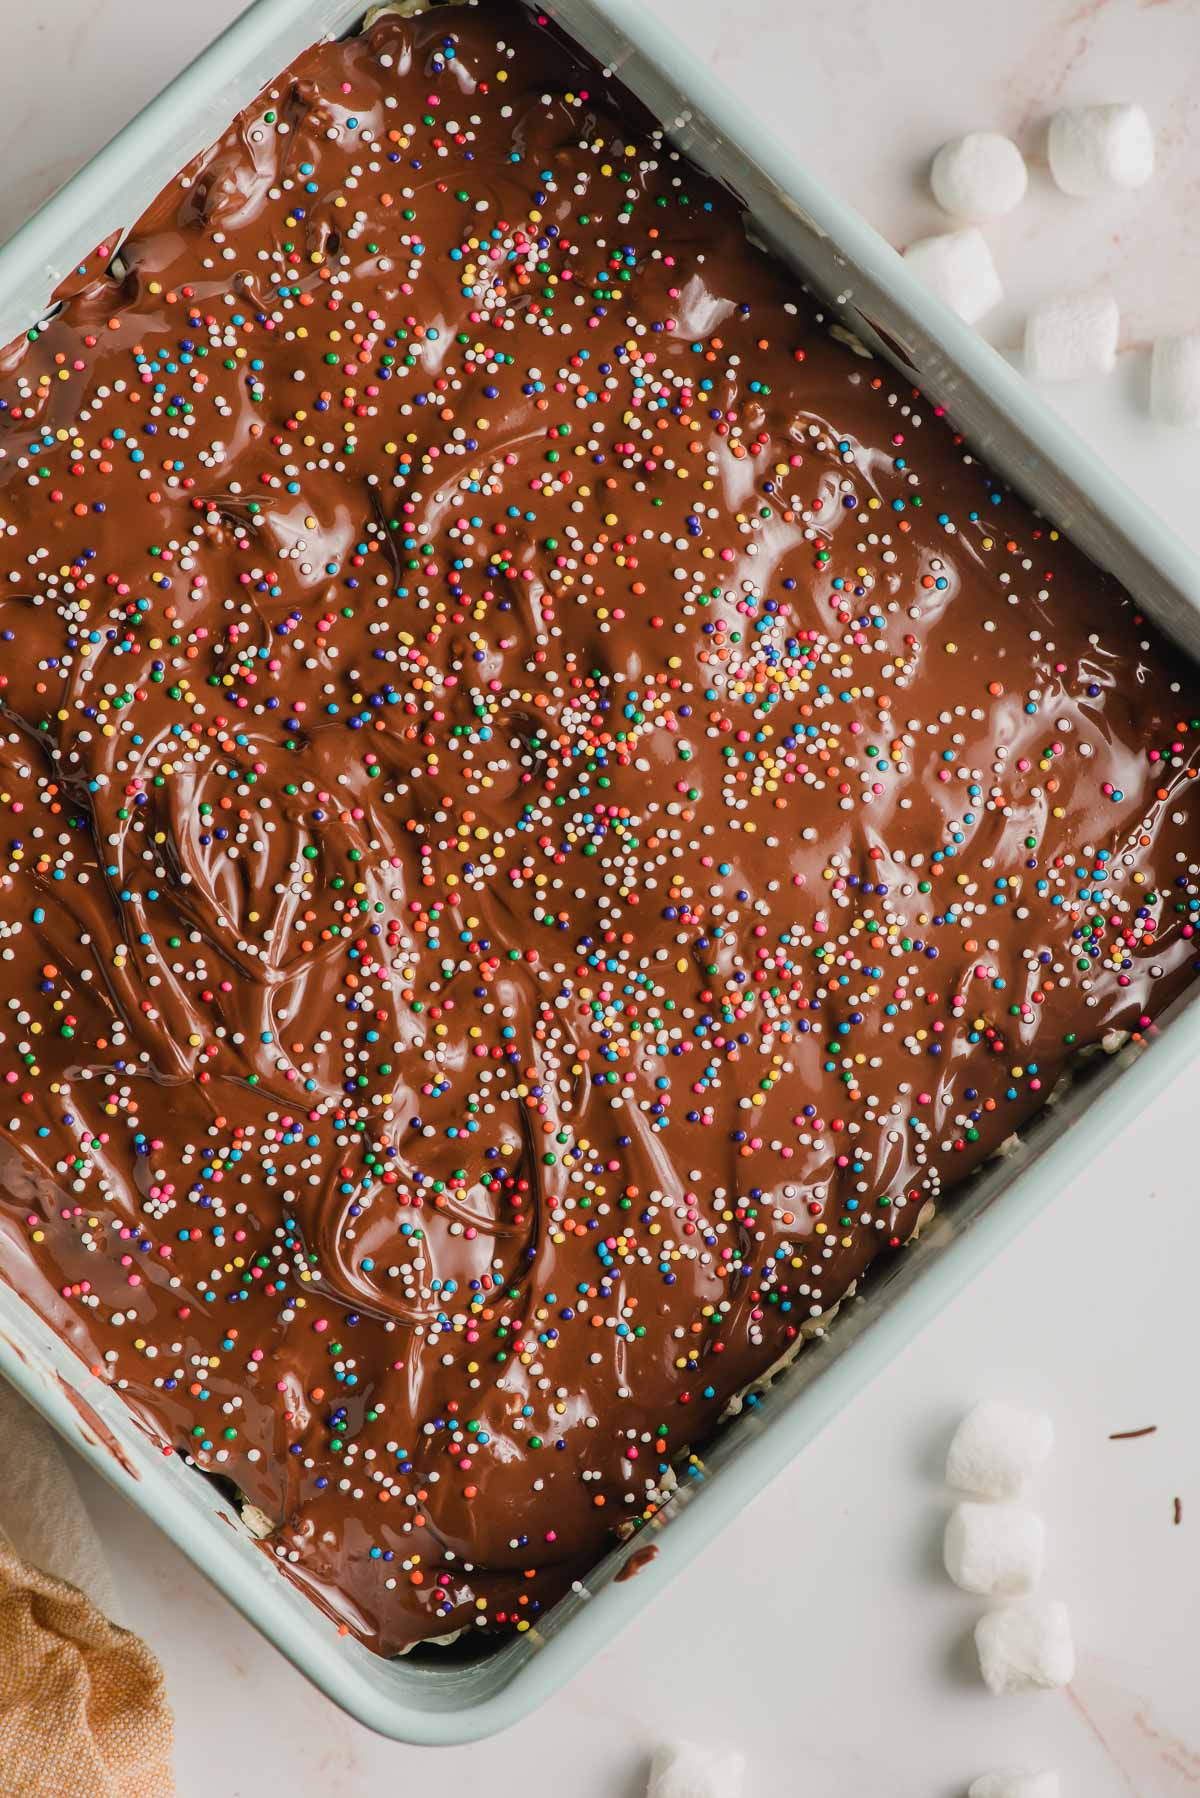
Step 5: Melt chocolate chips and coconut oil in a microwave safe bowl in the microwave, stirring every 30 seconds. You can also melt them in a double boiler. Spread the melted chocolate over the treats in an even layer. Add sprinkles or toppings before it sets.
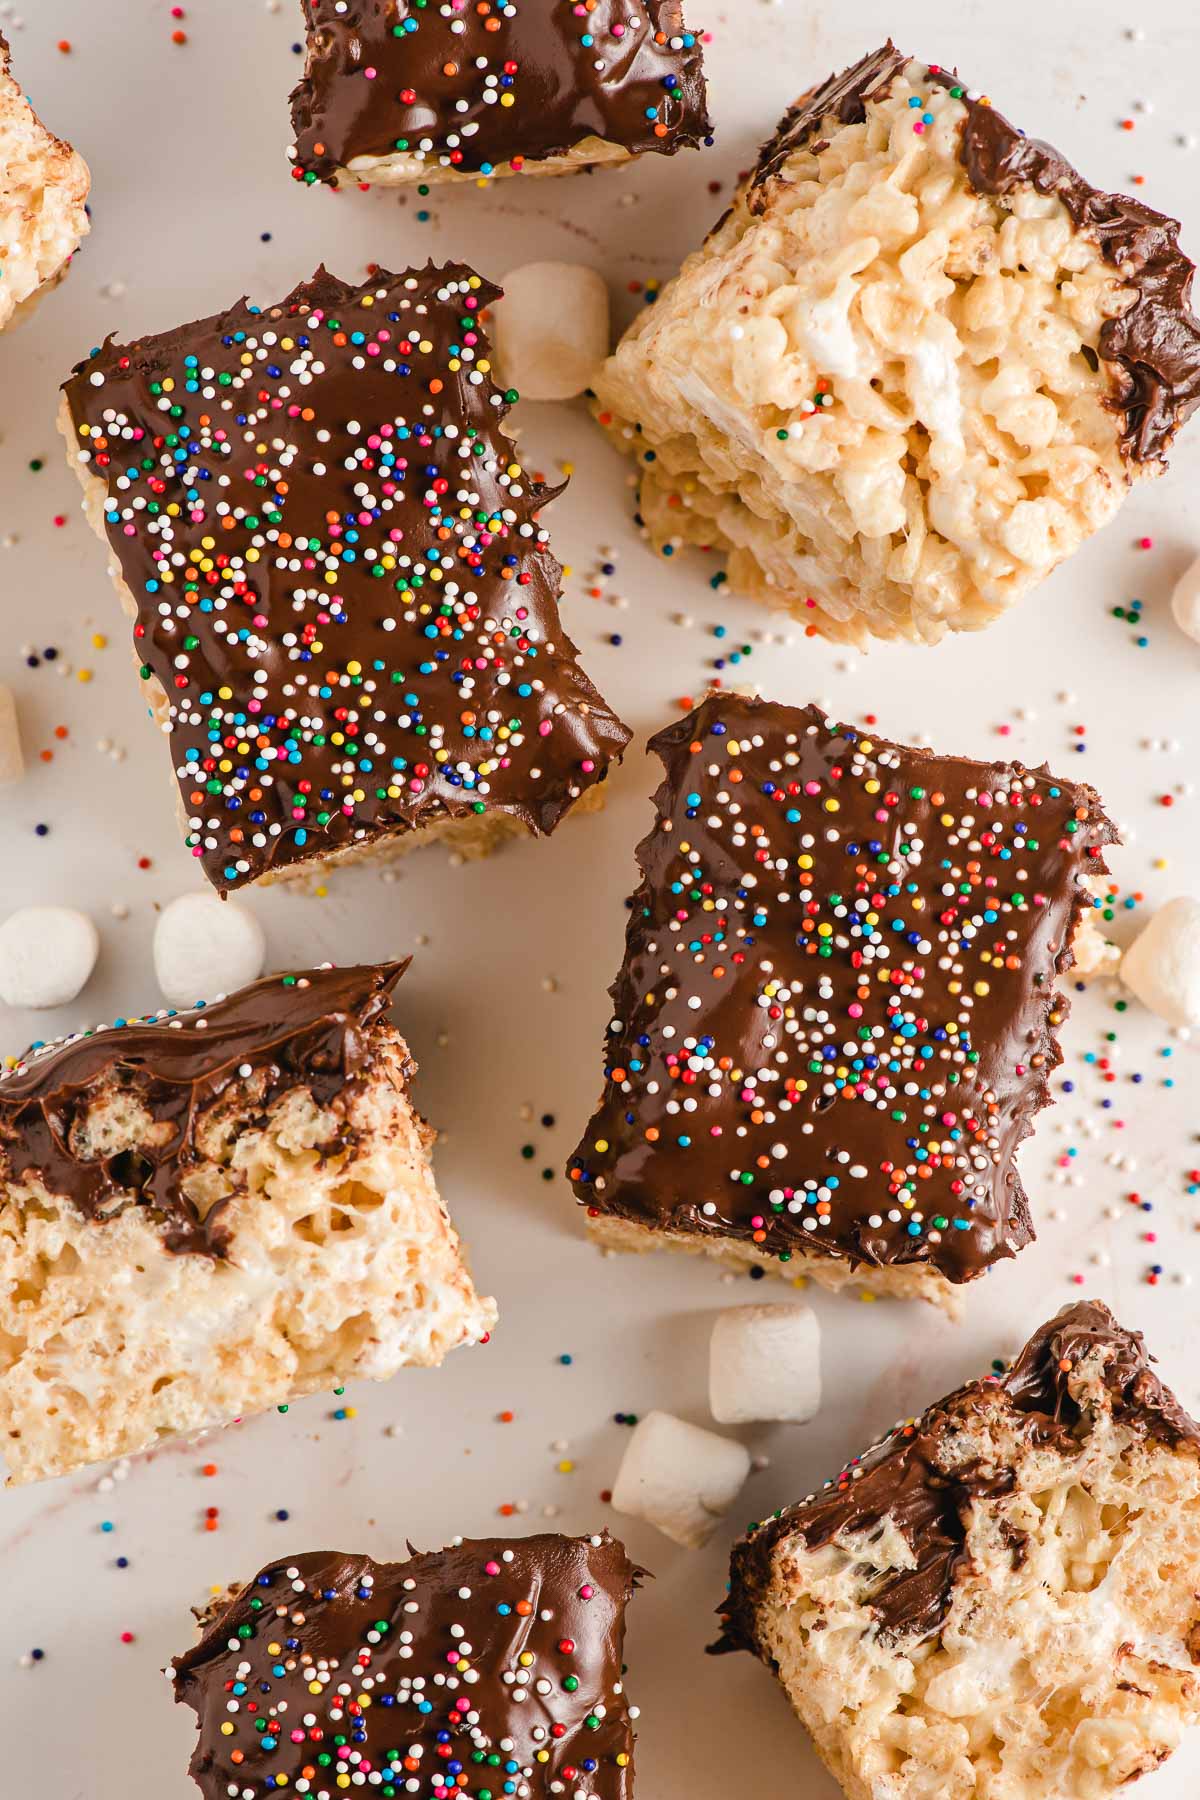
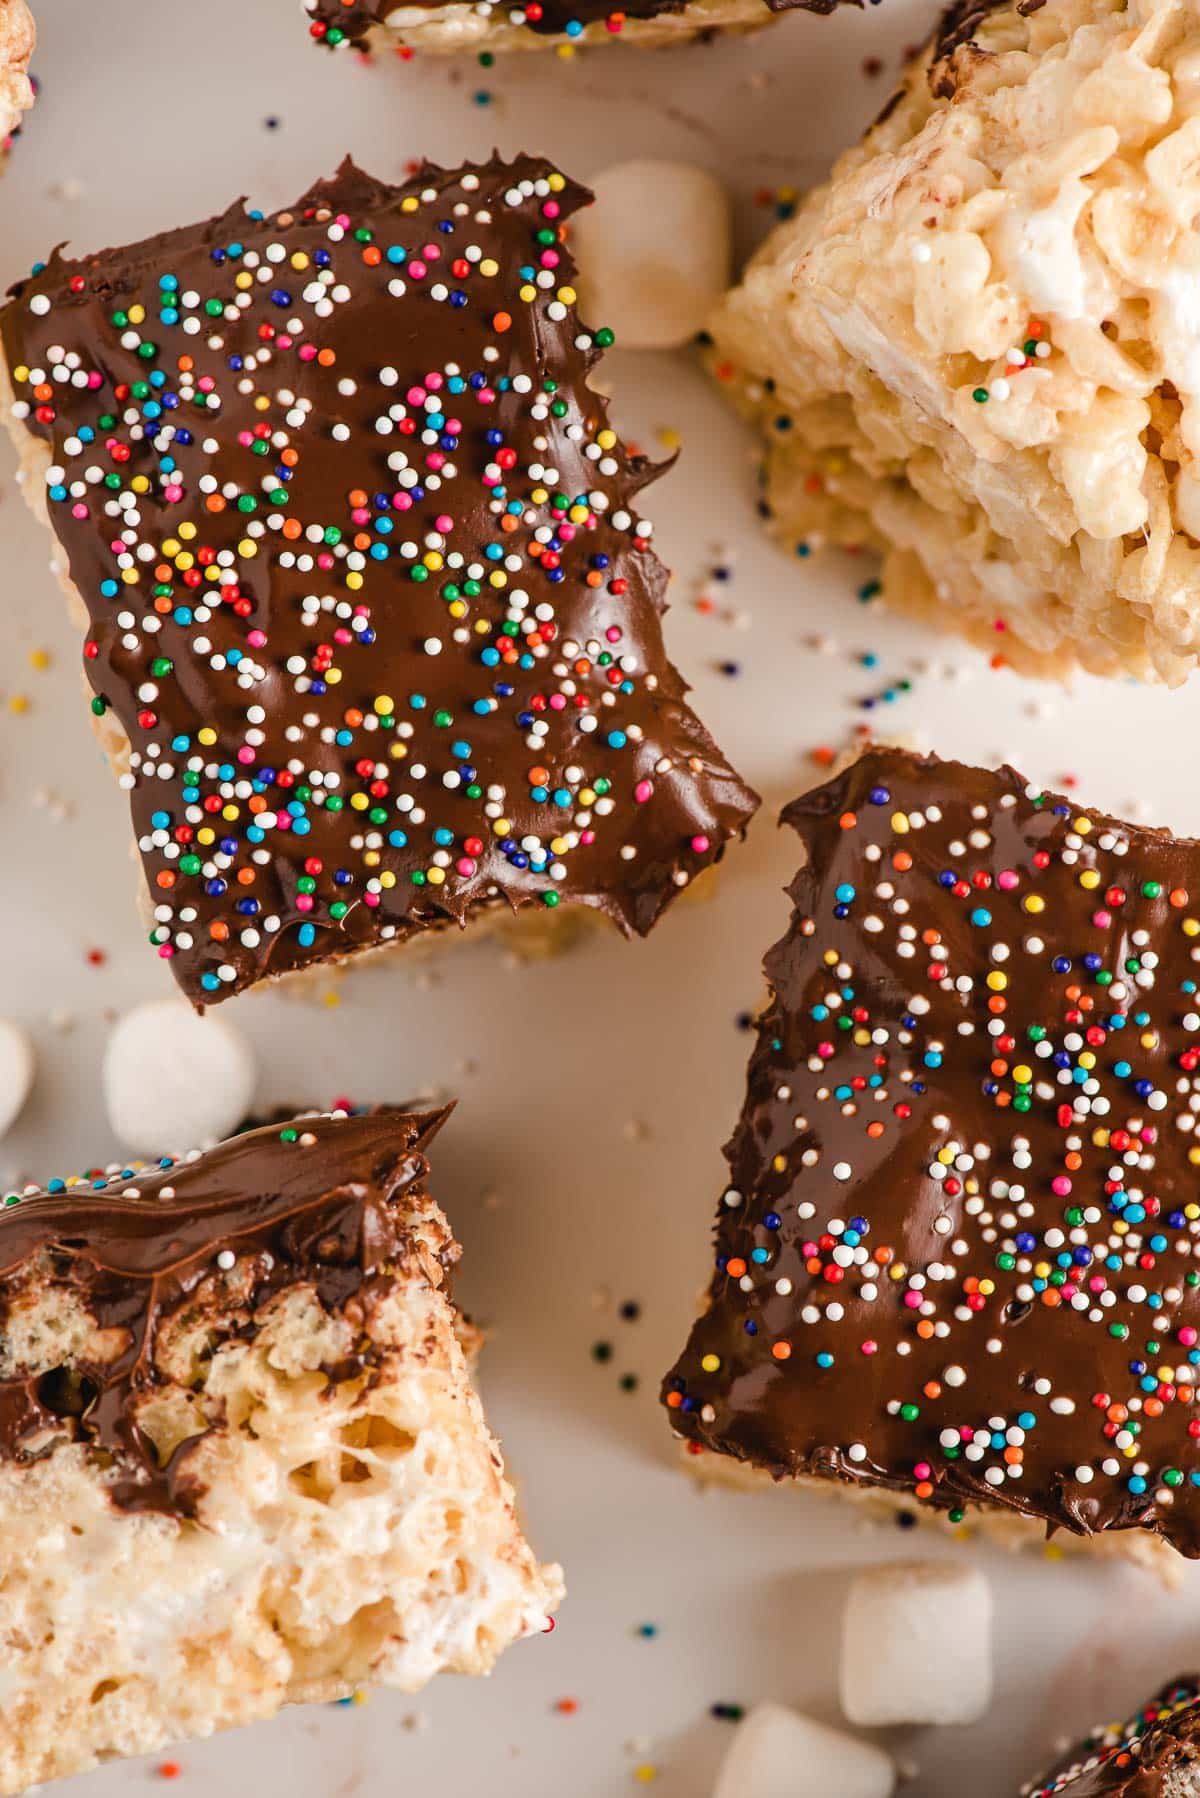
Step 6: Allow the treats to cool at room temperature for a few hours until the chocolate hardens. Then slice and enjoy!
Expert Tips
Nobody wants to crack a tooth on a hard cereal treat. Here’s how to ensure they’re soft and ooey gooey every time.
- Use sweetened condensed milk. We already talked about this above, but it’s the best thing you can do to make soft rice krispie treats.
- Melt the marshmallows over low heat and stir often, so they don’t burn or harden. As soon as the mixture is melted, remove from heat.
- When you transfer the rice krispie treats to the pan, don’t press them down. Instead, gently spread them out evenly. Think spread, not squish.
- Use cooking spray on your hands to keep the treats from sticking to you.
- Line your pan with parchment paper for easy cleanup, if desired!
Serving Tips
These are perfect for birthday parties or any festive gathering. For an extra treat, serve them with a drizzle of caramel, alongside a bowl of chocolate dip. Insert a popsicle stick to turn them into fun and portable Rice Krispie pops!
Have fun experimenting with different toppings and add-ins. Try:
- Any kind of colorful sprinkle or jimmy works well. You could even get themed sprinkles for different holidays. I love these Christmas jimmies and snowflakes.
- Shredded coconut
- Chopped nuts
- Mini M & Ms
- A drizzle of melted white chocolate or peanut butter
- Freeze-dried strawberries
- Use Cocoa Krispies for a chocolaty twist that chocolate lovers will adore!
Storage and Make Ahead Tips
- Storage: Keep the bars in an airtight container at room temperature or wrapped in saran wrap. Avoid refrigerating, as it can make the chocolate layer dull and the treats harder.
- Cutting Tip: Technically, the rice krispie treats shouldn’t be cut until the chocolate has fully hardened, which takes a few hours. As you can see, I got impatient and cut into them a little early. The chocolate was a little melty and extra creamy, so no regrets.
- Make-Ahead: Once the chocolate has set, the bars can be cut and stored in an airtight container or wrapped in saran wrap. Because of the sweetened condensed milk, they’ll stay soft for several days. I’ve even had one up to five days later, and it’s still wonderful!
Recipe FAQs
Yep! Dark chocolate adds a rich flavor and pairs beautifully with the sweet marshmallows.
The key is using fresh marshmallows, low heat for melting, and not pressing the mixture too firmly into the pan.
Yes! These treats stay fresh for up to 5 days when stored in an airtight container at room temperature.
Absolutely. If you’d rather have dipped krispies instead of chocolate covered rice krispie treats, follow the instructions on my Frankenstein Rice Krispie Treats.
While you can freeze these treats, it’s not ideal. Freezing can cause the marshmallow base to lose its gooey texture and make the chocolate layer dull or prone to cracking. If you do freeze them, wrap each bar tightly in plastic wrap and place them in an airtight container.
More Easy No Bake Desserts
- Scotcheroos– A midwestern classic that’s also made with rice krispies!
- No Bake Peanut Butter Bars– Perhaps the easiest dessert of all time, and perfect for chocolate lovers!
- Chocolate Bird’s Nest Dessert– A springtime favorite!
- Peach Delight– So creamy and delicious!
Want more easy recipes? Follow us on Instagram to keep the warm, delicious inspiration coming! We also love feedback, so if you make this recipe, leave a star rating and comment below!
Join Our Community
Sign up for the NeighborFood email community to get recipes in your inbox ad free and access exclusive content from us! You can also follow us on Instagram and Pinterest. Made our recipe? Leave us a star rating or comment below!

Chocolate Covered Rice Krispie Treats
Ingredients
- 5 Tablespoons unsalted butter
- ¼ cup sweetened condensed milk
- Splash vanilla extract
- Pinch sea salt
- 10 oz. marshmallows (regular or mini)
- 6 cups rice krispies cereal
- 1 cup mini marshmallows (optional)
- 1 ½ cups semi-sweet chocolate chips
- 2 teaspoons coconut oil
- Sprinkles, shredded coconut, or chopped nuts or candies (optional)
Instructions
- Grease a 9 x 9 or 9 x 13 inch pan with cooking spray or butter. Set aside.
- In a large pot or Dutch oven, melt the butter over medium heat. Stir in the sweetened condensed milk and cook until bubbly, about 1 minute.
- Lower the heat to low and add the splash of vanilla and salt. Add the 10 ounces of marshmallows and heat, stirring frequently, until the mixture is melted and smooth.
- Pour in the Rice Krispie treats, stirring gently until the marshmallow mixture and the cereal start to combine. Add the remaining cup of marshmallows (if using) and stir just until distributed and starting to melt.
- Transfer the mixture to the prepared pan. Spray your hands with cooking spray, then gently spread the rice krispie treat evenly over the pan. DO NOT PRESS DOWN!
- Meanwhile, melt the chocolate with the coconut oil in the microwave, stirring every 30 seconds. Once the chocolate is melted, spread it evenly over the prepeared treats. Allow it to set up for a few hours before slicing.
Notes
- Rice Krispie treats will keep well stored at room temperature in an airtight container for 3-5 days. Once the chocolate is set, individual slices can be wrapped in saran wrap.
- If you use a smaller square pan, these will make 12-16 extra thick rice krispies treats. If you use a 9 x 13 in pan, the bars will be thinner, and you can cut them in 20 slices. The bars pictured above were made in a square pan.
Equipment
Nutrition
Did you make this recipe?
Leave a review, Mention @NeighborFoodie, or tag #neighborfoodies!


Leave a Reply