
When you need tacos on the go, look no further than these Walking Tacos! All your favorite taco toppings are piled into a bag of Fritos (or Doritos, if that’s your thing!) for an easy grab and go dinner. These are perfect for summer parties, tailgating, or any meal that needs a little extra fun and nostalgia.
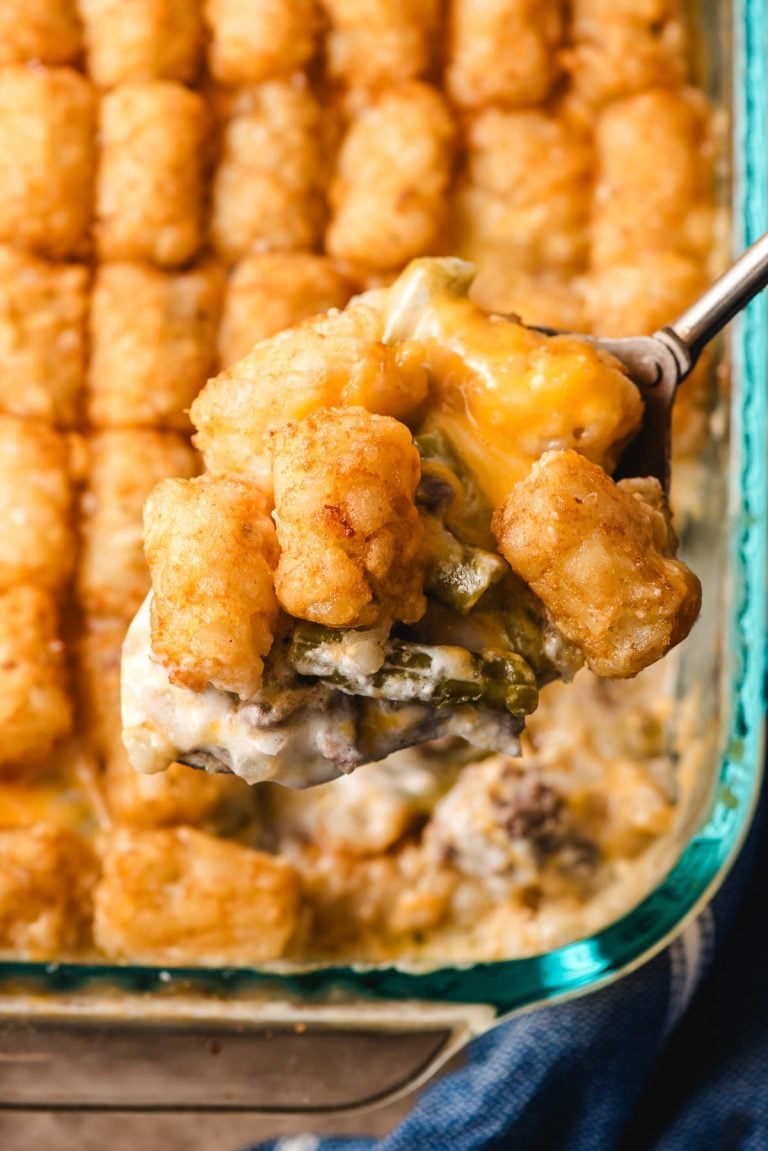
Want to make this into a casserole instead? Check out our Walking Taco Casserole.
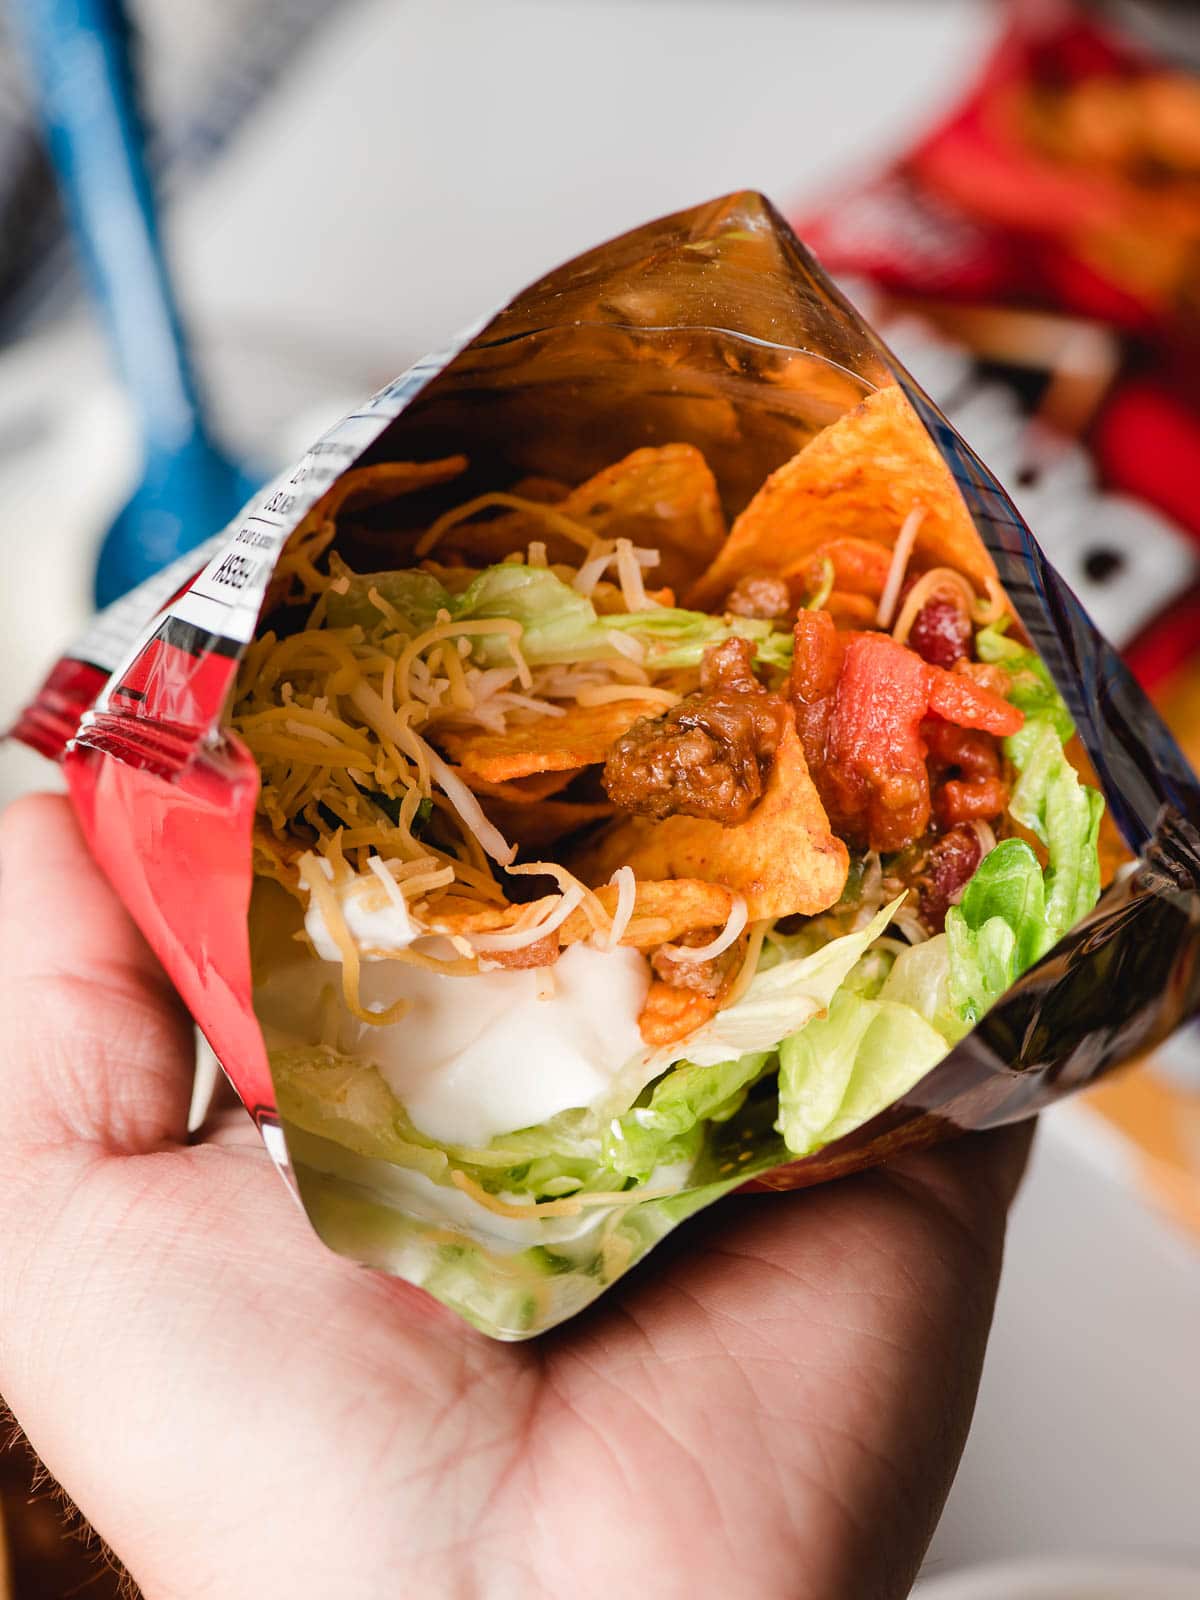
Table of Contents
A Cafeteria Classic
It’s not often that I attempt to recreate a meal made in the kitchen of my high school cafeteria. I mean, breakfast for lunch was great and all, but frozen french toast sticks just don’t inspire me the way they used to.
But Walking Tacos are different. Walking tacos are seriously tasty and seriously fun. They bring back memories of that cramped cafeteria where I learned lines for musicals, drank a disturbing amount of Fruitopia, and nonchalantly (read: obviously) waited for my crush to walk through the door.
I haven’t had a walking taco since I left high school over a decade ago. In fact, had it not been for this post, I may have forgotten about them completely. Luckily, I didn’t. And as it turns out, these are as simple to make as I always imagined them to be and even tastier than I remember.
Key Ingredients for Tacos in a Bag
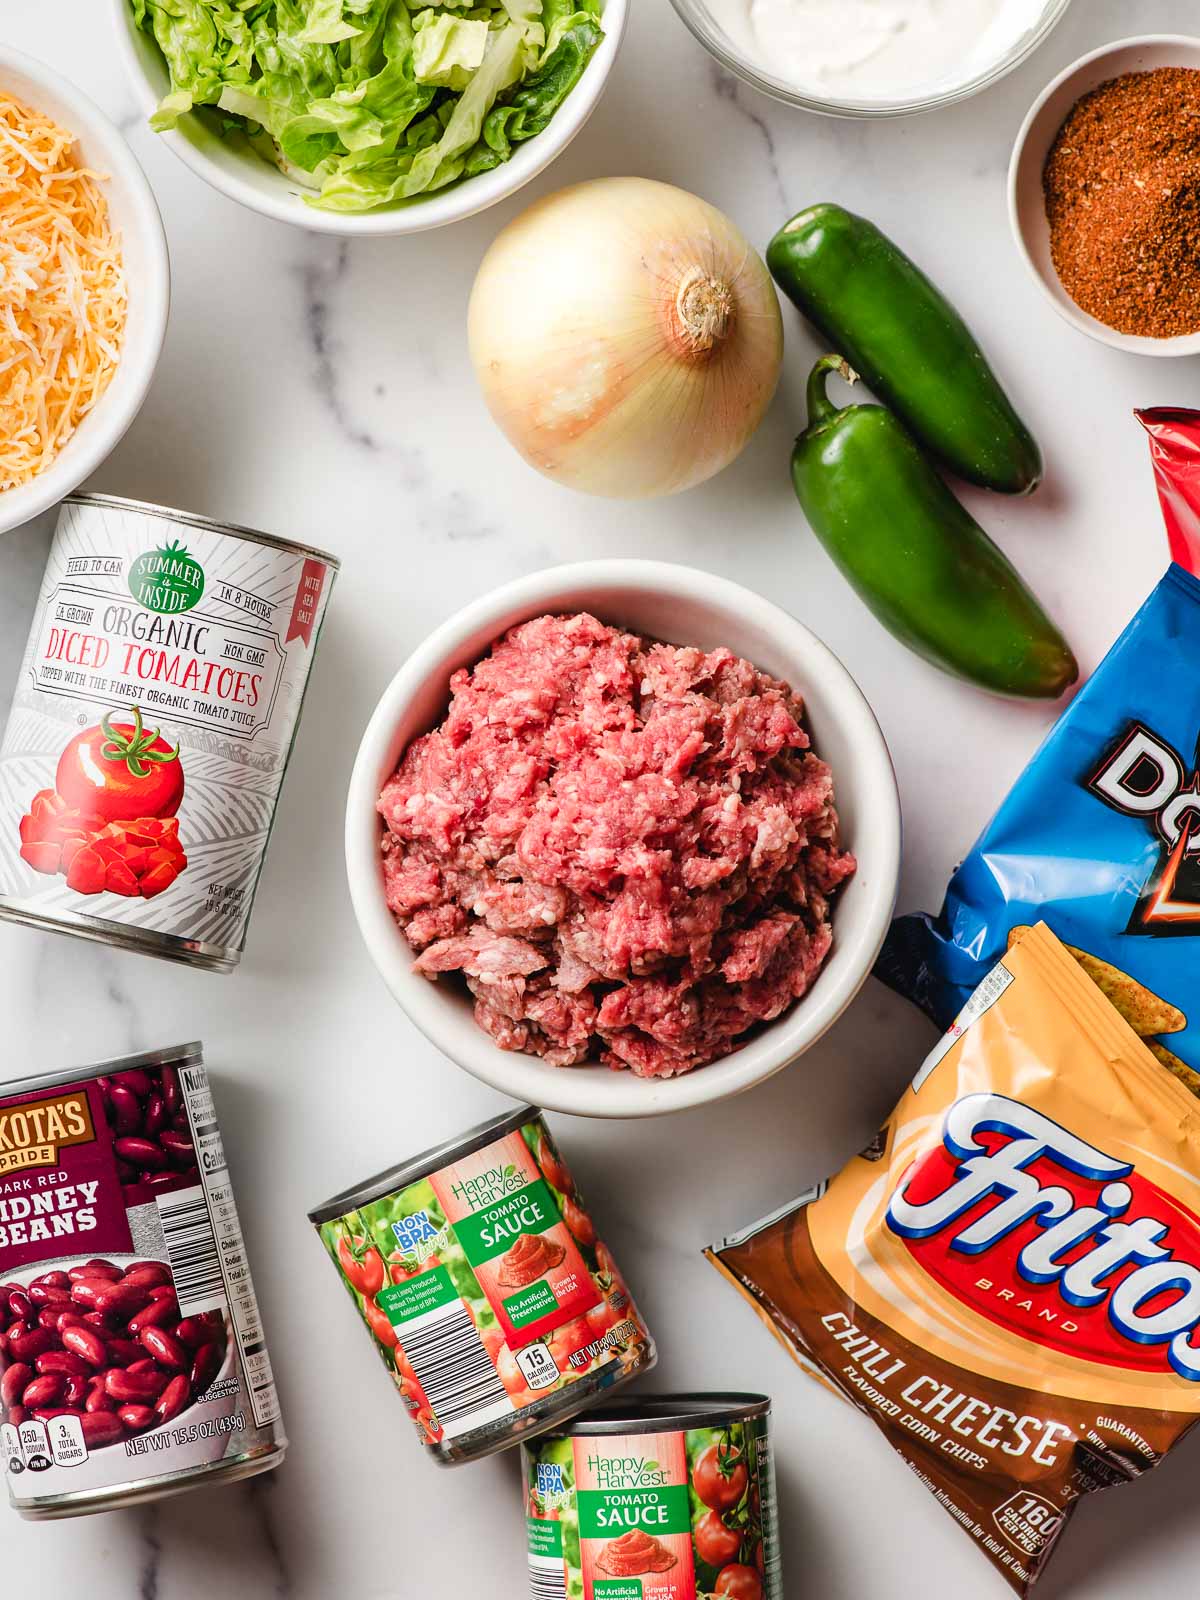
- Ground beef
- Onions
- Jalapenos- These are totally optional. If you don’t like heat, omit them.
- Taco seasoning- I prefer to use homemade taco seasoning, but store bought packet will also work fine.
- Diced canned tomatoes
- Canned tomato sauce
- Canned kidney beans
In addition to the walking taco filling, you’ll need:
- Individual sized chip bags
- Your favorite taco toppings- My 3 must are shredded cheese, sour cream, and shredded lettuce.
How To Make Walking Tacos
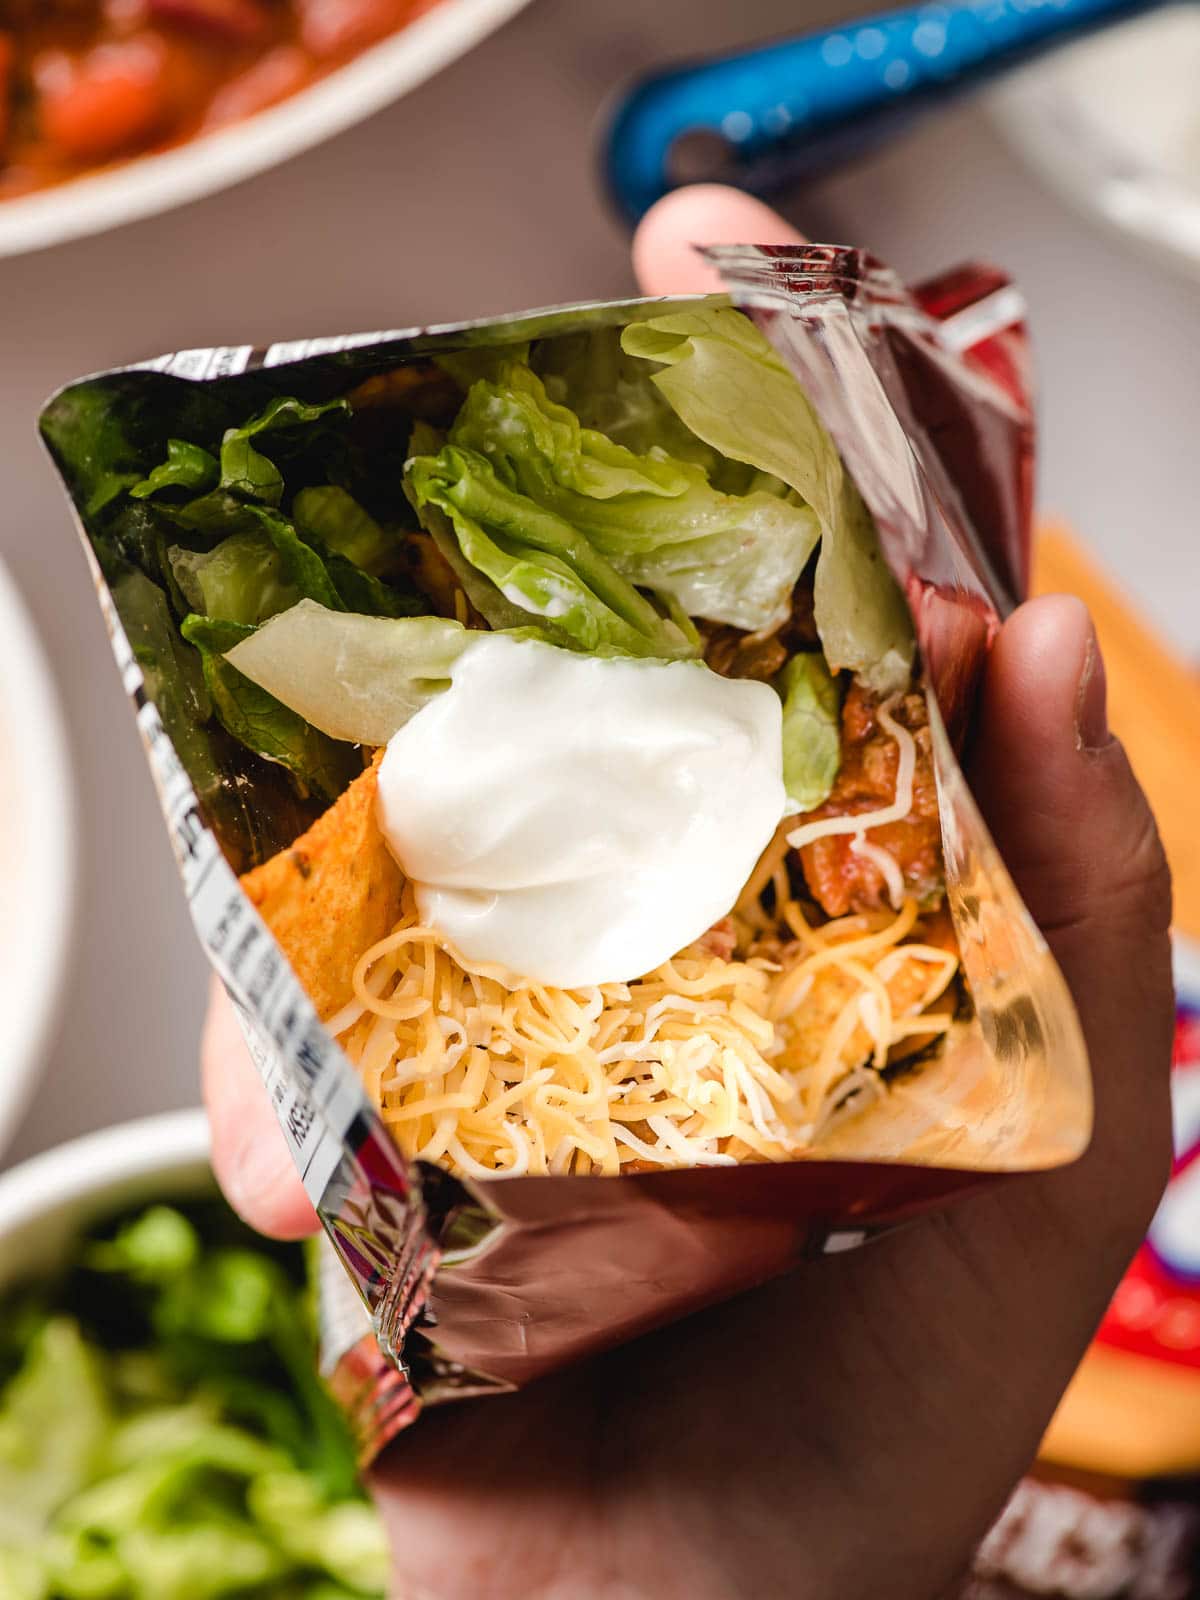
- The walking taco starts with a bag of Fritos or Doritos, which is basically the epitome of class. Totally free pro tip: roll down the bag 1/3 of the way to avoid getting meat mess all over the top!
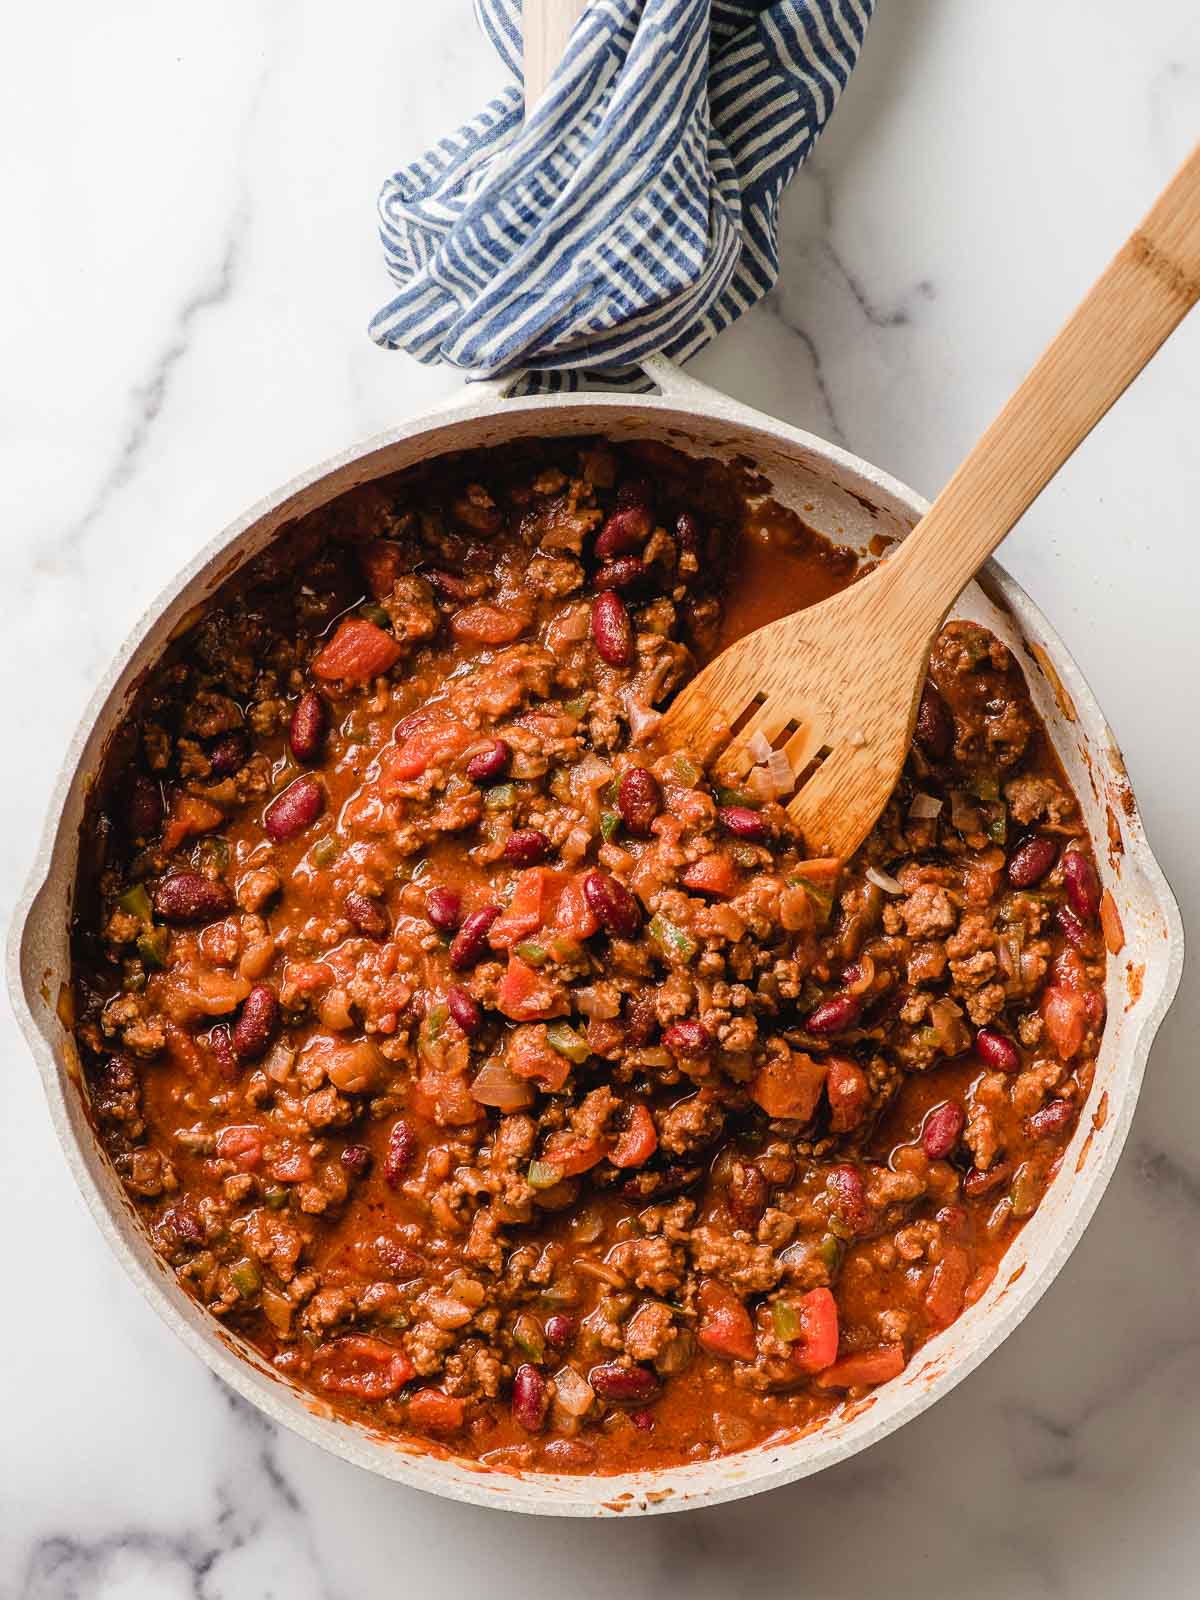
- Next layer in your meaty mixture. A note about the meat. Some recipes use plain taco meat, but the Walking Tacos of my memory had more of a chili-like feel to them. This meat mixture is definitely more in line with the latter version, with plenty of onion, pepper, beans, and tomatoes sautéed together with the meat to create a saucy filling.
- Next? Cheese. Lots and lots of shredded cheese. It’ll get nice and melty in there.
- What’s a taco without some toppings? Throw some on there!

How to Eat a Walking Taco
How to eat a walking taco comes down to personal preference, but there are a couple different ways to enjoy this moveable feast.
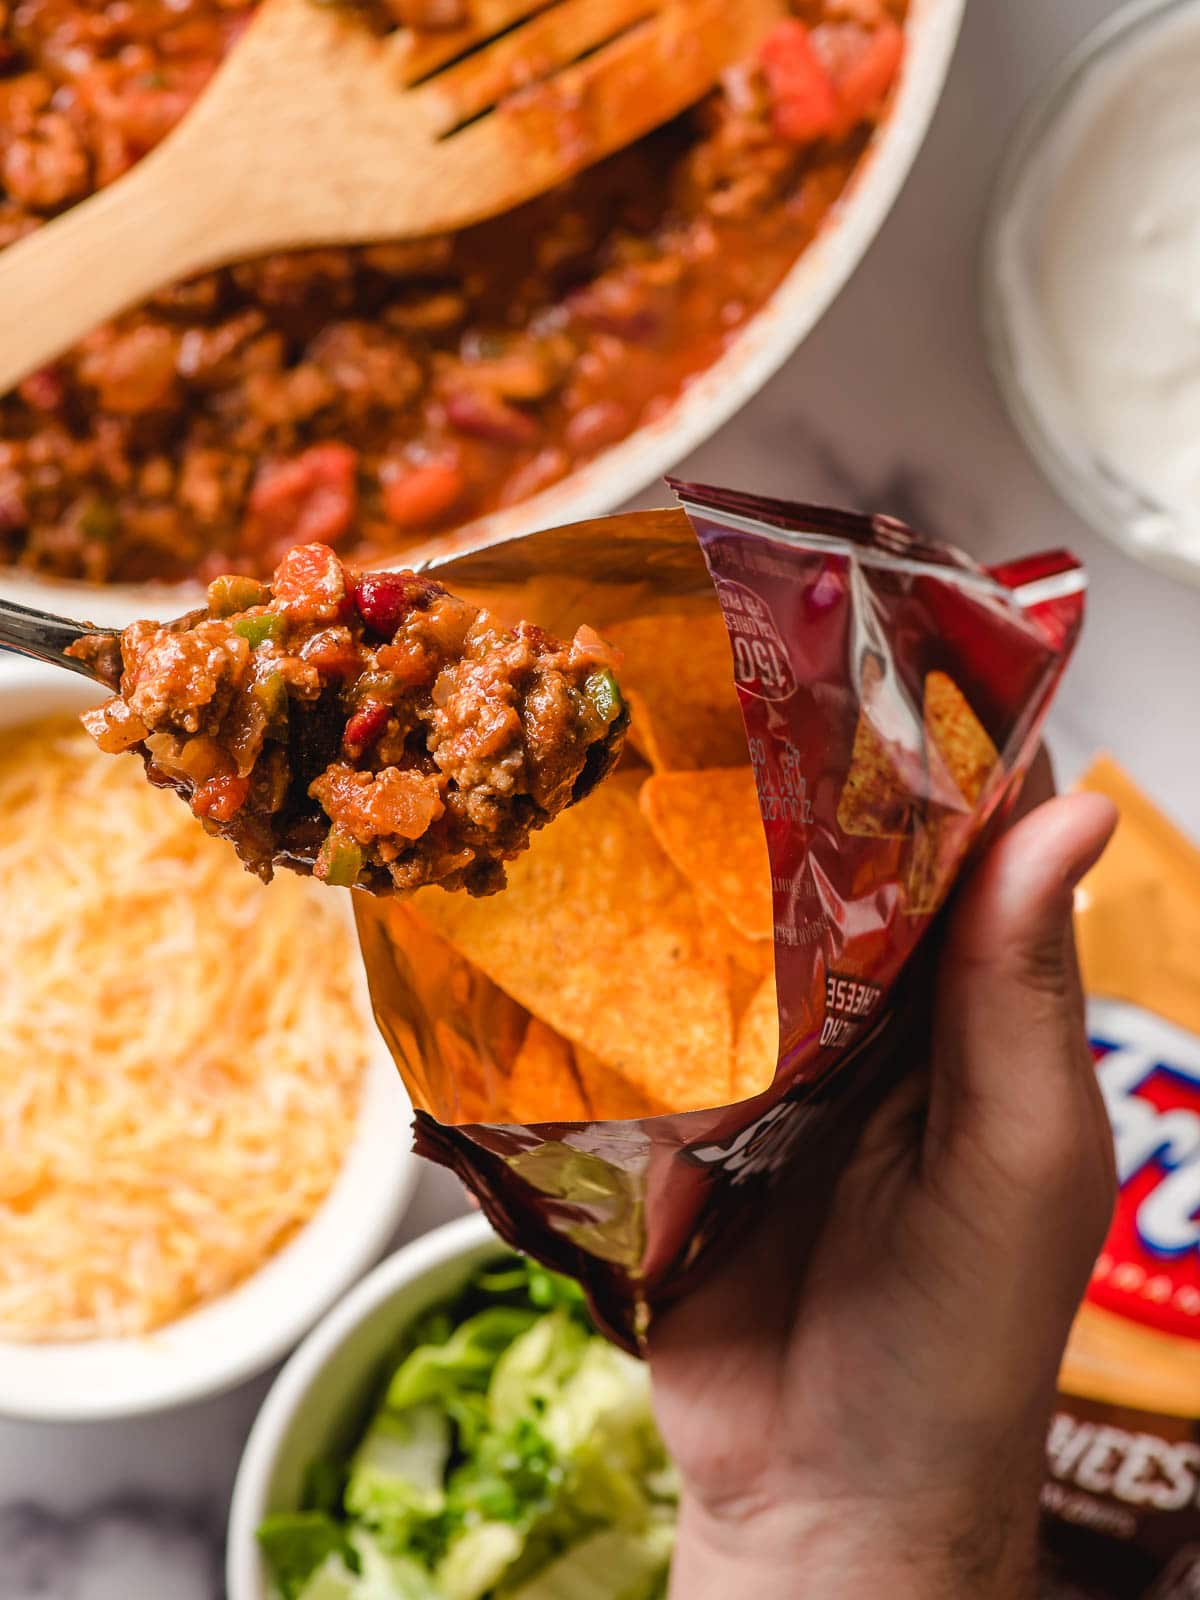
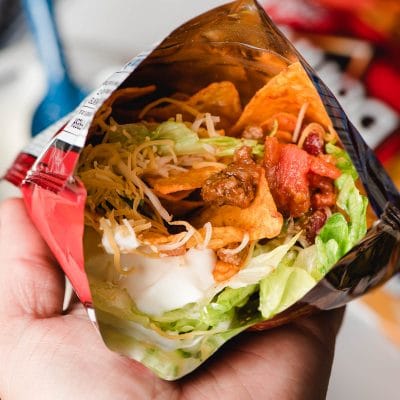
- Open up the chip bag like you usually would and ladle everything in. It can be helpful to roll the bag down a bit so it’s easier to reach everything.
- If you have a pair of scissors handy, turn the chip bag sideways and cut across the long end. This gives you a nice little “boat” that can make eating the walking tacos easier.
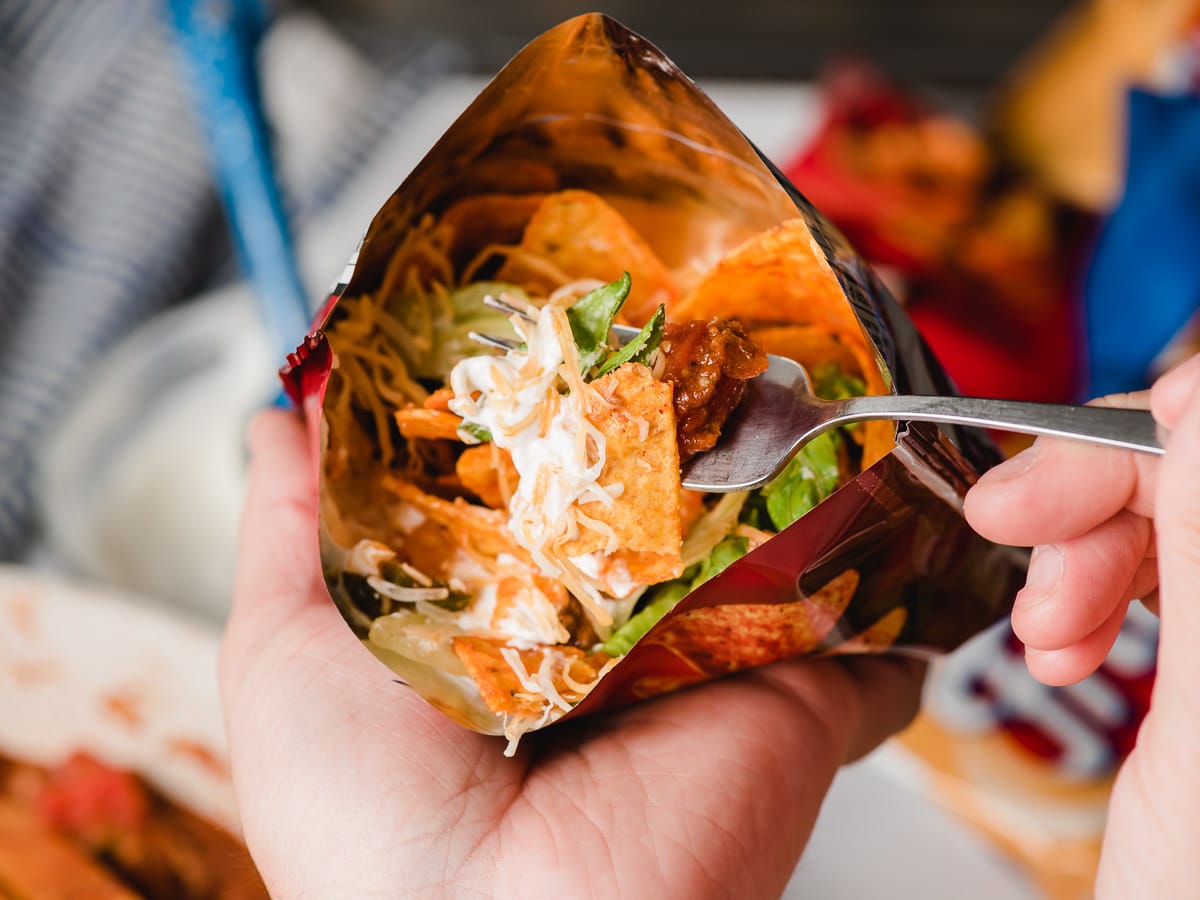
- Some people like to crumble up the chips before opening the bag, others like to add everything to the bag then use their hands to crush, crumble, and combine all the ingredients together. I personally think that approach is insane (I like to use a fork and have a little variety in each bite), but I’m not here to yuck anybody’s yum. It’s kind of fun to see how everyone makes their own special walking taco!
Once they’re all assembled, it’s time to roll up the bag and dig in! These are so perfect for summer parties, tailgating, really any gathering that needs a little extra fun and nostalgia.
Variations + Toppings
What kind of chips do you use for Walking Tacos?
Fritos are a classic and what I consider the “original” Walking Taco chip, but it’s also really good with Doritos, either the Nacho Cheese or Cooler Ranch. We also like it with the Chili Cheese Fritos!
Toppings for Bag Tacos
- Anything you’d put on a taco, you can put on a Walking Taco! Try these other favorites:
- black bean and corn salsa
- cilantro
- diced tomatoes
- diced red onion
- raw or pickled jalapeno
- black olives
- guacamole
- Try different taco meats– These would also be great with Crock Pot Barbacoa Beef, Crock Pot Shredded Chicken, or Crock Pot Taco Meat. You could even use leftover Slow Cooker Steak Chili as a filling! BONUS- the slow cooker is great for preparing the filling ahead and keeping it warm until party time!
What to Serve with Walking Tacos
Could there be anything better than a party featuring tacos in a bag and pitcher margaritas? That’s the stuff dreams are made of.
But, if you need something more than tacos and booze, this would also pair well with Corn Souffle (add some green chiles to spice it up a bit!), Cheddar Cornbread Muffins, or Cilantro Lime Rice.
More Taco Inspired Recipes
Can’t get enough taco recipes? Us either!
We love giving our favorite dinners a taco twist. See for yourself with these other favorites:
- Taco Burgers
- Taco Tater Tot Casserole
- Taco Spaghetti
- Doritos Taco Salad
- Mason Jar Chicken Taco Salad
- Taco Dip with Meat
Do we have a problem turning everything into tacos? Yes, yes we do.
Join Our Community
Sign up for the NeighborFood email community to get recipes in your inbox ad free and access exclusive content from us! You can also follow us on Instagram and Pinterest. Made our recipe? Leave us a star rating or comment below!
Walking Tacos
Video
Ingredients
- 1 Tablespoon butter
- 1 small onion (chopped)
- 2 small jalapenos (seeds removed, diced (optional))
- 1 lb. ground beef
- 2 1/2 Tablespoons homemade taco seasoning
- 14 oz tomato sauce
- 14 oz kidney beans
- 14 oz diced tomatoes (drained)
- 6 Frito bags (make sure they are all corn if you're gluten free)
- Shredded lettuce
- Shredded Mexican Cheese blend
- Sour Cream
Instructions
- In a large sauce pan, melt the butter over medium heat. Add the onions and saute until beginning to soften. Add the jalapenos and saute an additional 2-3 minutes. Add the ground beef to the pan and cook until no pink remains. Drain any excess fat then stir in taco seasoning.
- Add the tomato sauce, kidney beans, and drained diced tomatoes to the skillet. Cook, stirring occasionally, until heated through.
- To assemble, open Frito bags. Divide meat mixture evenly among the bags, filling about 2/3 full. Sprinkle with cheese. Add sour cream and lettuce if desired. Eat away!
Notes
- Fritos hold up the best to the taco filling, but nobody says you can’t use potato chips or Cheetos!
Nutrition
Did you make this recipe?
Leave a review, Mention @NeighborFoodie, or tag #neighborfoodies!


Leave a Reply