Overnight Cinnamon Rolls with Cream Cheese Frosting

These Overnight Cinnamon Rolls are fluffy and chewy and smothered in cream cheese frosting. This is the perfect breakfast recipe for the holidays!

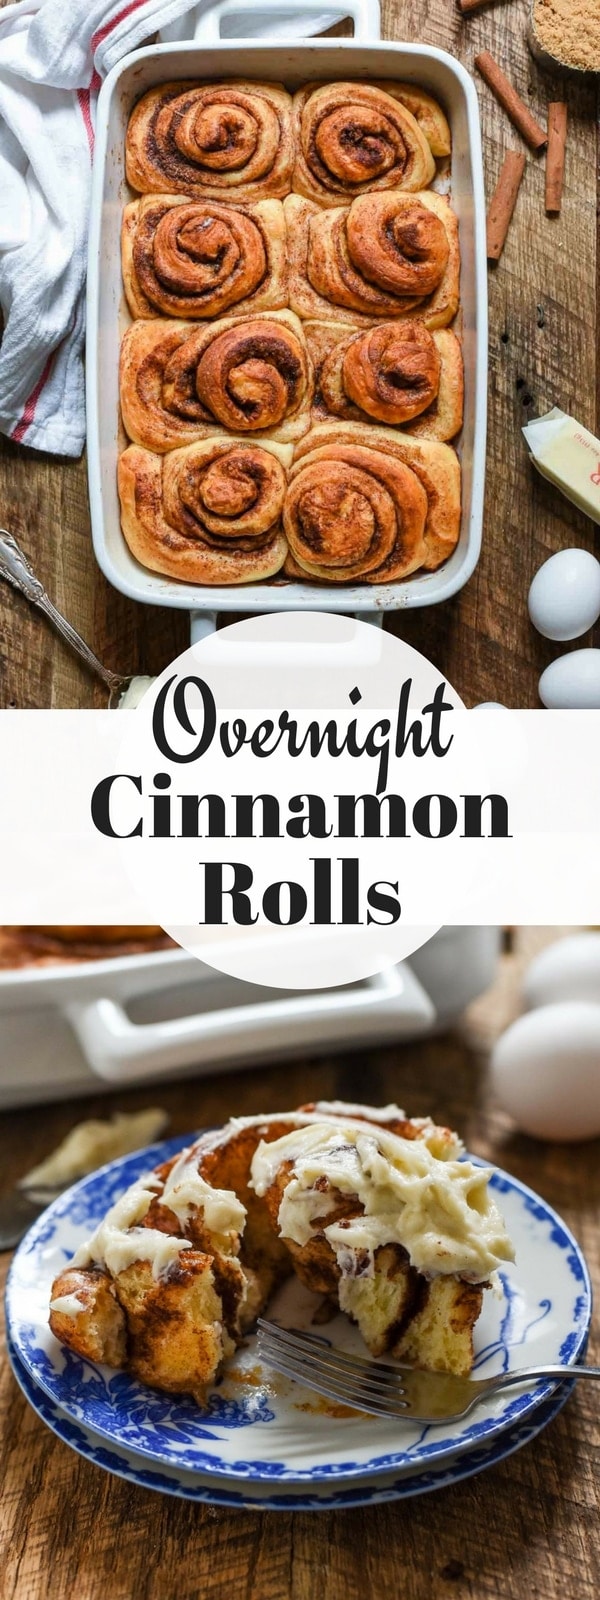
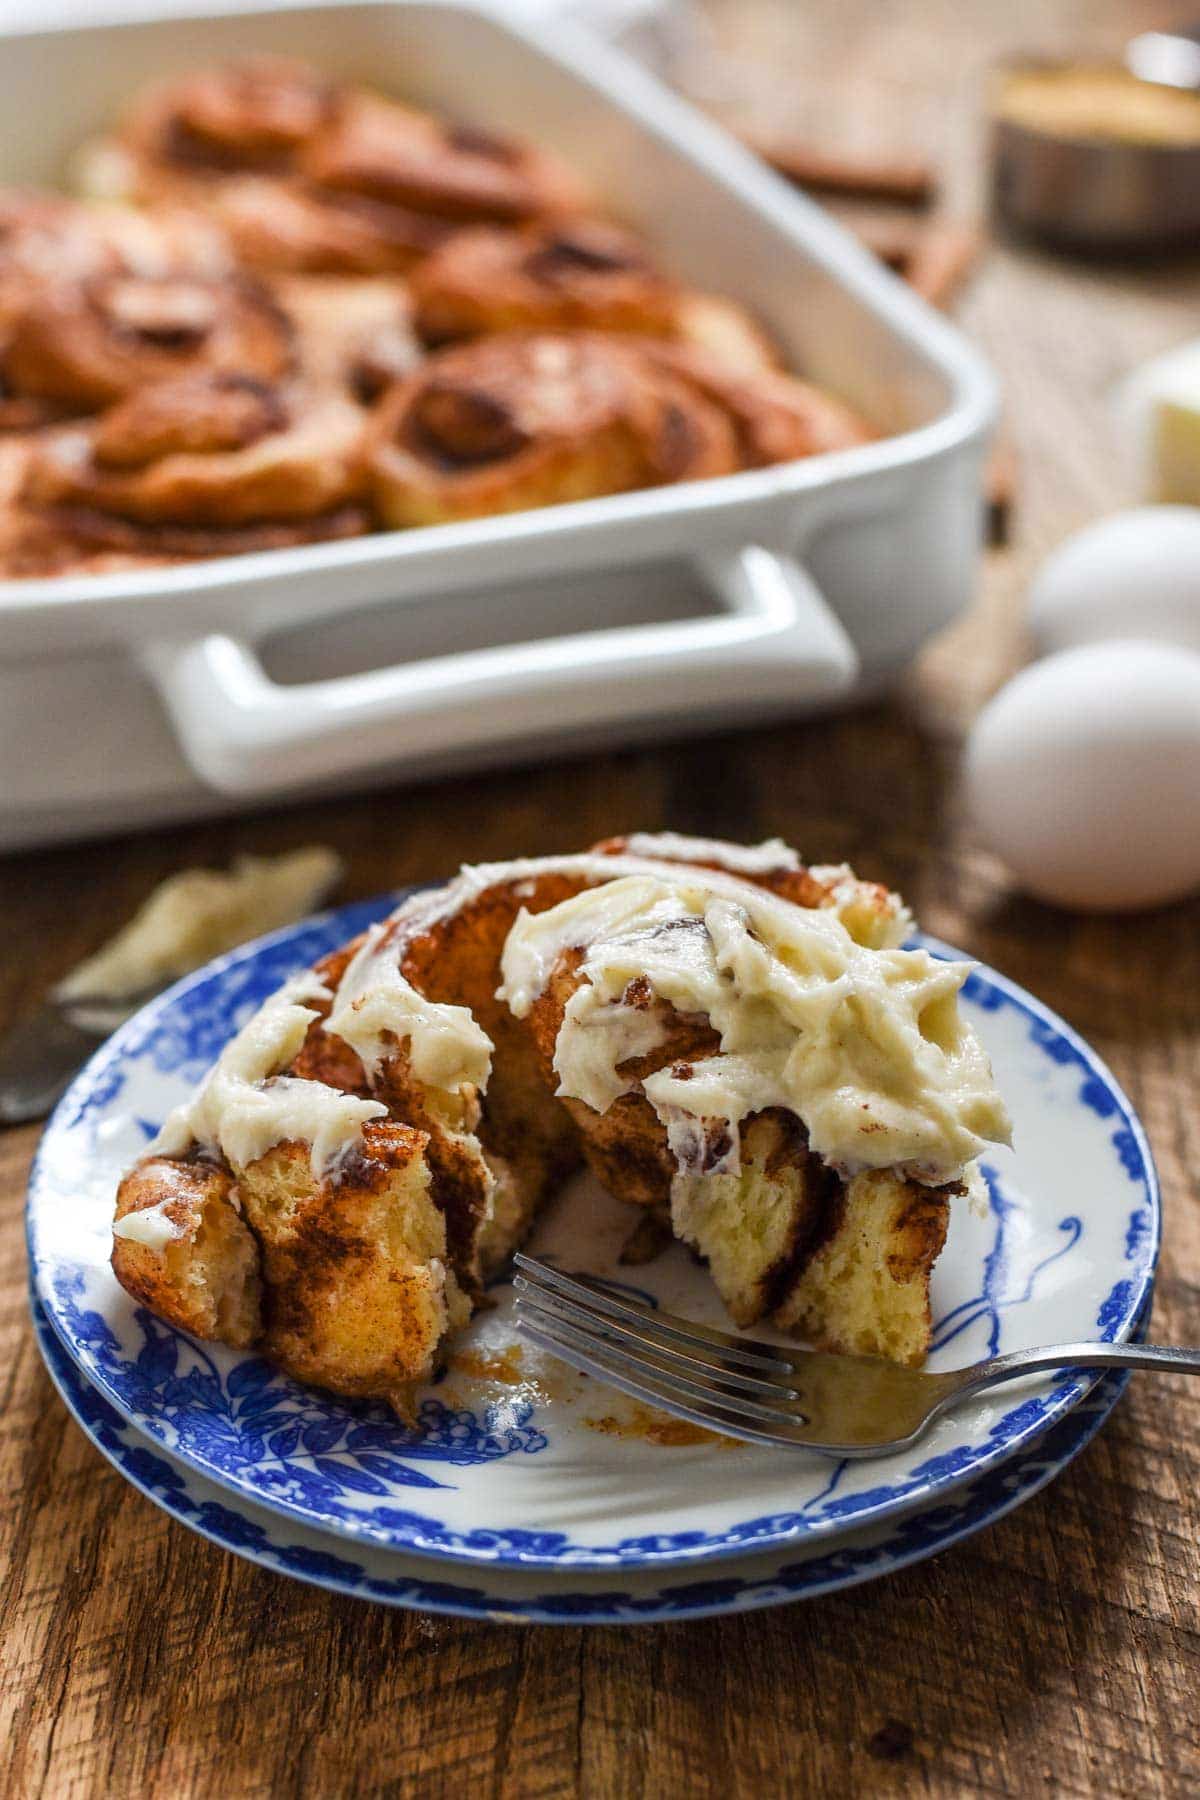
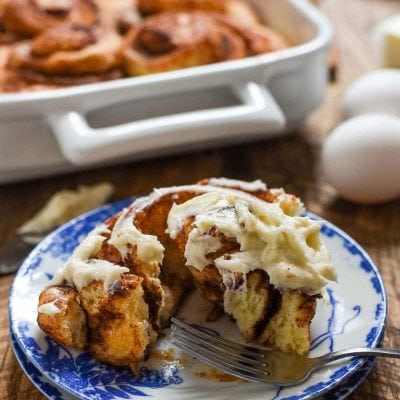
Soft, chewy Overnight Cinnamon Rolls will make you the rock star of Christmas morning. We like to eat them warm with plenty of cream cheese frosting!

These big, fluffy, soft, and chewy Overnight Cinnamon Rolls are everything a cinnamon roll should be. Pair with cream cheese frosting for a breakfast treat!

Rediscovering a Love for Overnight Cinnamon Rolls

For about a decade of my life, I refused to eat cinnamon rolls. It all started with the stomach flu, as so many bad stories do. I was about 12 years old and was spending the night at my best friend’s house while my parents got away for the weekend.

It had been the most glorious day. We played and ate ourselves silly, indulging in two of our favorite treats: boxed macaroni and cheese and Cinnabons. Everything was going along swimmingly until the middle of the night, when I woke up with the worst stomach ache of my life. I will refrain from sharing the gory details, but let’s just say cinnamon rolls were effectively ruined for me that fateful night.

For the next few years, I always felt a tinge queasy when I smelled the chemical-tinged cinnamon scent of giant Cinnabon rolls being piped through the mall. The strong aversion eventually subsided, but by that point I had convinced myself I didn’t like cinnamon rolls. And just like that, an entire cinnamon swirl lacking decade passed.

In my early 20s, I rediscovered my love for cinnamon rolls, and I now consider that time of my life “the lost years.” Think of all the gooeyness I missed in those years! The last few months I’ve been trying to make up for lost time by testing out ALL the cinnamon roll recipes. Someone should come test my blood, because I’m pretty sure it’s just rivers of cinnamon and butter by now. I’ve tried a copycat Cinnabon recipe, the Pioneer Woman’s cinnamon rolls, and a few “best ever” recipes from cookbooks I own.

Save yourself from a stressful morning with these Overnight Cinnamon Rolls. They're soft, chewy, and pair perfectly with cream cheese frosting.

Fluffy, Chewy Cinnamon Rolls

Of course, the ultimate recipe ended up being in the most obvious place–an old Mennonite cookbook. The recipe intrigued me from the very start. First off, it was made with bread flour. I don’t know why I never thought to make cinnamon rolls with bread flour before, but it makes so much sense! Bread flour makes the rolls extra chewy and gives them that dreamy, pullable texture I was longing for.

The recipe also adds eggs, butter, and milk to the cinnamon roll dough. All of these ingredients help keep the dough nice and soft and also gives the dough a lot more flavor than a simple yeast, flour, and water roll.

The cookbook gave me a great place to start making my own cinnamon roll recipe, but, like most of my Amish and Mennonite cookbooks, it left out some key details, including the quantities and ingredients for the filling!

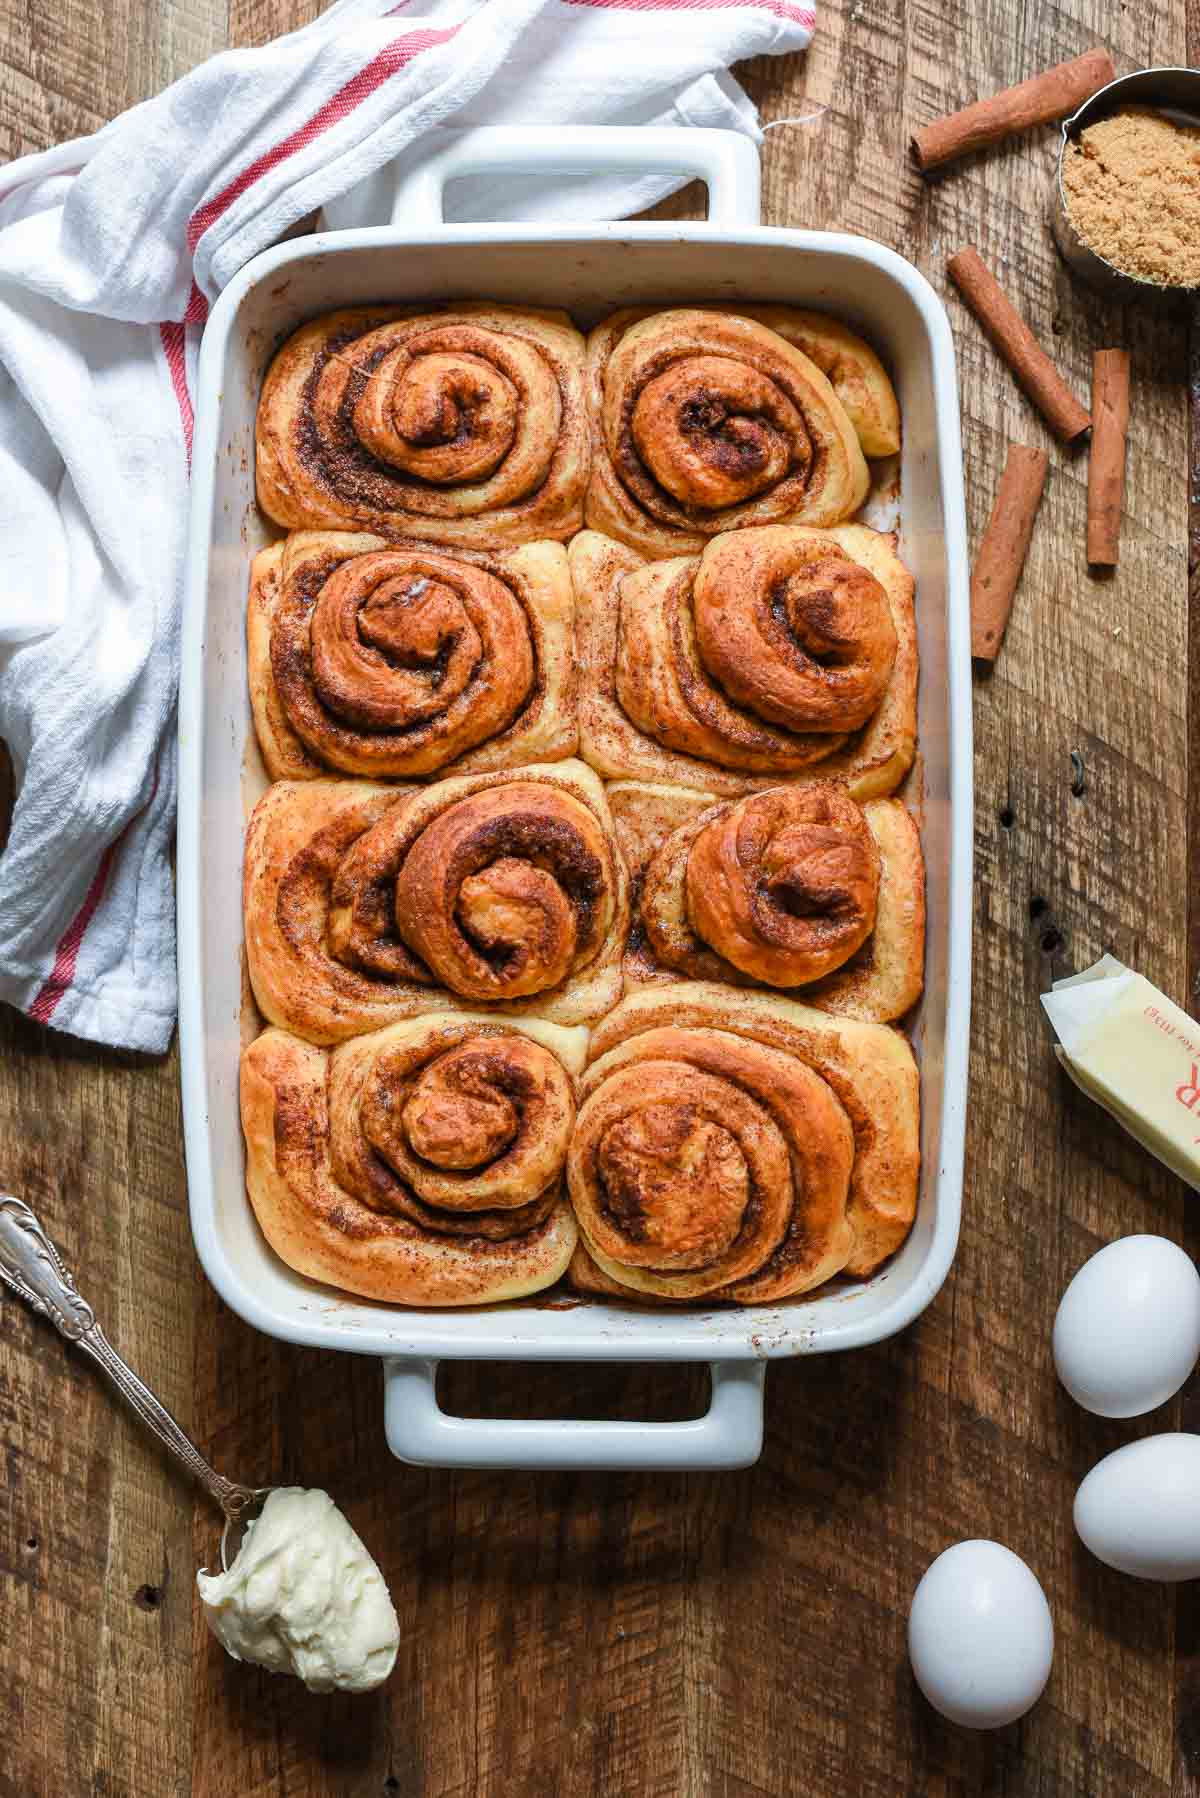
I eyeballed my first batch, and it was good but not quite right. Luckily, the second batch was exactly what I was looking for–fluffy, chewy rolls around a buttery brown sugar filling with plenty of spicy cinnamon flavor.

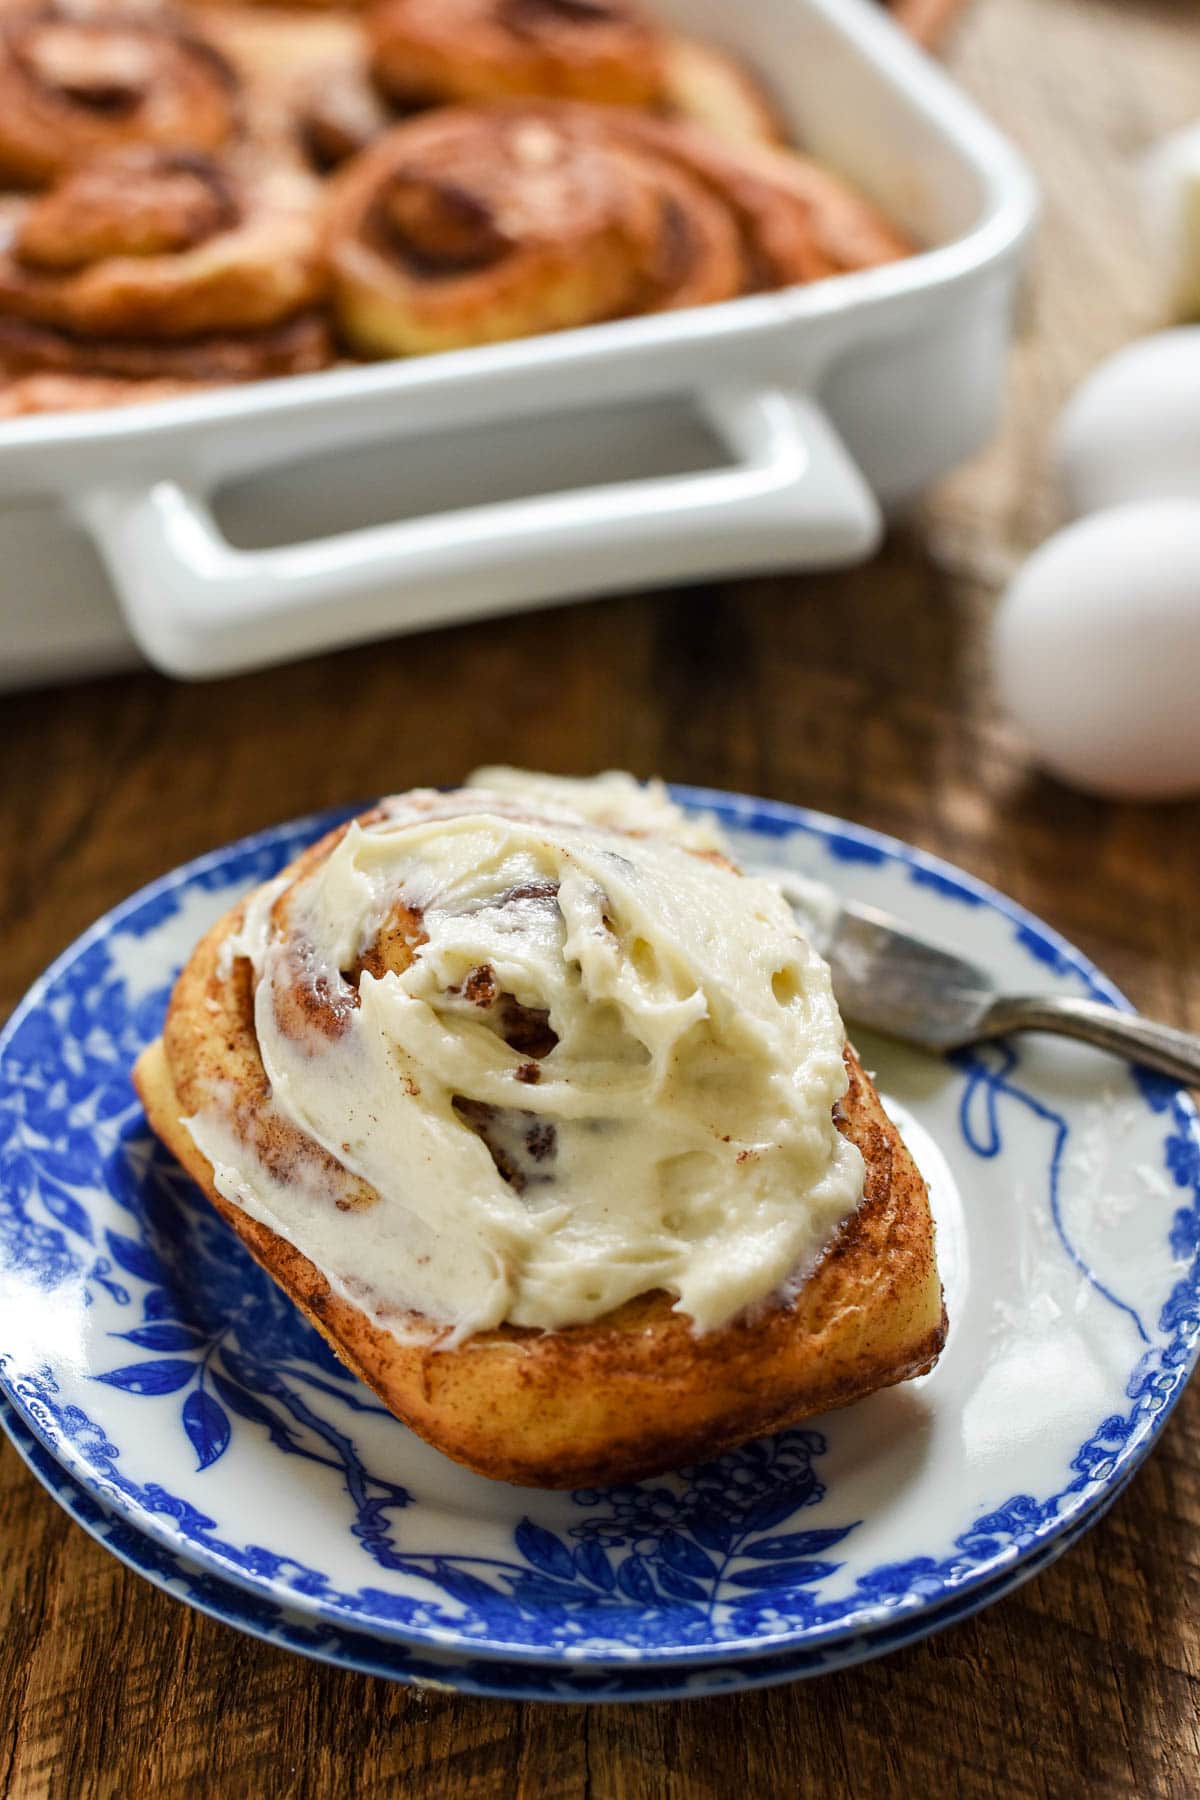
Cream Cheese Frosting for Overnight Cinnamon Rolls

No cinnamon roll is complete without frosting, and for me, it’s gotta be cream cheese. I like to keep my frosting on the thick side so it melts a bit into the cracks and crevices of the roll, but you still have a nice slather on top.

These Overnight Cinnamon Rolls with Cream Cheese Frosting are soft, chewy, and loaded with cinnamon flavor! The ultimate make ahead breakfast recipe.

Make Ahead Cinnamon Rolls: A MUST

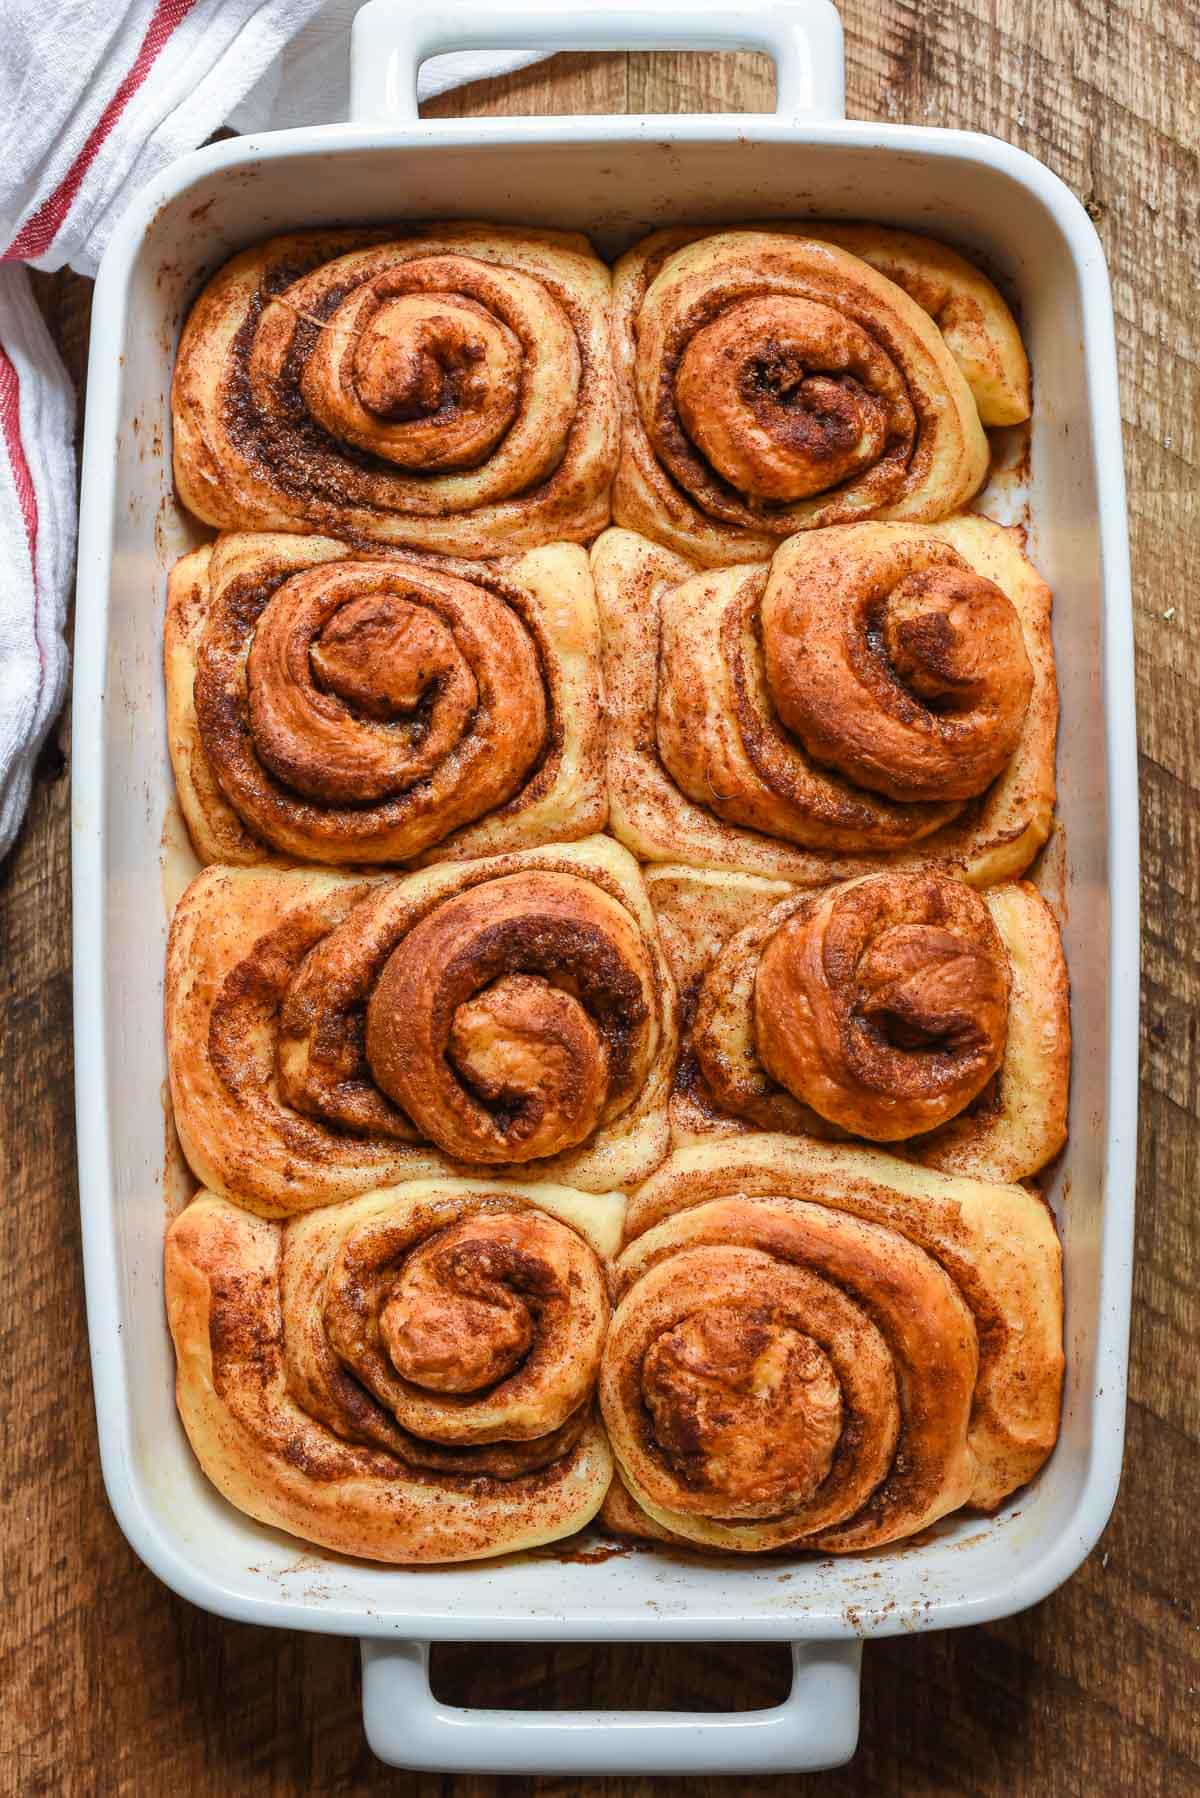
I know everyone’s taste in cinnamon rolls is different, but let me tell you why these check all of my boxes. They’re chewy and soft, but still have a nice brown exterior. They’re sweet, but not in a cloying, my fillings are begging for mercy kind of way. They have a whole lot of cinnamon flavor, and most importantly, I can make them the day before I want to bake them.

Let’s be honest, this was a must for me. There is no possible way this girl is getting up at 5 AM to make cinnamon rolls. I love you, family, but no. I will, however, make these at a reasonable hour the day before Christmas and then look like a rock star when I pull fresh cinnamon rolls out of the oven on Christmas morning.

You can thank me by making Christmas Morning Punch and doing all the dishes.

Large Batch Cinnamon Rolls

One last note about these rolls. They make A LOT. Approximately 2 dozen generously sized rolls. This is fantastic if you’re having everyone over for Christmas, but perhaps not so wonderful if you’re making rolls for your tiny family of 3.

Luckily, you can also freeze pans of cinnamon rolls to pull out whenever the craving hits. OR, you could become the best neighbor/coworker/customer ever and distribute pans to everyone you know. Either way, no one has ever thought having too many cinnamon rolls is a problem.

These giant Overnight Cinnamon Rolls with Cream Cheese Frosting are soft and chewy with gooey cinnamon sugar centers. It's everything a breakfast treat should be.

More Make Ahead Breakfast Recipes:

Need more make ahead breakfasts for Christmas morning? Try these:

I developed this recipe in partnership with Ohio Eggs. You can see the original Overnight Cinnamon Rolls recipe on their site!

These giant Overnight Cinnamon Rolls with Cream Cheese Frosting are soft and chewy with gooey cinnamon sugar centers. It's everything a breakfast treat should be.

Overnight Cinnamon Rolls

Yield: 24
Prep Time: 1 hour
Cook Time: 20 minutes
Resting Time: 9 hours 30 minutes
Total Time: 10 hours 50 minutes

Fluffy, chewy, cinnamon sugar filled Overnight Cinnamon Rolls might become your new favorite holiday morning tradition.

Ingredients

For the rolls:

  • 2 packages fast rise instant yeast
  • 3/4 cup warm water (aim for 105 to 115 degrees)
  • 2 Tablespoons sugar
  • 2 cups whole milk
  • 8 Tablespoons (1 stick) butter
  • 4 eggs, beaten
  • 1 teaspoon salt
  • 1/2 cup sugar
  • 9 cups bread flour, plus more for sprinkling

For the filling:

  • 1 cup brown sugar
  • 1/2 cup white sugar
  • 3/4 cup (1 1/2 sticks, 12 Tablespoons) unsalted butter, at room temperature
  • 3 1/2 Tablespoons cinnamon

For the frosting:

  • 1/2 cup (1 stick, 8 tablespoons) butter, at room temperature
  • 12 ounces cream cheese, at room temperature
  • 2 1/2 cups powdered sugar
  • Splash heavy cream
  • 2 teaspoons vanilla
  • 1/2 teaspoon salt

Instructions

  1. Add the water to the bowl of an electric mixer then stir in the sugar and yeast. Allow the mixture to sit for 10-15 minutes while you prepare the milk. The mixture should foam up quite a bit. If it doesn't froth or foam, your yeast might be bad, and you'll want to start over.
  2. Meanwhile, heat the milk to just below boiling, then stir in the butter, allowing it to melt. Allow the mixture to cool to warm.
  3. Stir the beaten eggs into the yeast mixture. Pour the cooled milk mixture into the yeast mixture in a steady stream, whisking constantly. Whisk in the remaining 1/2 cup of sugar and the salt.
  4. Add half of the flour to the bowl, using a spatula or spoon to combine. Add the remaining flour (up to 8 cups) and stir, then switch to the dough hook and beat until well combined. Continue to beat with the dough hook until the dough is soft and springy, about 6 minutes. If the mixture is still very sticky, add up to another cup of flour to the dough. The dough should be tacky but shouldn't coat your finger when you touch it.
  5. Place the dough in a greased bowl, cover loosely with saran wrap, and place in a warm spot to rise for 40 minutes to an hour, or until doubled in size.
  6. Punch the dough down and turn it out onto a floured surface. Roll or press the dough out into a rectangle approximately 12 inches by 24 inches long. Pour the melted butter over top, spreading it evenly. In a small bowl, whisk together the sugars and cinnamon and then sprinkle that evenly over the top. Cut the rectangle in half so there are two 12 x 12 inch squares. Either roll each square into a tight log and then cut it into 12 slices using dental floss OR use a pizza cutter to slice the rectangle into 24 long strips, and roll each strip individually into a slice. Once the rolls are sliced, place them in a buttered dish, approximately 8 in a 9 x 13 inch pan or 6 in a 9 inch pie pan. Cover the rolls loosely with saran wrap. Refrigerate the rolls overnight, for 8-12 hours.
  7. In the morning, take the rolls out and allow them to rise in a warm place for 30-45 minutes, or until puffed.
  8. Preheat the oven to 350 degrees. Place the rolls in the oven and bake for 20 minutes, or until tops are golden and set. I recommend under baking just slightly so the rolls stay nice and soft.

To make the frosting:

  1. Combine the cream cheese and butter in the bowl of an electric mixer. Beat on high speed until smooth. Beat in the powdered sugar, cream, vanilla, and salt. If you're serving immediately, the rolls can be frosted while still warm. Otherwise, store them unfrosted, then frost and reheat the rolls for a few minutes before serving.

Notes

**You can substitute regular yeast for the fast rise yeast, but your baking time may increase by up to 40%.

**If you would rather bake the cinnamon rolls right away instead of leaving them to set overnight, follow the instructions through step 6, then instead of refrigerating, immediately set the rolls in a warm place to rise for 40 minutes. Preheat the oven to 350 degrees and bake for 20 minutes or until golden.

Nutrition Information:
Yield: 24 Serving Size: 1
Amount Per Serving: Calories: 494Total Fat: 21gSaturated Fat: 12gTrans Fat: 0gUnsaturated Fat: 7gCholesterol: 84mgSodium: 263mgCarbohydrates: 68gFiber: 2gSugar: 30gProtein: 9g

Please note nutritional information for my recipes is calculated by a third party service and provided as a courtesy to my readers. For the most accurate calculation, I always recommend running the numbers yourself with the specific products you use.

Did you make this recipe?

Leave a review, or head over to Instagram and share a photo! Tag your projects with #neighborfoodies!


19 Comments

  1. My daughter and her British boyfriend (they live in Scotland) are visiting for the holidays and made these Christmas eve, and baked them on Christmas morning. NO WORDS-absolutely amazing! I made the icing and bc I forgot to halve the recipe (as they did), I have lots leftover, oh well, guess they’ll have to make some for New Year’s day :)! Thank you for this wonderful recipe-what a treat!

  2. Need to back up here a minute. In reading a previous comment, someone must have stated something about baking and you reply “it states to be bake 35 to 45 minutes”. In the recipe it says the rolls should RISE 35 to 40 minutes but it says to BAKE 20 minutes. I need to verify baking time. Also in the instructions it says to follow same steps through No 6. Then allow to rise and ……to bake immediately instead of waiting overnight. Well, the instructions aren’t numbered, so there is no step 6. However I’m going to assume everything is the same up to the point when they would be normally placed in refrigerator overnight. Instead of doing that, allow to rise 40 minutes or so, then bake. Is that a correct assumption? Lastly, as the yield says 24 rolls I’m assuming that the number of “baking dishes” should actually be multiples and not the single one it seems to indicate in the recipe. The problem is, with experienced bakers like me and thousands of others, most of this stuff is not a big deal. It’s when we get the novice baker or ones very inexperienced when the lack of instructions creates problems. I can’t believe how skimpy some bloggers or even others have their recipes online. Like I said, the problems arise with these new kids. And unfortunately, unlike most likely for you and definitely for me, we had both mothers and grandmothers who did a lot of teaching in every homemaking art, plus, we had “Home Economics Class” in school. Mine was all through my middle school years. I think in high school it was an option for some people who chose that path in school but I went down the “college prep” path and didn’t have Home Ec anymore. I was just telling someone the other day, in middle school each year for one marking period the boys and girls switched. Somehow the boys ended up with the better deal. The boys all liked the shop classes anyway, then when they went to home ec they didn’t have to sew, other than buttons I think and the rest of the time, they made sweets. But us girls, we had to learn all the parts of the car engine (thank heavens its not in today’s extremely complicated engines), change a tire I think and I remember making a lamp out of ….now get this….egg cartons and marbles. No joke. AND it worked. The egg cartons then were all the pressed fiberboard, no styrofoam (that would have melted I bet). The teacher made the wood round thing inside and we had to wire up the lamp. Then the light showed through the top and the marbles. I have NO clue what my parents ever did with it. I imagine my dad took back his marbles I took out of his PILLOWCASE size bag of his childhood ones and they dumped the rest after a few years. I haven’t thought of that monstrosity in 40 years.. Anyway, back to cinnamon rolls……
    It works out to 8 rolls in a 9 x 13-inch baking dish (which is just the right size for the Longaberger Pottery Dish, which means it would require 3 of those or 6 rolls fit in the standard 9-inch pie plate. Which I believe is just right for the Longaberger pie plates, requiring 4, of those. I think they would be excellent baking dishes for the rolls. I’m glad I may have found an far better use for my pie plates. Truthfully, I’m not crazy about them for baking pies, I prefer the more traditional clear Corning ones which surprisingly are being recommended by bakers. Some bakers are recommending the tin pie plates. I’ve not gone down that path but I might. Problem is, when antique shopping, the metal pie plates are often in REALLY bad shape, not suitable for baking. Seeing as I sold Longaberger for 17 years I have a LOT of pie plates. I bet I have at least 10 or 12 or more. Over the years I’ve felt the high rim on the plates makes getting slices from the plate very difficult. And even after coating with nonstick cooking spray, crust still wants to stick. However, the heaviness of the pottery I think would give lovely browning to the rolls and since the recipe makes 24 rolls placing 6 in each pie plate it works out very well. I only had 2 of the 9 x 13 inch baking dishes to start and then one day I heard a tremendous crash in my butler’s pantry and that crash belonged to one of the 9 x 13-inch dishes and 1 or 2 others along with some of my very favorite (and inherited) white ironstone. I still haven’t found a replacement of the rectangular one. I was SICK. I’m not sure if that was the day of the earthquake which hit DC and the surrounding area or not. I still have cracks in my ceiling from that. My grandmother lived in San Diego all my life so I would hear about earthquakes and she experienced a few small ones so I always wanted to know what it felt like in an earthquake. I learned to eat those words, that one “small” one (compared to seriously ones in California and around the world, was MORE than enough. I do NOT wish to repeat that experience. I was sick in bed that day and all I know is how VERY helpless I felt. It REALLY rattled my Golden Retriever too. So I’ve been trying to replace pieces, both types of dishes, Longaberger and Ironstone but while I’m seeing a fair amount the baskets on the market, I’m seeing very little pottery so people aren’t giving it up. It IS very nice. I only have 3 sets of course. The Traditional Red is at the office. I use Classic Blue every day and the ivory is one of the sets used for entertaining. Now I have a good use for the pie plates at least.

    1. These would be lovely baked in the stoneware pieces. And you’re correct–it’s rising 40-45 minutes and baking for 20 minutes. I went ahead an added numbers to the recipe so hopefully that makes things clearer! And your assumption was correct. If you’re not refrigerating overnight, you can simply allow the rolls to rise for the second time in the pans and bake immediately.

  3. I am SO glad I wanted to save the recipe on Maple Roasted Sweet Potatoes otherwise I never would have found this cinnamon roll recipe. By the way, I saved the sweet potatoes but most likely will not be preparing until fall. You never know, my family are pretty big sweet potato fans. I’ve been pondering over 5 to 6 years on how to begin a GOOD cinnamon roll recipe the evening prior without having to do test recipes for months for myself. Sure, there are recipes using crescent rolls and other “cheat” routes, but I have a reputation to uphold, I’ve wanted a GOOD recipe, a delicious and memorable one, just like my cheesecake and chocolate cakes. It sounds like you struck gold. I’ve been wanting to make Cinnamon Rolls for functions at church at some point on special Sunday mornings for years and while its not bad to rise at 7 am to bake 4 to 5 various cakes (such as coffee cakes, muffins and other treats, but as stated, rising at 4 or 5 am “just ain’t gonna happen”, especially when I would be preparing for 100+ people. Which comes to question #1, the odds are I would be preparing in large quantities using baking sheets. Probably half sheet pans as I only own one full sheet, rest are half size. Have you ever used sheet pans to make the rolls? I’m also glad you tested the Pioneer Woman’s recipe since I’ve been wanting to try her recipe for a while. I’m sure it’s good, but if you say the Amish is best I’m going with that for now. The only way this could be better is if you have already done the work to convert to gluten free. Trust me, pray you NEVER get handed this diagnosis as its been over 12+ years and I still CAN NOT become accustomed to this. It’s far worse for me as a “hobby baker”. At least 90% of my baking is still regular baking but I have to rely on others for taste testing. I do some, but very little gluten free baking. I grew up eating many Amish/Mennonite recipes and much of what “city-slickers” would label “poor people food”. Just today I said to my dad I see dandelion is out and if I knew of a very safe field to gather I would for my folks and myself. My great-aunt Zelda was always the one who gathered dandelion. However the field behind my house (and where she used to live is the family homeplace, first section built 1795, our family first took over around 1900) was where she usually went. In the past 10+ years this field became a major dog play area. I don’t need to explain what dogs do in grass and since I had a golden retriever for over 12 years until she passed away last June, I can’t use my yard. This is an Amish and Mennonite dish using dandelion and prepared with bacon dressing (jarred or homemade, which is so popular now they bottle it and sell it. If dandelion is not available, which should be harvested only in spring when new, young and tender, use Endive. Best when served with fried potatoes and onions. Another dish for you to try from this group if you haven’t. My great-grandfather was raised Mennonite and while he mostly attended my great-grandmother’s Lutheran church (where we still go) he never left his church (their love story is similar to “Anne of Green Gables” with my Memaw being a school teacher boarding at Cora’s home (an older sister of PapPap’s where he worked as farmhand. Ross and Carrie Catherine were as opposite in numerous ways and yet, it was true love, but I won’t tell it all here) and out of 14 children (which he was the baby), many descendants of the 14 children are still Mennonite, except for Ross’s bunch. I grew up on many dishes this group is known for. Did you know the Mennonites came before the Amish? Something for folks to consider, I am an excellent cook and a hobby baker. While I can’t prepare everything, I’m not Alton Brown or Julia Childs, I can do a good bit. However, I’ve dined in locations such as London, Paris, Brussels, Rome, Amsterdam, Washington, DC, San Francisco, New York, L.A., San Diego, Charleston and other (yes, I like to travel and other also had to for work. I enjoy, good, well-prepared delicious food. But most of the time, I’ll take the Mennonite/Amish comfort dishes over the rest. I think that says something for Mennonite and Amish cooking. (by the way, contrary to the ENTIRE rest of the country, I do NOT like Baked Macaroni & Cheese. my mother made THE worst mac & cheese on the planet during my childhood so I really dislike it. I like “the blue box” the best but now I can’t eat it anyway.) So, If you say the Amish Cinnamon buns is the best, I trust your judgement on this and am not at all surprised you feel it is the best. So my two questions, do you know of a gluten free conversion and have you tried making in bulk. I’m glad to see someone already broached the freezing question.

    1. Hi there! Thanks for sharing some of your story here. I’ve always love Anne of Green Gables so it was delight to read a little bit about your Memaw and PapPap’s love story. My dad was the youngest of 14 children in a Mennonite family, so I was spoiled with lots of hearty home cooking when I was growing up. I have several Amish and Mennonite cookbooks, and I’ve actually seen the recipe for dandelion salad before, but never made it. I will have to try it this year. To your questions: I haven’t tried making these in half sheet pans. My only concern about it would be if they puffed over the edges too much, but I think if the pans had at least a 1/2 inch lip around the outsides it would work. I also haven’t made these gluten free before. I know a little bit of your struggle, because my mom has had to follow a gluten free diet for the last 10 years. It can be really difficult! We’ve found using Cup for Cup gluten free flour usually works pretty well, but unfortunately we haven’t experimented with the substitute on this recipe yet. I do have a lot of other gluten free recipes on the site. If you’d like to check them out, you can find them here: https://neighborfoodblog.com/category/recipes-2/special-diets/gluten-free. Best of luck! Please let me know if you try these gluten free and how they turn out!

  4. Bread flour for cinnamon rolls??? It never occurred to me but I’ll be trying it later. Are the amounts the same~cup for cup between A.P./bread flour? I want to use Ree’s recipe, too. Thanksabunch for the tip!!!! ~Judy

    1. Generally, you can sub. cup for cup in bread recipes. I really like the chew that bread flour gives to the cinnamon rolls!

  5. Recipe amounts for these overnight cinnamon rolls seem off…way to much flour?? butter says 1/2 cup then in parentheses…(1 stick , 8 tablespoons….) that’s 2 cups! Cook time 3 hours? needs to have adjustments!

    1. Hi Laura,

      The flour is the correct amount. This makes a big batch of rolls! The butter is also correct. The amount in parenthesis is just to give equivalents (so 1/2 cup is equal to 8 Tablespoons or 1 stick). The total cook time at the top at 3 hours is off. Thanks for catching that! However, in the recipe you’ll see it says to bake for 35-45 minutes. The recipe has been made and loved by many people. I hope you’ll give it a try!

    1. Absolutely. In fact, a friend of mine already cut it down to just make 4 large cinnamon rolls (This is sizing the recipe down by a quarter instead of half, but feel free to halve the measurements above if you’d like 8 rolls) Here are the measurements my friend used for the dough:
      1 1/4 teaspoon instant yeast
      1/4 cup water
      1 teaspoon sugar
      1/2 cup whole milk
      2 tablespoons unsalted butter
      2 eggs
      2 tablespoons sugar
      2 1/4 cup bread flour, plus more for kneading
      For the filling, you can eyeball it, but it will be about 1/4 cup brown sugar, a few Tablespoons white sugar, 1/2 stick butter, and scant Tablespoon cinnamon.

      Hope this helps!

Leave a Reply

Your email address will not be published. Required fields are marked *

This site uses Akismet to reduce spam. Learn how your comment data is processed.